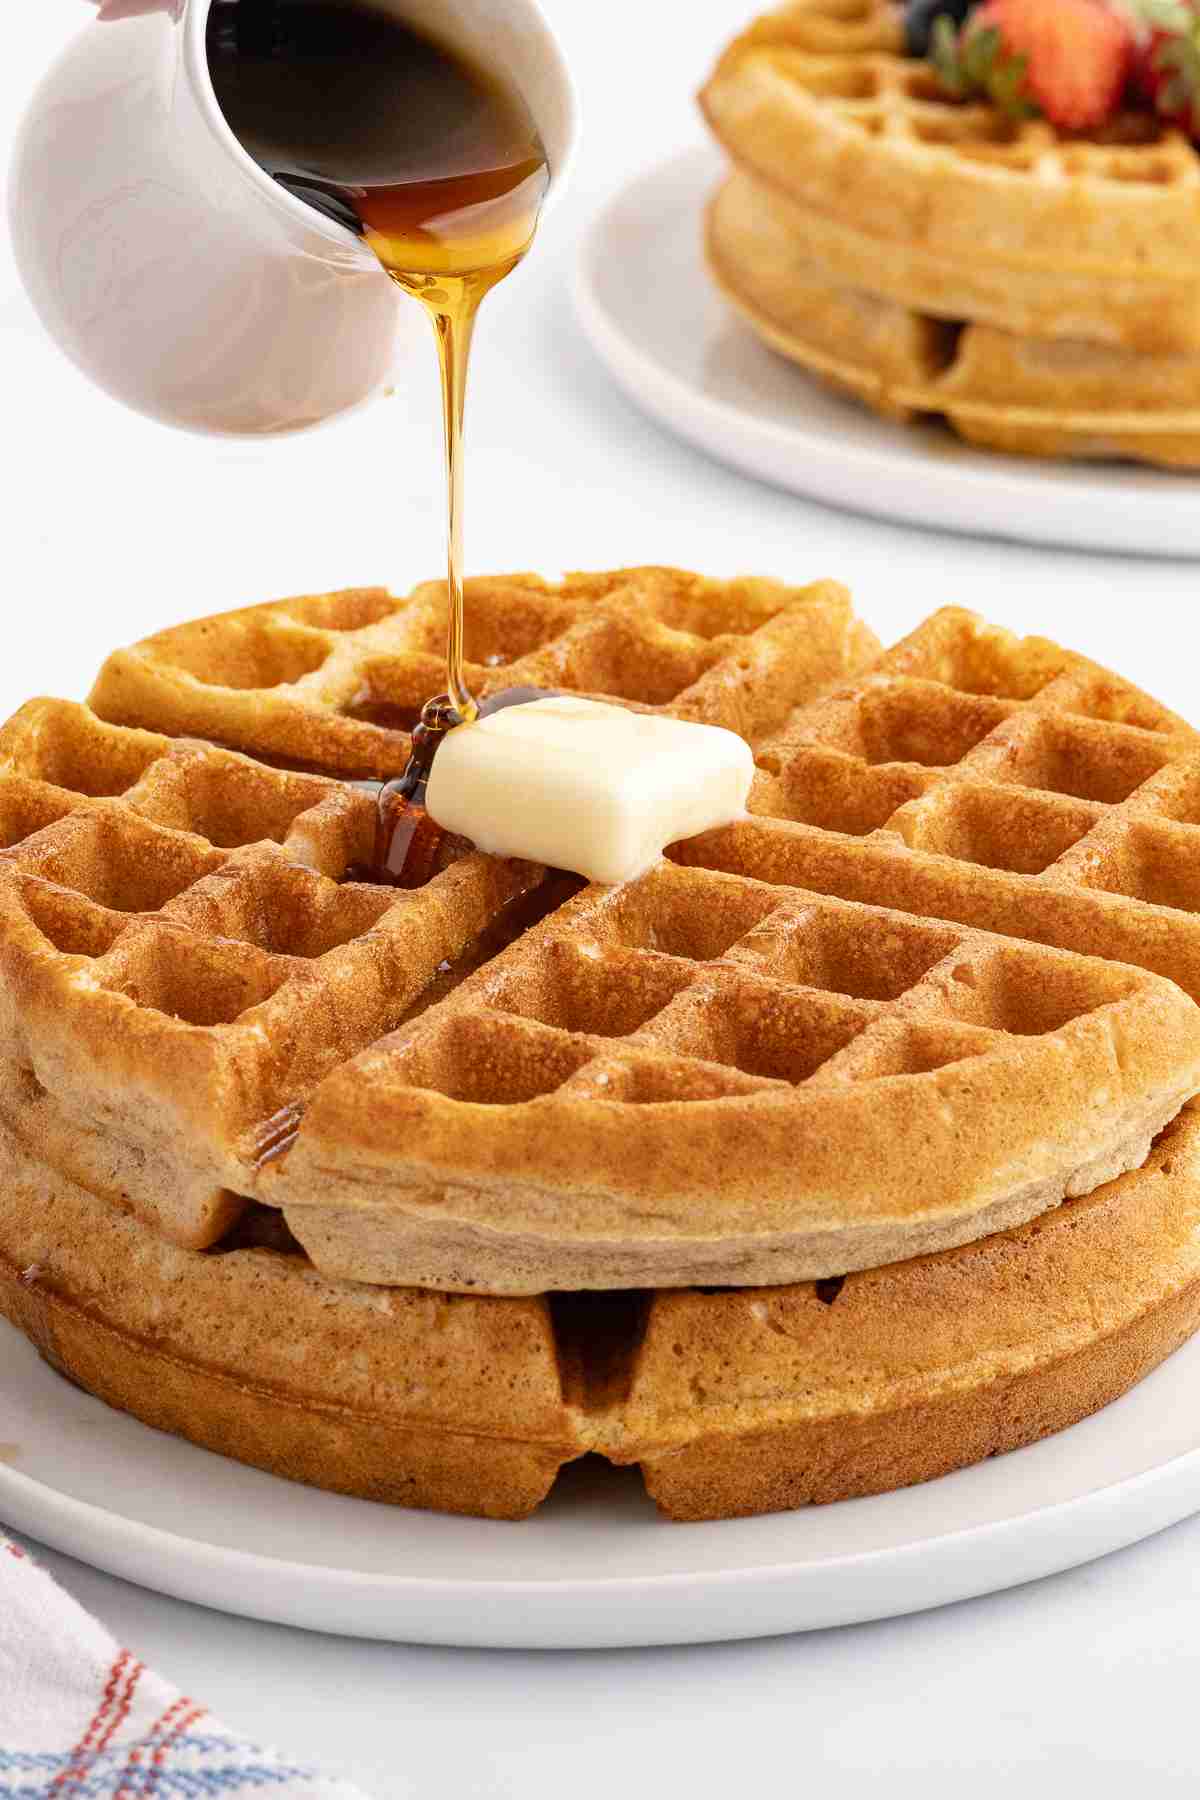
There’s nothing I love more than a good waffle, golden and crisp on the outside, tender on the inside, with those little pockets just waiting to catch a drizzle of maple syrup or a spoonful of fresh fruit. Fresh milled waffles give you exactly that, with all the fiber and nutrition of 100% whole grains.

Waffles have always been a weekend thing in our house. There’s something about fresh made waffles that makes a Sunday morning feel just a little more special. When I started using fresh milled flour, waffles were naturally one of the first things I made. I started out using my trusty recipe with sourdough discard and an overnight soak. That one is still a favorite but sometimes, I want waffles even when I didn’t think ahead.
I’m happy to say this recipe fills that gap beautifully. The batter comes together fast, the method is simple, and the fresh milled flour adds the depth of flavor that I love. No discard, no yeast, no whipping egg whites, and no planning ahead. To be clear, that means these aren’t traditional Belgian waffles. They’re more of an American-style waffle made in a Belgian waffle iron, and that’s exactly what I was going for. Not that there’s anything wrong with the traditional approach, but sometimes I just want quick and easy.
If you’re also a pancake fan, my fresh milled flour pancakes come together just as easily. I like to alternate pancakes and waffles so I love having reliable recipes for both!
Fresh Milled Belgian Waffles
Who knew whole wheat anything could taste this delicious? The whole grain flavor adds a subtle nuttiness that pairs so well with classic waffle toppings, and the texture holds up perfectly. Whether you sprinkle them with powdered sugar, drizzle with pancake syrup or smother them in peanut butter (as I do!), these waffles can take it.
And if you’re just getting started with fresh milled flour, this is a great recipe to try. It’s forgiving, straightforward, and comes together quickly. If you’re new to milling your own flour, my Getting Started with Fresh Milled Flour guide is a great place to start.
Tips for Success
- Don’t overmix the batter. A few lumps are completely fine. Overmixing develops too much gluten and can make the waffles tough rather than tender.
- Let the batter rest for about 10 minutes before cooking. Fresh milled flour benefits from a short rest to give the flour time to absorb the liquid.
- Grease your waffle iron even if it’s nonstick. A light brush of oil between each waffle helps you get that golden, crisp exterior and makes releasing the waffle that much easier.
- Don’t judge doneness by time alone. Waffle irons vary quite a bit. Watch for steam to slow down or stop and the waffle to release easily, then adjust from there based on how much color and crisp you personally like.
Ingredients
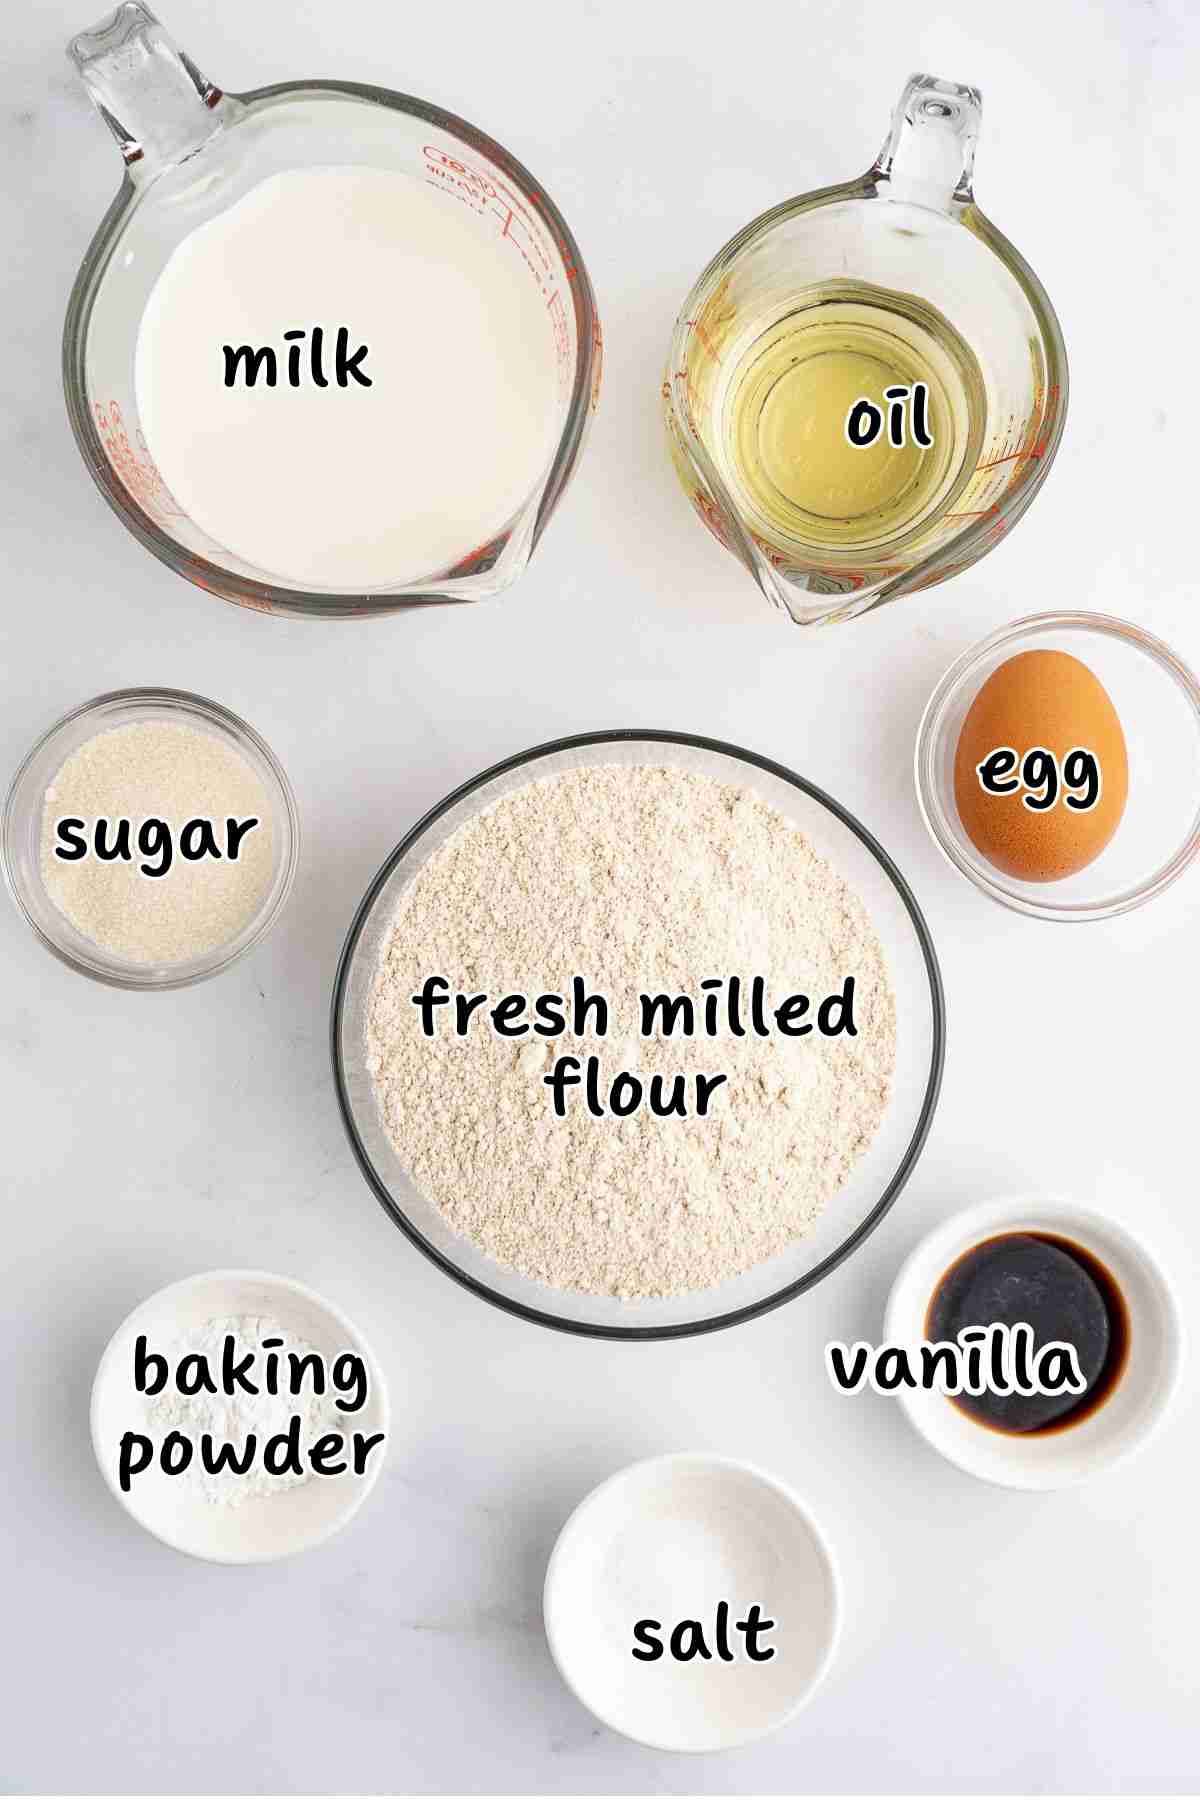
Key Ingredients
Flour: I used a soft white wheat for these waffles. The lower protein in soft wheat means these waffles stay fluffy and tender, with a light crisp crunch. I’ve also tried them with 50/50 hard and soft white and that also worked well. The 50/50 waffles had a little more structure but were still tender inside. You can’t go wrong either way. Feel free to experiment with your favorite soft grains or your own custom mix.
If you don’t have access to fresh milled flour, you can certainly use store-bought flour. I would recommend a white whole wheat flour, such as King Arthur Golden White Wheat flour. I would still let the batter rest a few minutes as whole wheat flour in general needs increased hydration time.
Sugar: The recipe calls for just a small amount of sugar so I used regular white sugar. Feel free to swap with your favorite granulated sweetener.
Milk: I used whole milk for this but any dairy or non-dairy milk will work.
Oil or butter: I have made this with both oil and butter. I usually stick to oil because it saves a step. But melted butter does add more flavor so pick whichever you prefer. Of course, you could also do half of each.
Vanilla: This is optional but adds a subtle flavor and a wonderful scent when cooking.
Other ingredients: You’ll also need basic pantry and fridge ingredients including one egg and salt.
Instructions
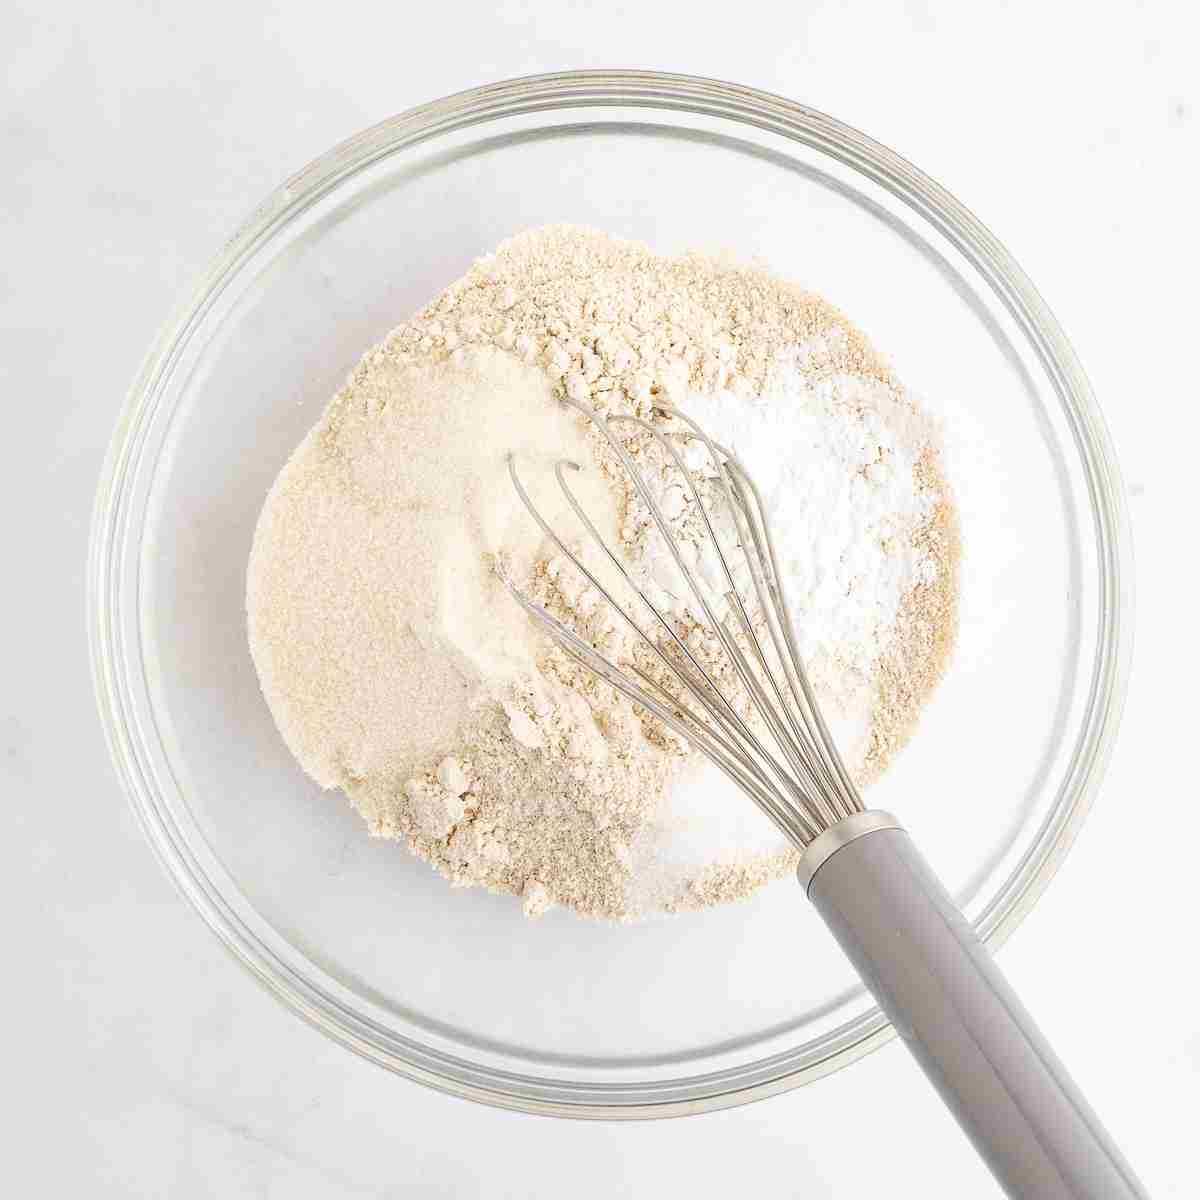
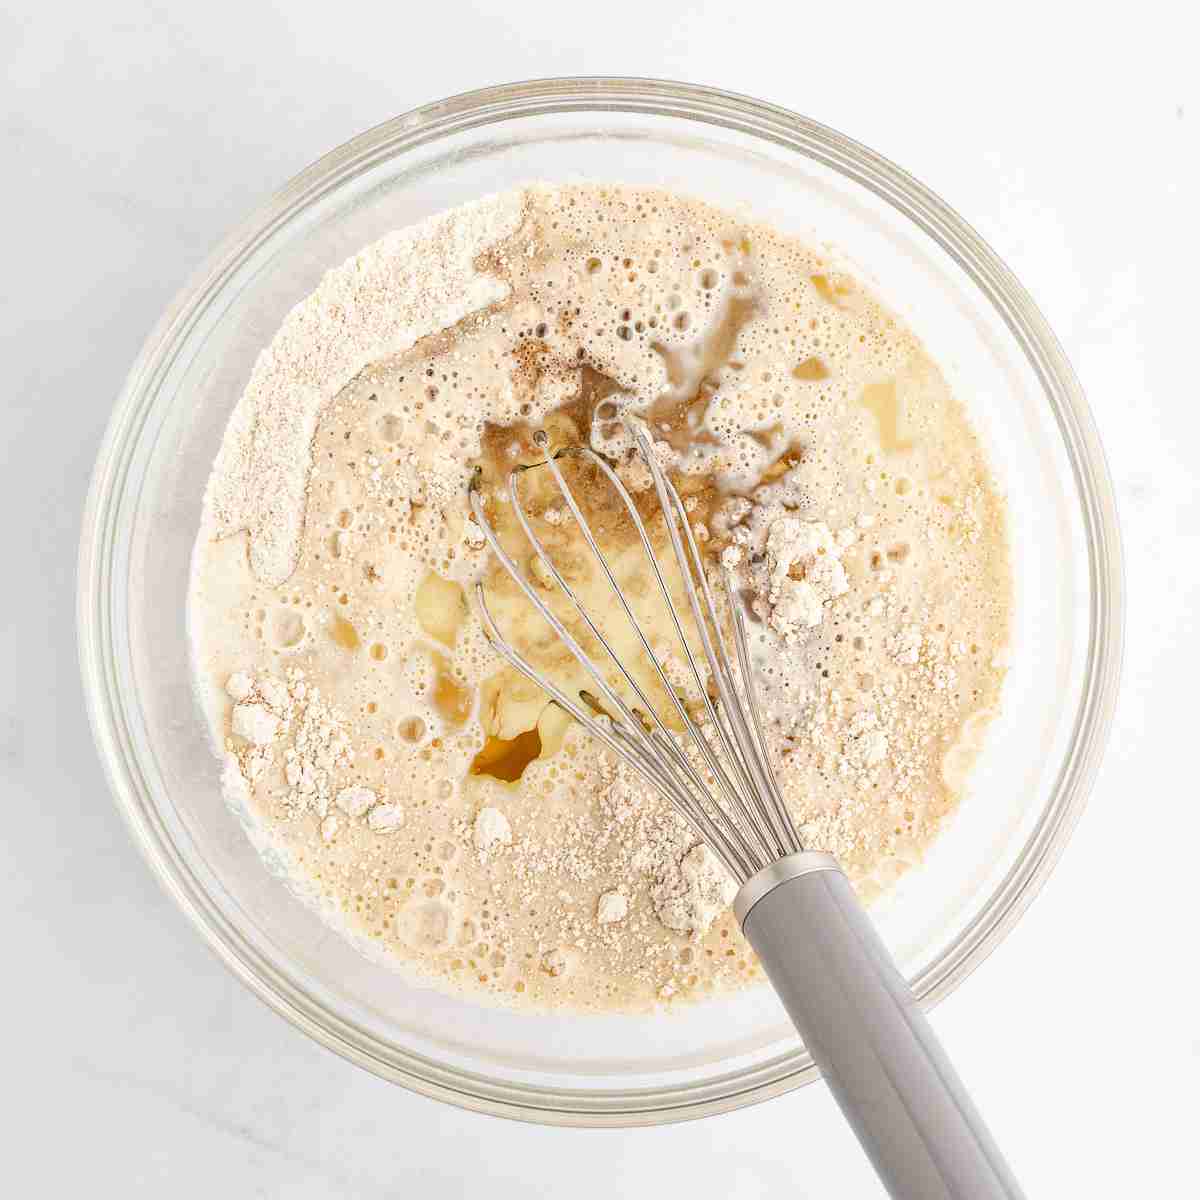
Step 1: Whisk dry ingredients together.
Step 2: Add milk, oil, egg and vanilla (if using).
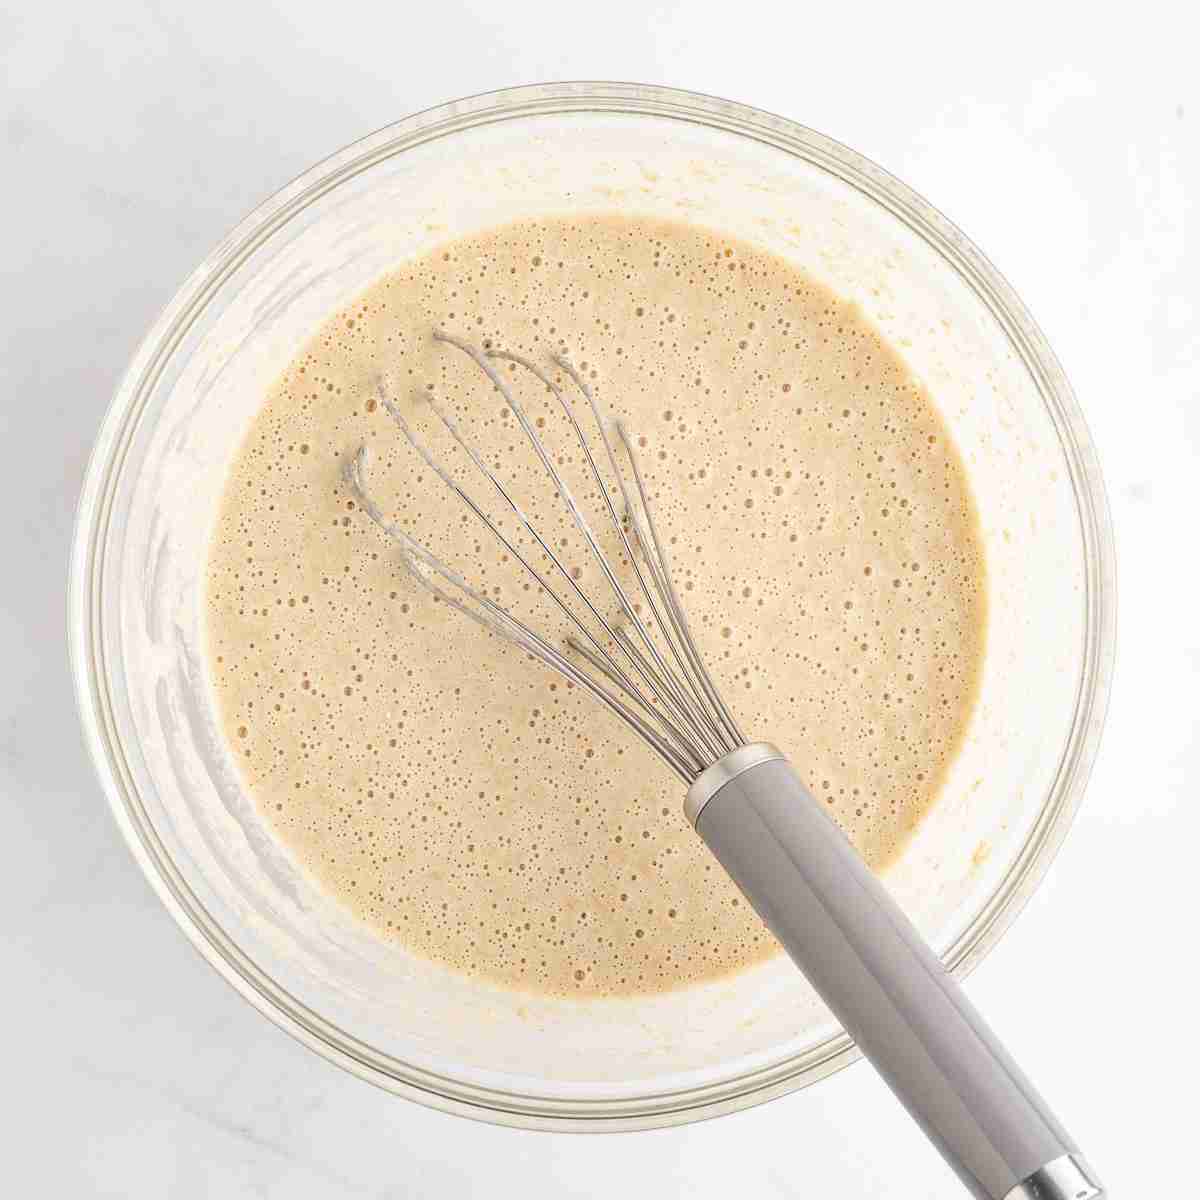
Step 3: Whisk just until combined. Some lumps are totally fine.
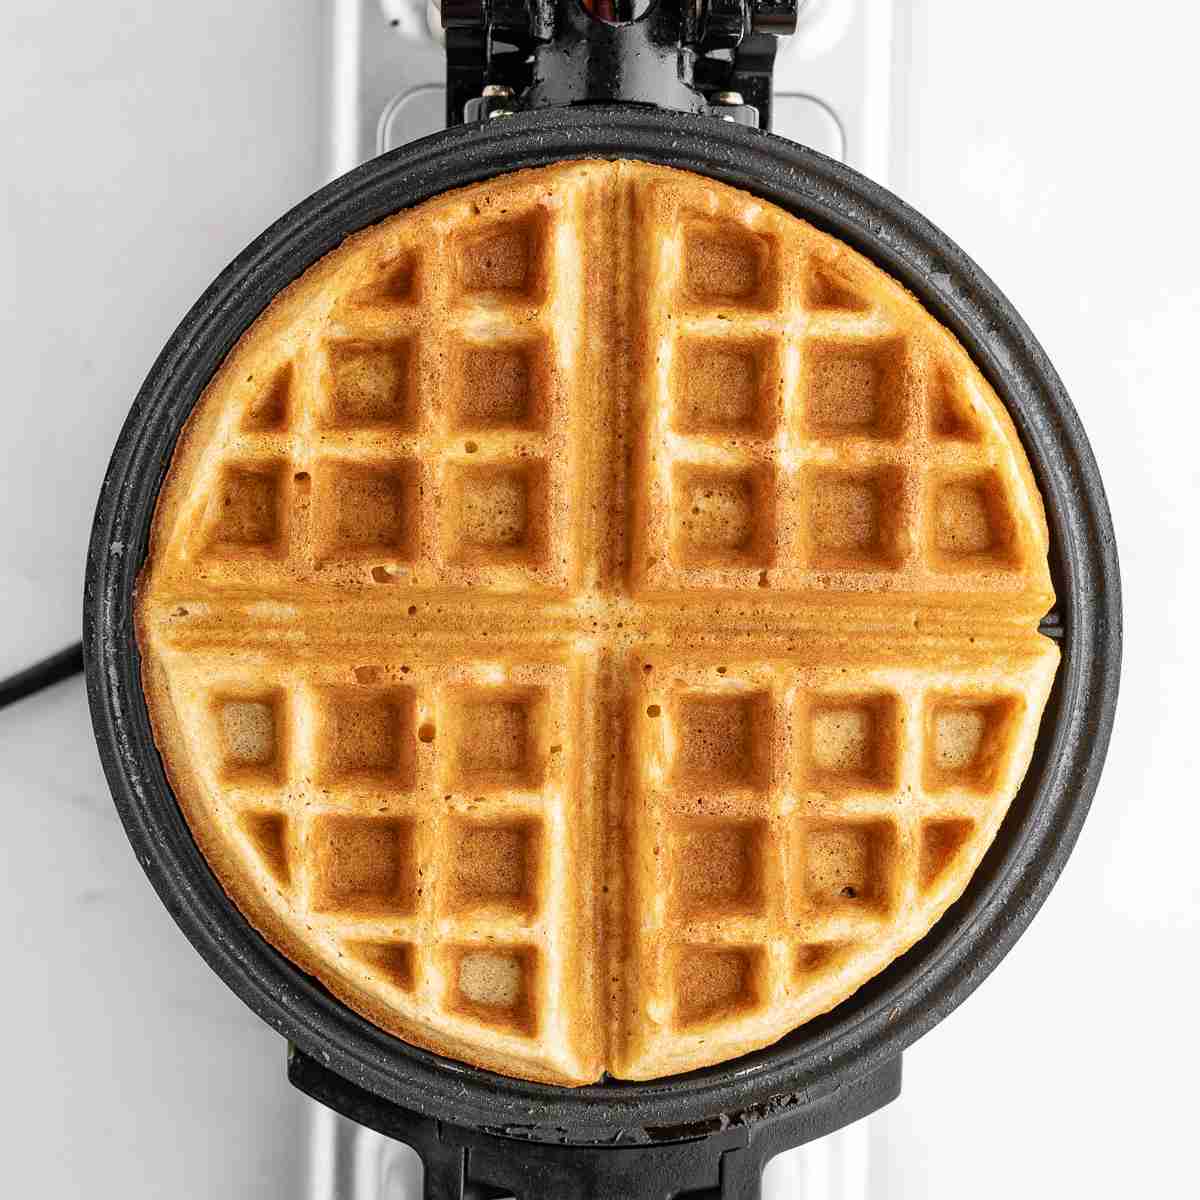
Step 4: Allow to rest and then bake in your waffle iron according to directions.

Topping ideas
One of my favorite things about waffles is how well they work with just about anything. Keep it classic with a drizzle of maple syrup and a pat of butter, or go a little more indulgent with fresh berries and whipped cream. Peanut butter with honey or maple syrup is another personal favorite. If you want something a bit different, try topping each waffle with a combination of well-drained pineapple tidbits, shredded coconut (sweetened or not – your choice) and chopped walnuts. So good!

Storage
Refrigerator: Store completely cooled waffles in an airtight container for up to 3 days. Reheat in a toaster or toaster oven to bring back some of the crispness.
Freezer: My preferred storage method for leftover waffles. Let them cool completely, then lay them flat in a single layer on a baking sheet to freeze for about an hour or two. Once frozen through, wrap them individually in plastic wrap and then in foil or in freezer safe bag or container. They’ll keep well for at least 2-3 months. Reheat straight from frozen in the toaster or toaster oven for best results.
I like to use low heat on my toaster for 2-3 cycles (flipping each time) for gentle heating throughout.
FAQs
Can I use other grains besides white wheat?
Of course! I haven’t tested with any other grains at this point but I’m sure it would work fine. You might try spelt, Kamut, Einkorn, or your own custom blend. You may need to adjust the liquid a bit, depending on the grains you use. After the 10-minutes rest, the batter should be pourable, not thin and watery.
Can I use a different type of waffle iron?
Absolutely, though I should mention I’ve only tested this on my Cuisinart double Belgian waffle iron. That said, this batter should work fine in any waffle iron, whether electric or stove-top. Just keep in mind that the amount of batter will vary depending on your specific model.
Why are my waffles sticking to the iron?
Make sure the waffle iron is well heated. Brush very lightly with oil and then close and allow the oil to sit a few seconds before opening and pouring in the batter. Don’t open the iron too early. Wait until the steam slows down before opening. If your iron has an indicator light, use that as a signal. For best results, allow the waffle iron to heat up again for a minute or so between waffles. Sometimes it requires a little trial and error before figuring out the best temperature and time on your equipment.
Other Recipes You Might Enjoy:
Fresh Milled Buttermilk Pancakes
Fresh Milled Apple Cinnamon Crumb Muffins

Fresh Milled Flour Waffles

Ingredients
- 1 3/4 cups (210g) fresh milled flour (I used soft white wheat)
- 2 teaspoons baking powder
- 1/2 teaspoon salt
- 1 tablespoon sugar
- 1 egg
- 1 1/2 cups milk, lukewarm (100°-105°F)
- 6 tablespoons oil or melted butter
- 1 teaspoon vanilla extract optional
Instructions
- In a large bowl, whisk together the flour, baking powder, salt, and sugar.
- Add egg, milk, oil and vanilla. Whisk just until combined. A few small lumps are fine.
- Allow batter to rest for about 10 minutes while the waffle iron preheats.
- Cook the waffles as directed in the instructions that came with your waffle iron.
- Serve immediately or keep warm in a 200°F oven while you finish the batch. Ideally, use a cooling rack on a baking sheet (or place directly on oven racks) so the waffles retain their crispness.
Notes
Pin This For Later