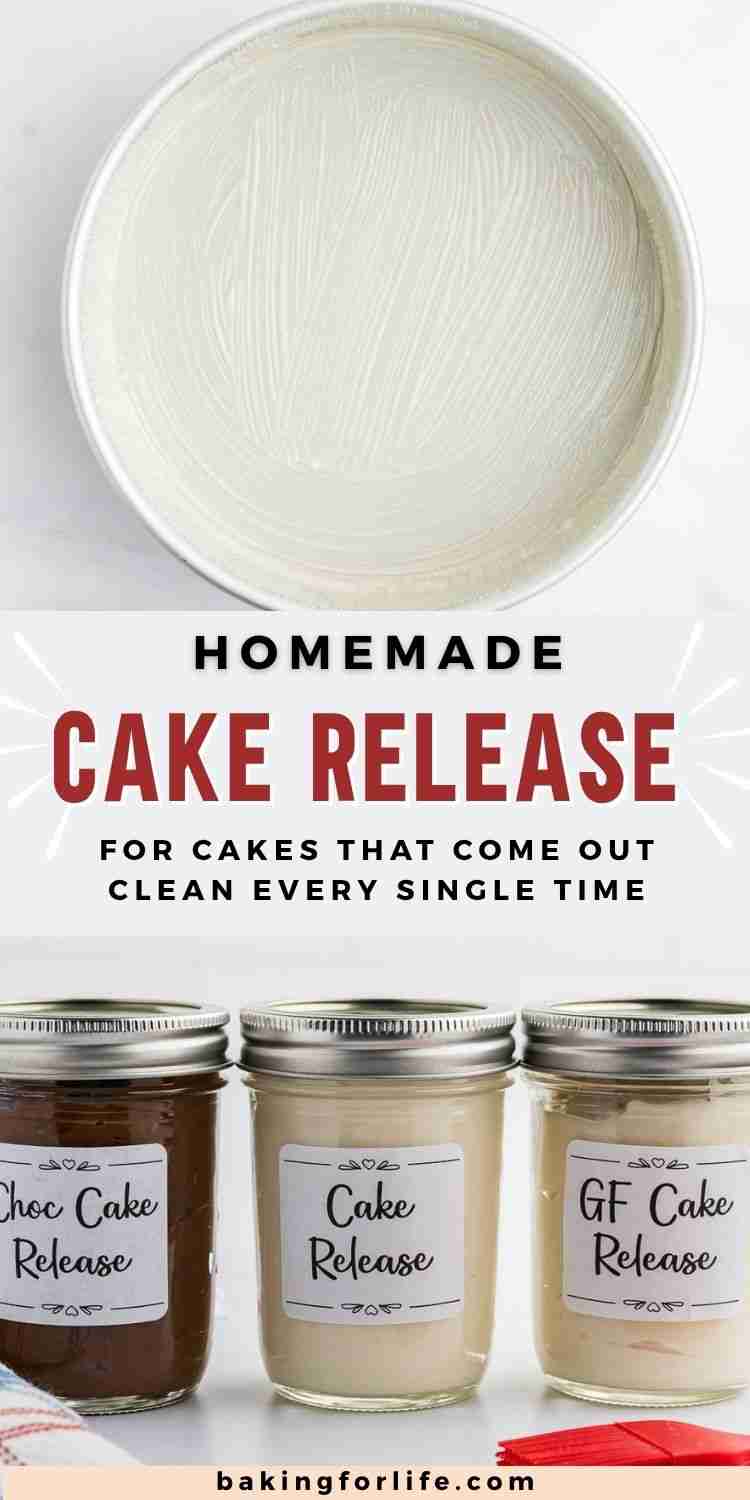
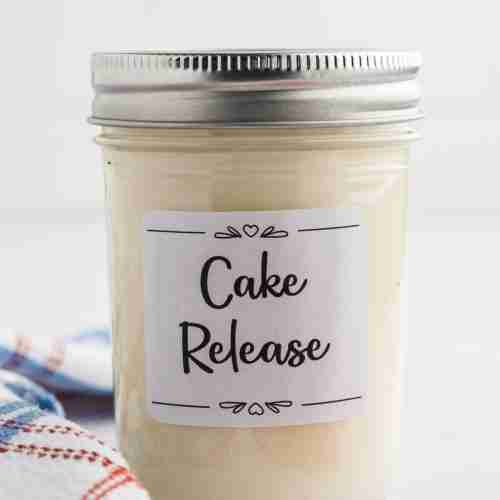
Don’t you hate it when layer cakes stick to the pan? Me too! But with this easy cake release recipe, that is a thing of the past. No parchment circles. No greasing and flouring every single pan. Just a quick swipe of this paste and your cake releases clean, every single time. That’s the promise of homemade cake release, and after using it for about a decade, I can tell you it works.
Some people call it “cake goop,” I call it “cake release,” but you can also call it magic. Just three simple pantry ingredients you mix up in minutes and spread on the pan. It doesn’t get easier than this.
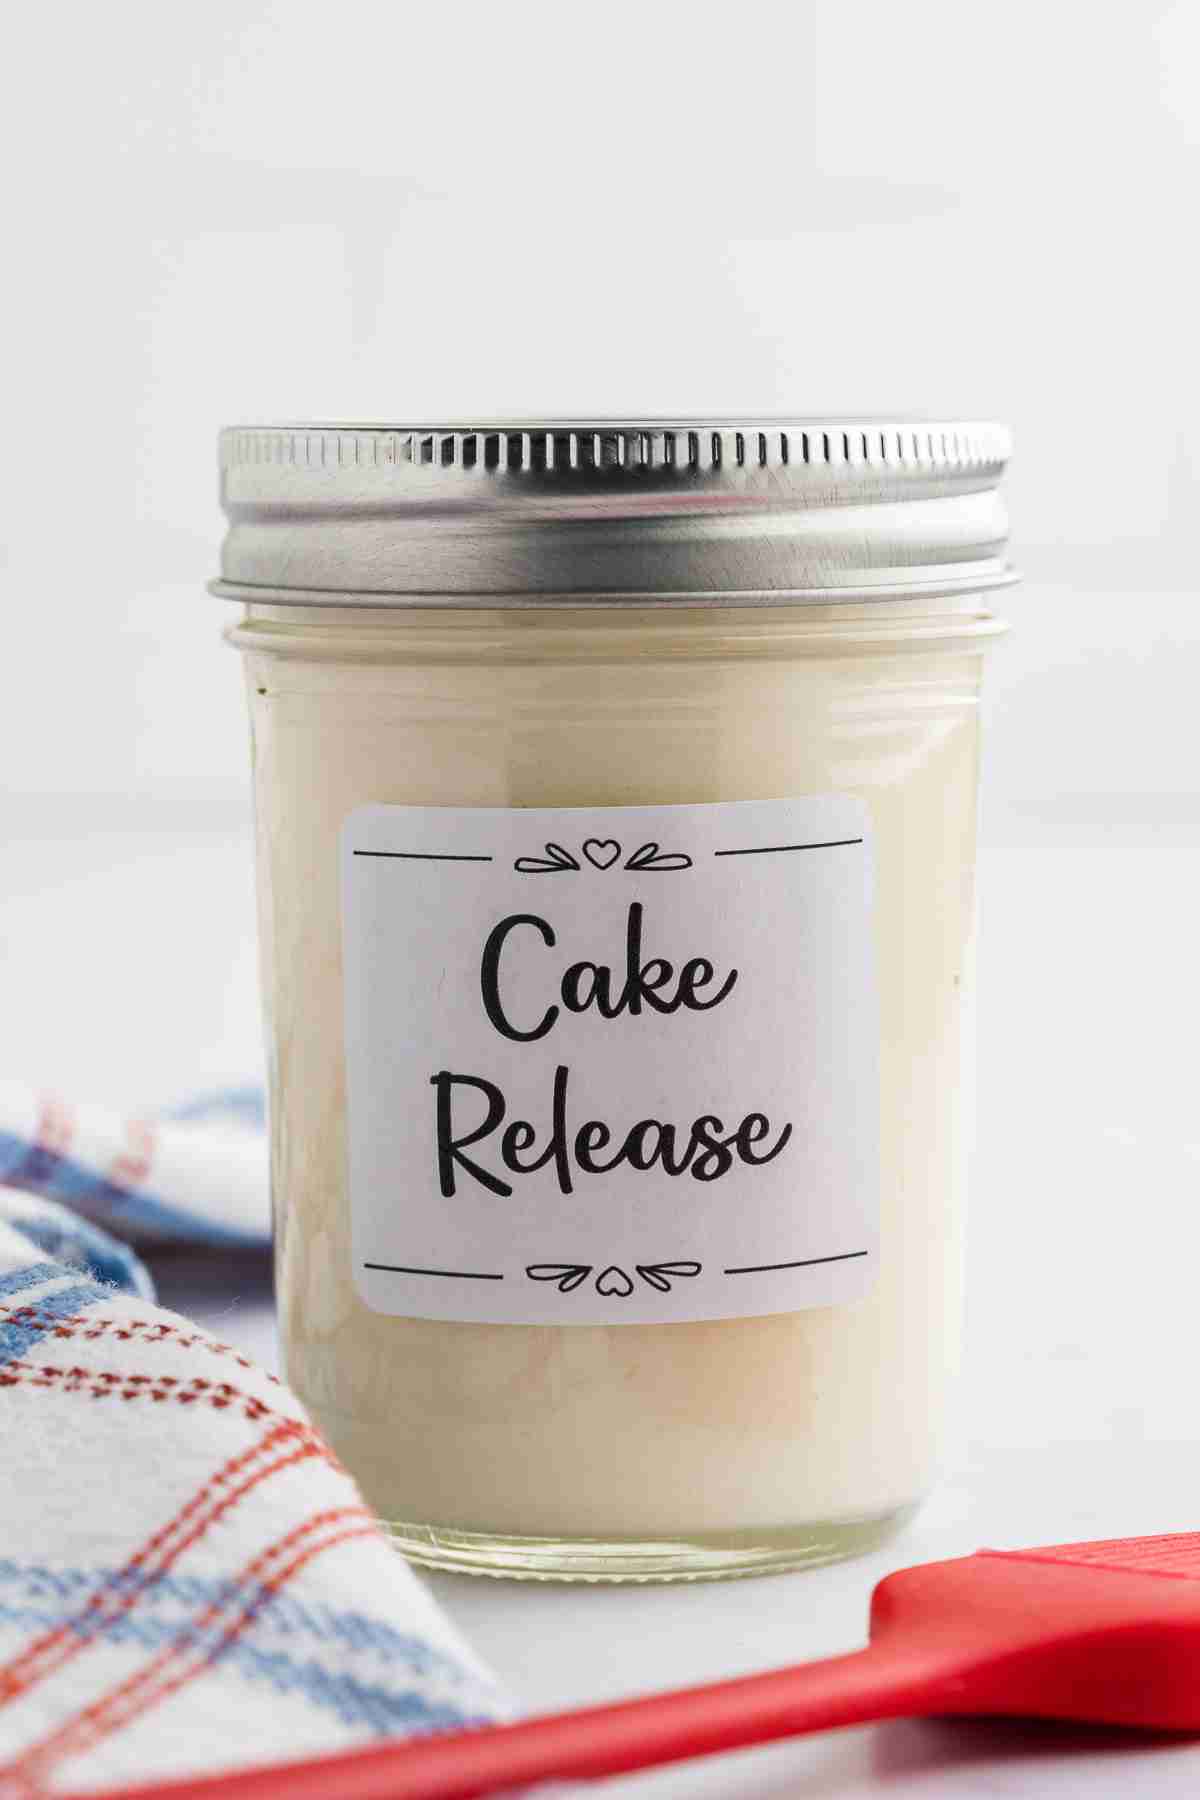
For years, I relied on store-bought cake release, a small bottle from a well-known brand that worked great but felt pricey for the amount you got. When I heard about this homemade version, I gave it a try and have never looked back. It just works.
Honestly, I’ve always hated the grease-and-flour step, and I dislike cutting out parchment circles even more. I know I could buy pre-cut parchment circles, but then I’d have to keep a couple different sizes on hand AND actually remember where I put them. It always felt like too much hassle. This homemade release solves all of that.
Homemade Cake Release Recipe (aka Cake Goop)
If you’ve ever wrestled a cake out of the pan only to watch chunks of it stay behind, this one’s for you. This cake release takes the guesswork out of pan prep entirely. No more measuring parchment against the bottom of a pan, no more messy grease and flour step, no more crossing your fingers when you flip it out. Just a thin, even coat and your cake lifts out clean, every time. I used this on my Fresh Milled Yellow Cake and it worked like a charm, as usual.
It’s also very convenient. Since it keeps in the fridge for months, you can mix up a batch once and have it ready to go whenever a baking mood strikes. And when you do run out, it’s easy to whip up more, using basic pantry ingredients you likely already have on hand.
Tips for Success
- I like to use the same measuring cup for each ingredient, no need to wash it between. First measure the flour and place in the mixing bowl, then the oil, and then the shortening. This makes it extra quick and easy.
- The paste may have some separation after being stored for a time. Just give it a stir to combine and it’s ready to use.
- For best results, use a pastry brush to spread a thin, even coating over the pan.
- This paste makes cakes release cleanly, but it doesn’t replace cooling time. Let your cake sit in the pan for about 10 minutes (or as directed by your recipe) before flipping it out. The cake needs that time to set up, or it can still break apart even with a well-greased pan.
Ingredients
Key Ingredients
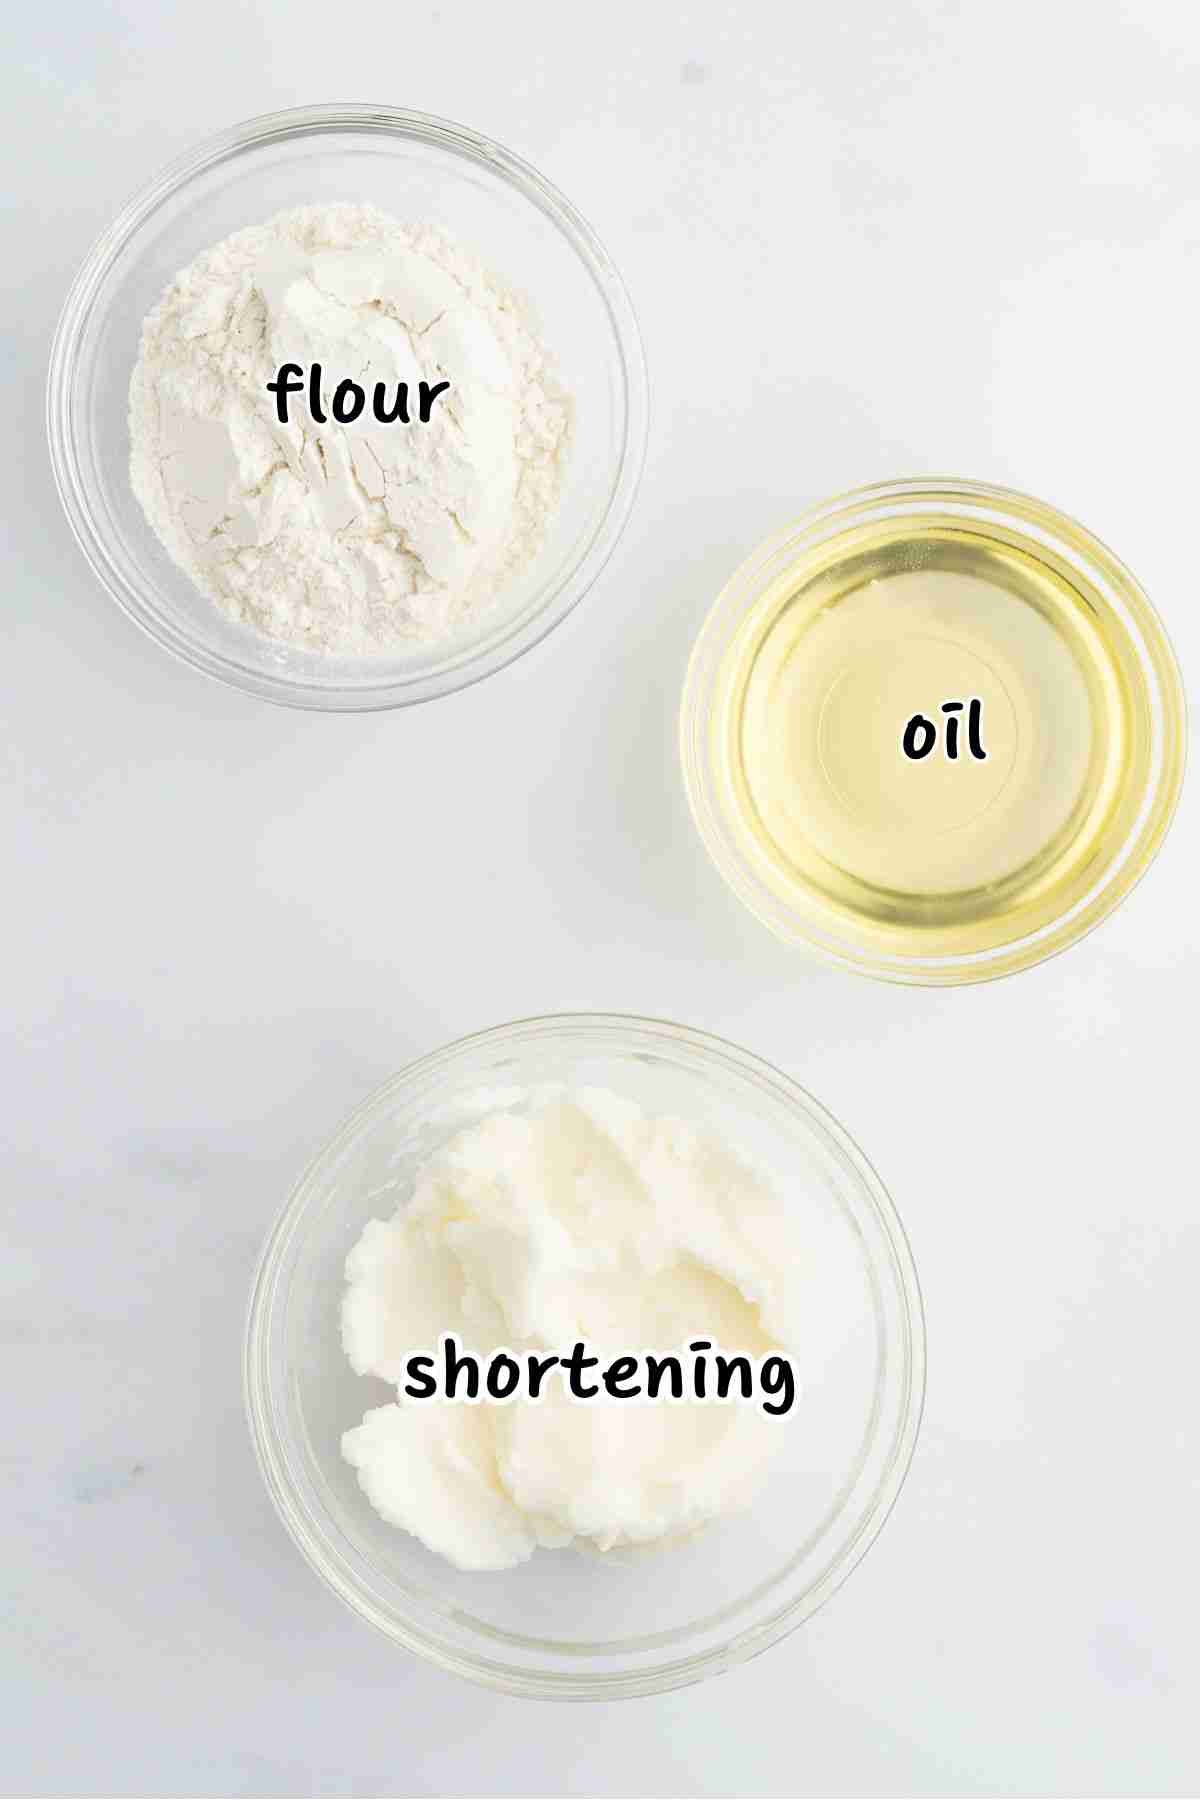
Shortening: I use plain, store-brand shortening. I haven’t tried swapping this for any other grease at this point.
Oil: Stick with a plain, neutral oil here since you don’t want any flavor coming through in your cake.
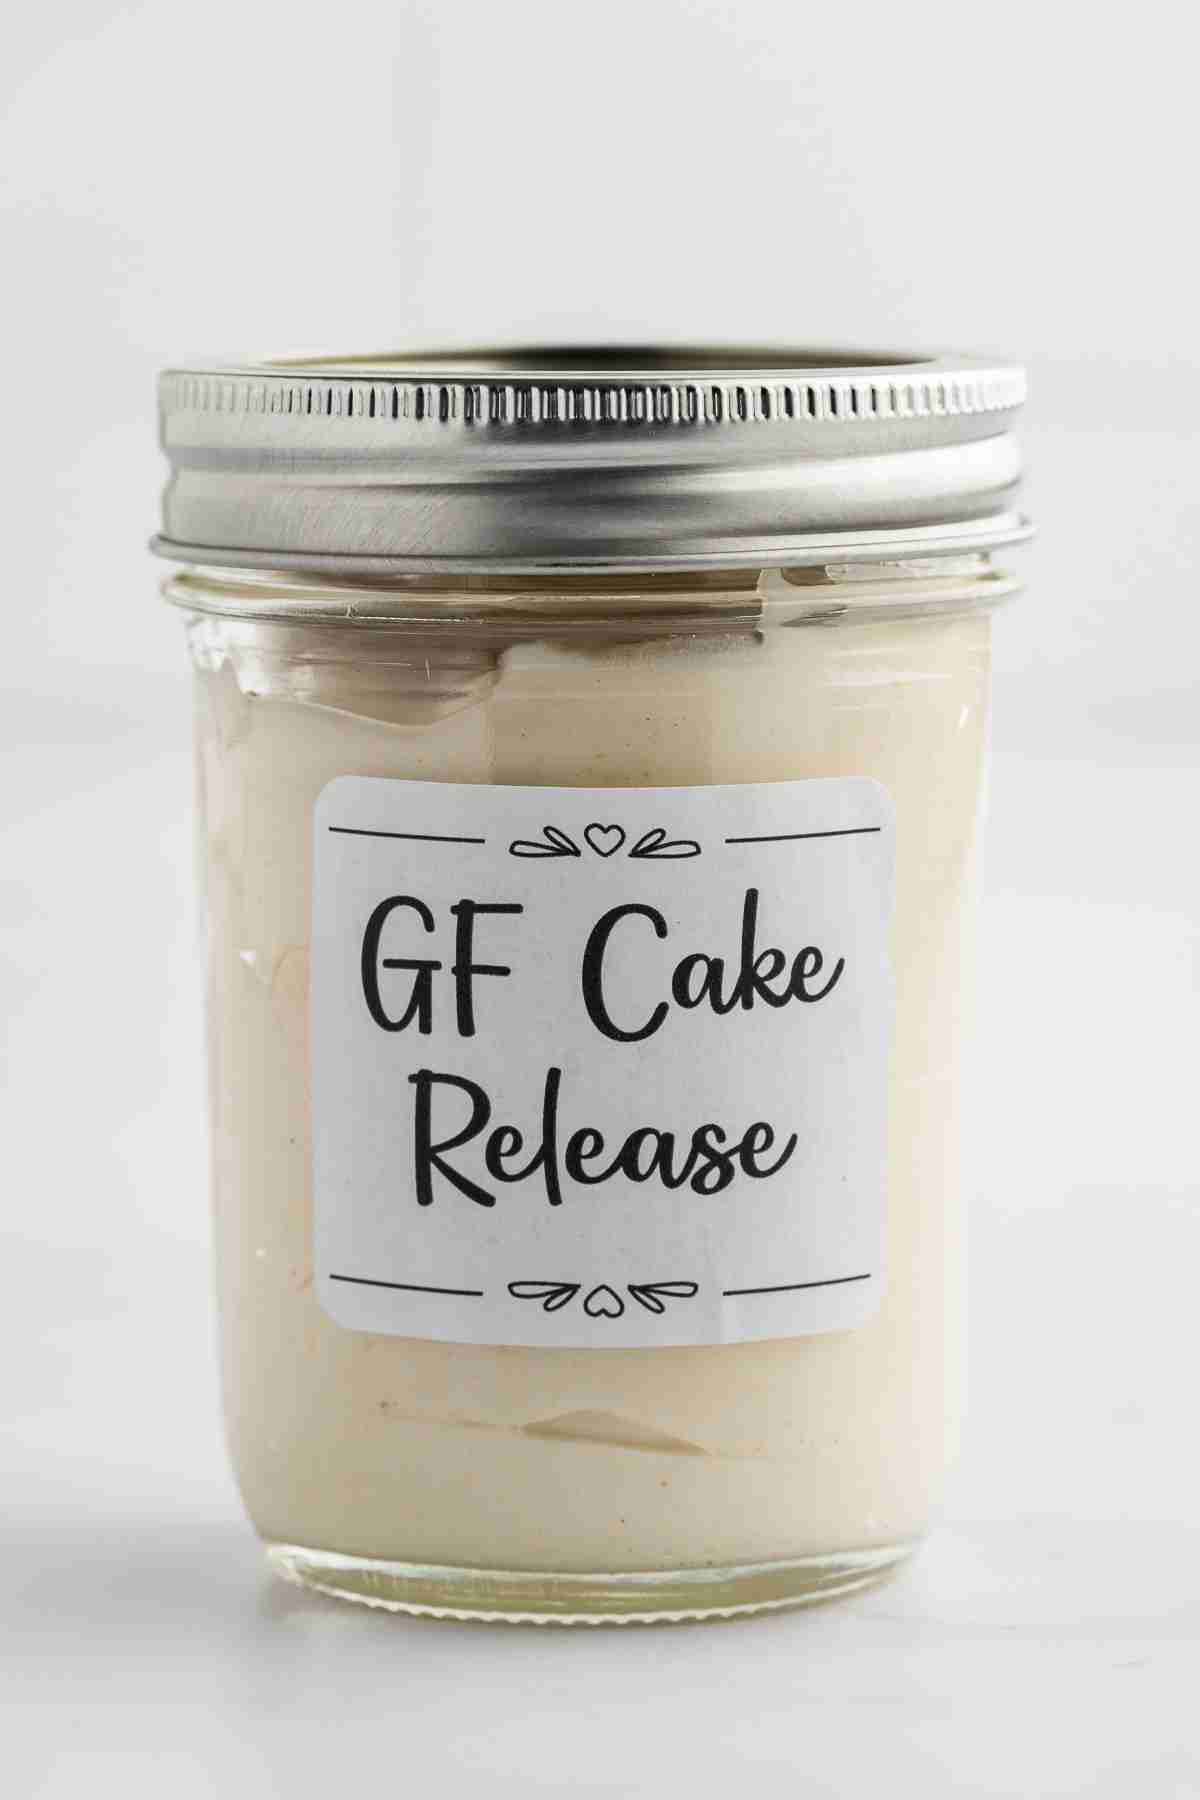
Flour: You need plain all-purpose flour for regular cake release. You can also use an all-purpose gluten-free flour if you need a gluten-friendly version. I have successfully used King Arthur Measure for Measure flour and that works perfectly.
For those of you with home mills, I did test a version with unsifted soft white fresh milled flour. It worked, but the bran pieces in the paste turned a bit toasty, which isn’t something I want showing up in a layer cake. Next time, I’d sift the flour first to remove the larger bran pieces before testing again.
Cocoa: Only needed for Chocolate Cake Release. Use any brand unsweetened cocoa powder.
Instructions
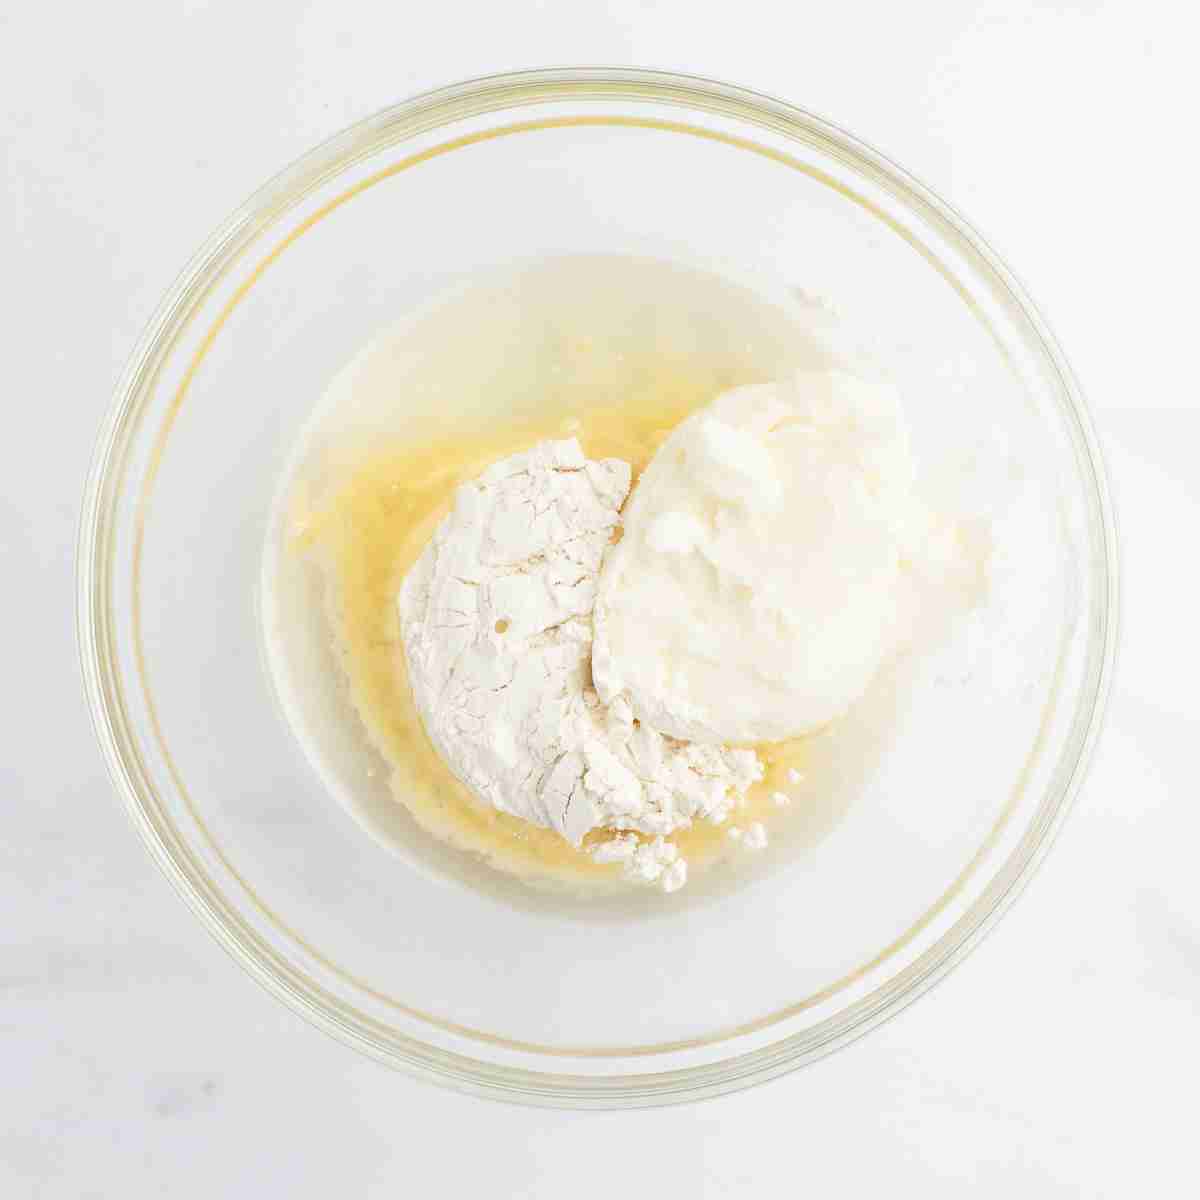
Step 1: Measure equal parts of flour, oil and shortening. Place all ingredients in medium bowl.
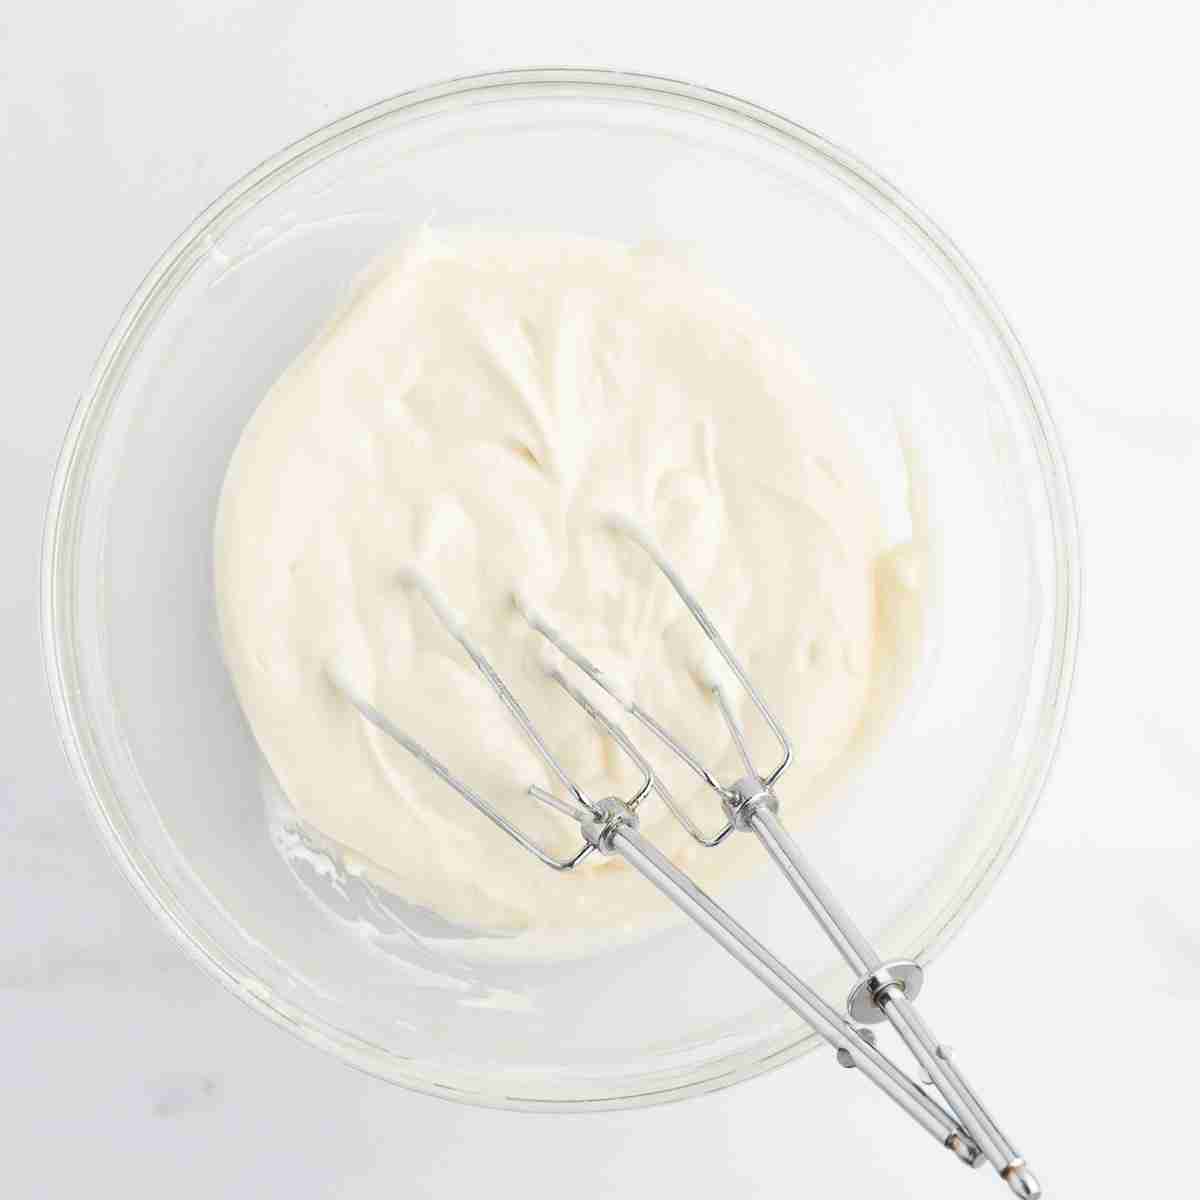
Step 2: Mix with hand mixer or with stick blender until completely smooth and creamy with no lumps.
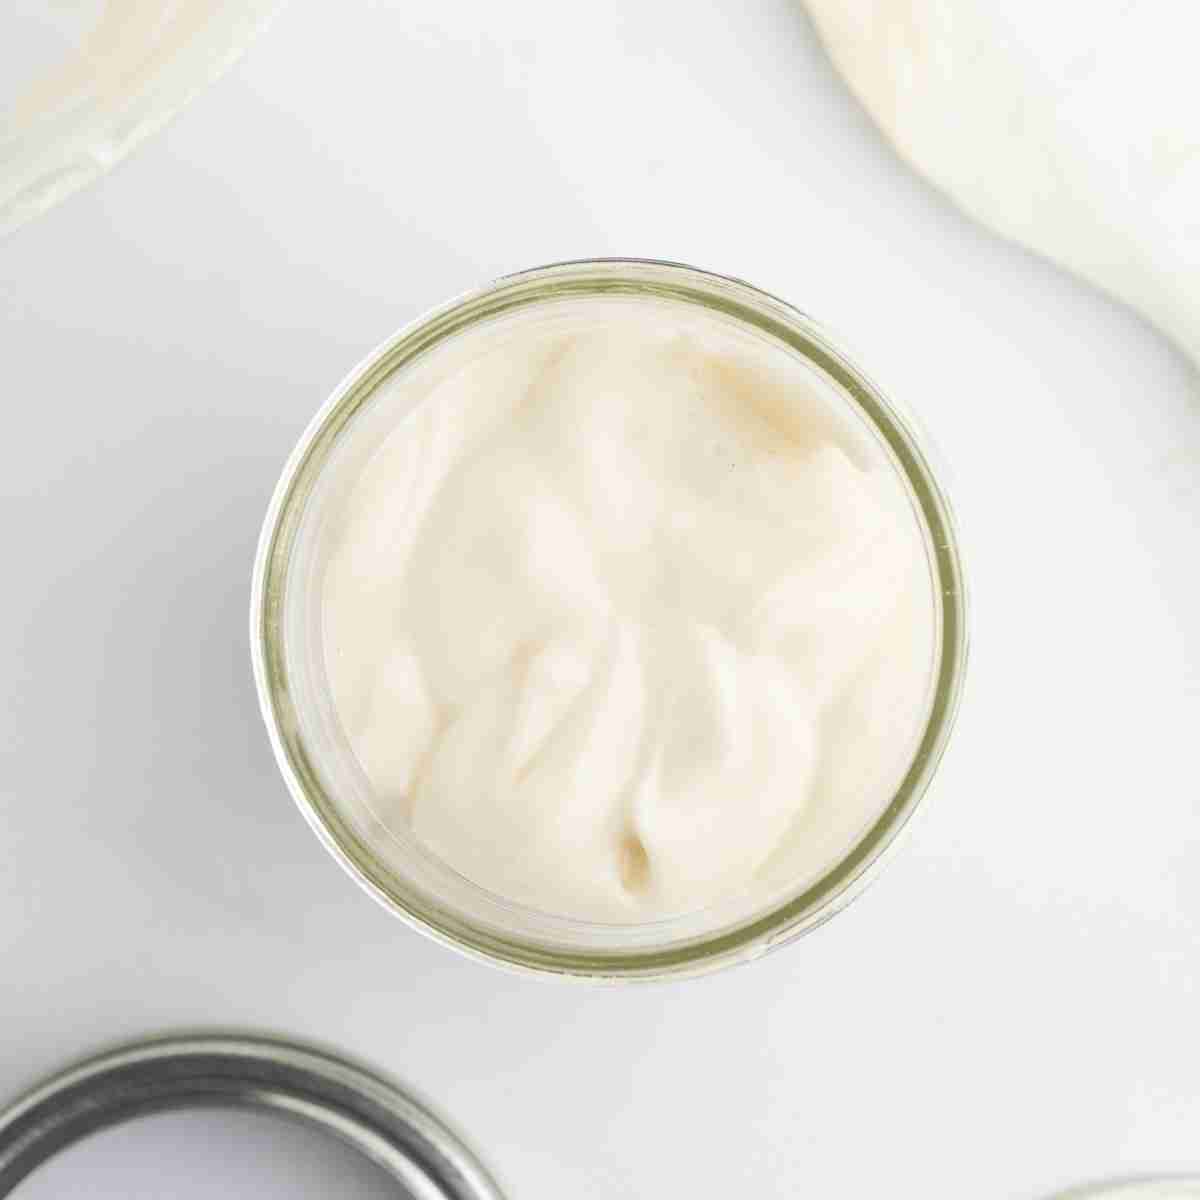
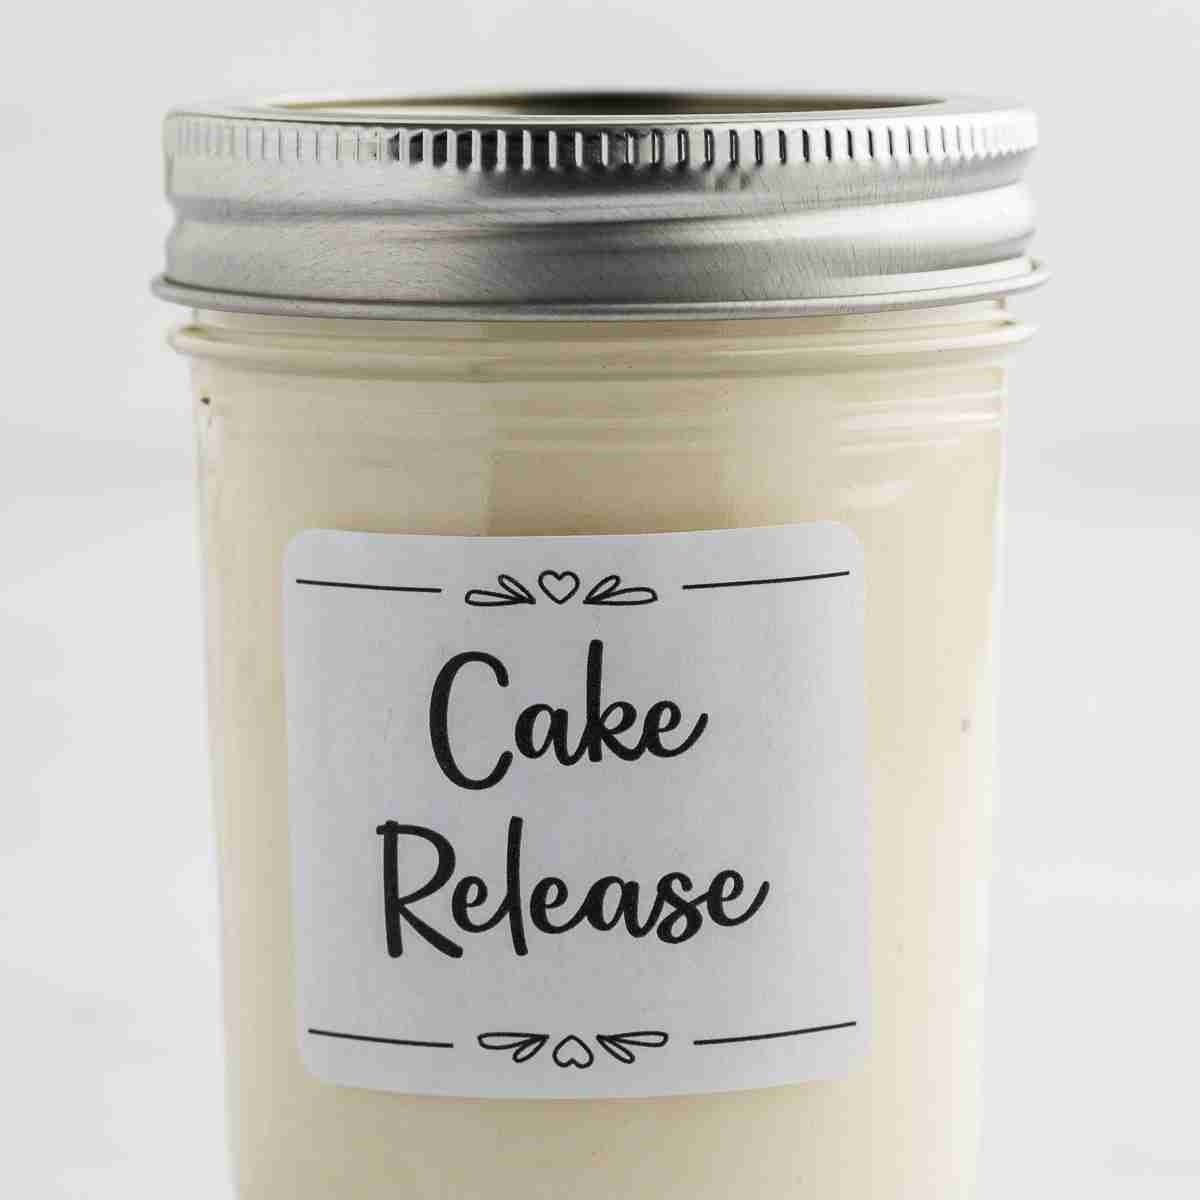
Step 3: Transfer to an appropriately sized container and top with lid.
Step 4: Use immediately or store in the fridge for later use.
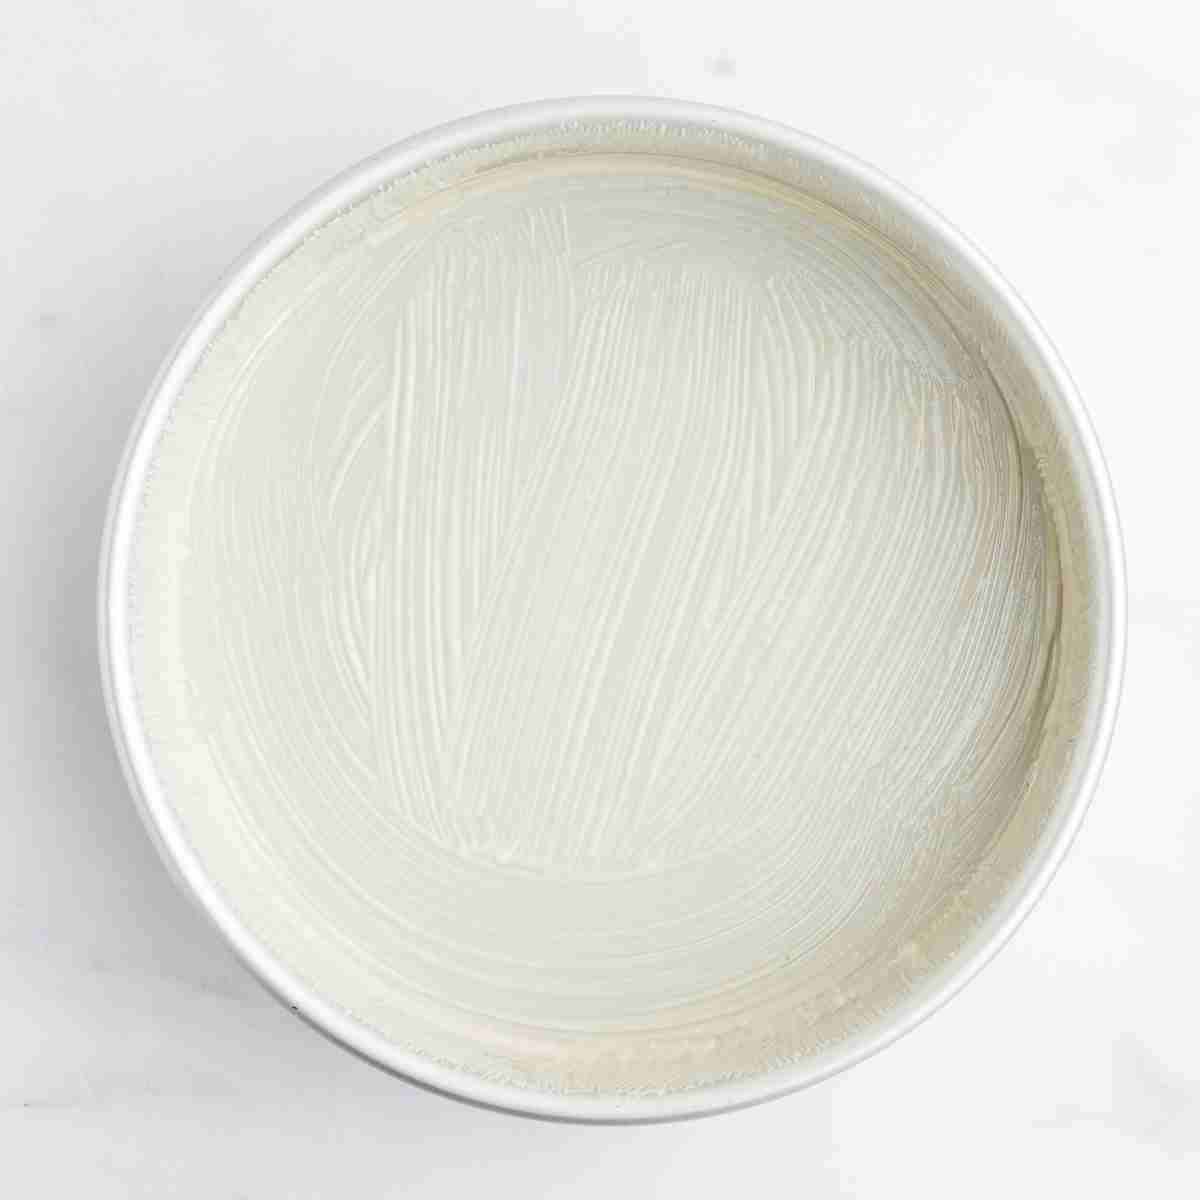
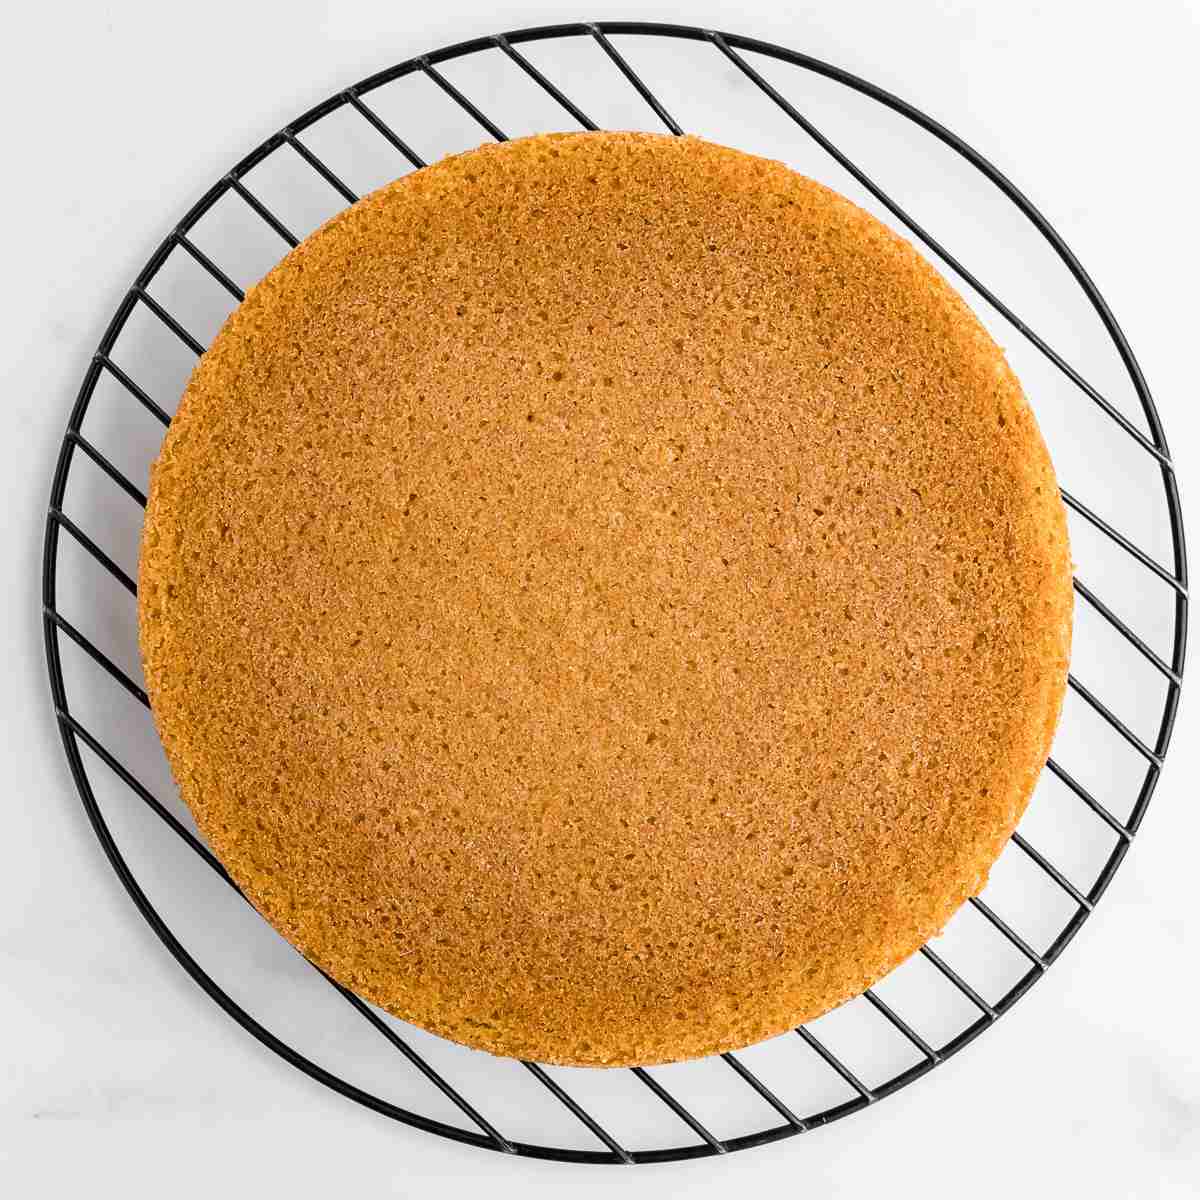
Step 5: To use, spread on cake pan using a pastry brush.
Step 6: After removing cake from oven, wait about 10 minutes (or as directed by recipe) and then remove cake from pan.
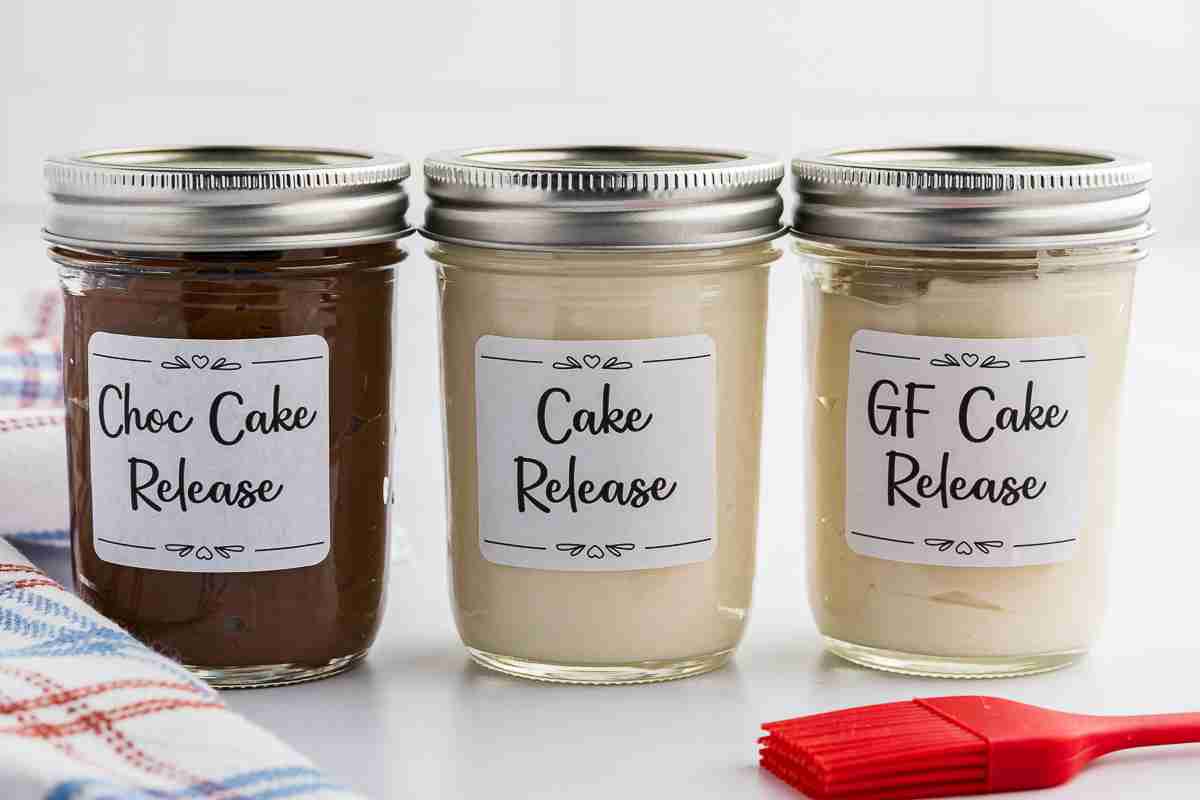
Chocolate Cake Release
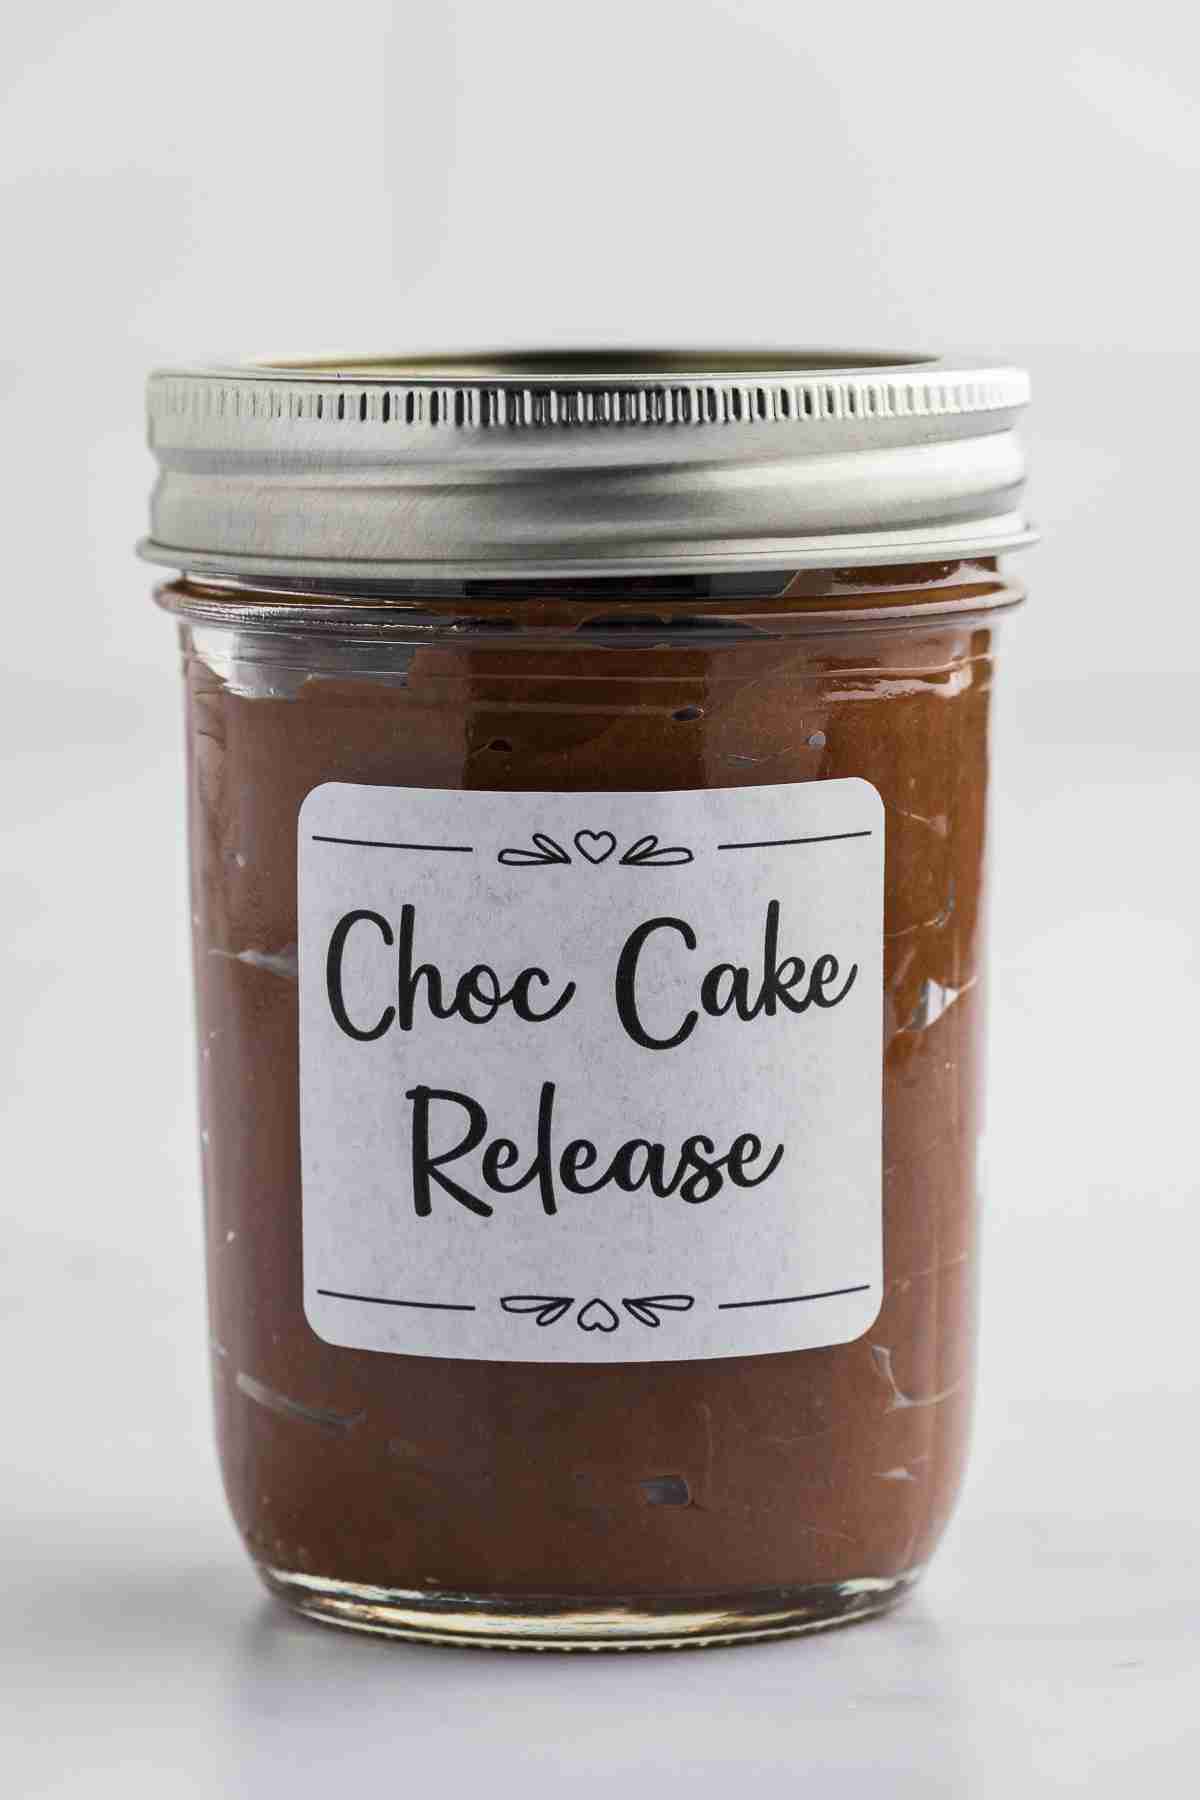
Regular cake release works just as well on chocolate cake, but it can leave a whitish film, similar to what happens when you grease and flour a pan. To avoid that, make Chocolate Cake Release instead. Simply replace half the flour with unsweetened cocoa powder and mix as usual. Problem solved.
Storage Instructions
Room Temperature: You can store in cool, dark place such as pantry or cupboard for up to 3 months. I personally always store mine in the fridge for even longer storage.
Refrigerator: Store in the fridge for up to 6 months. The consistency will be thicker but just stir it and apply straight from the fridge, no need to bring to room temperature first.
Freezer: I’ve never frozen mine, but if you only use it infrequently, freezing is a good option. It’ll keep safely for up to a year in a freezer-safe container. Just set it out at room temperature for 10 to 15 minutes to bring it back to a spreadable consistency.
FAQs
Can I use a different flour?
Plain all-purpose flour is what I use for regular cake release. An all-purpose gluten-free flour, like King Arthur Measure for Measure, works well too if you need a gluten-friendly version.
I have tested this with unsifted soft white fresh milled flour, and while it worked, the bran pieces turned a bit toasty, which isn’t ideal for a layer cake. If you want to try it with fresh milled flour, I’d recommend sifting out the larger bran pieces first.
Does this work on Bundt pans or pans with intricate details?
Yes, this works great on Bundt pans. Those intricate details and curves are exactly where cakes tend to stick, so a thin, even coat of cake release is especially helpful here. Just make sure to get into all the grooves with your pastry brush so every part of the pan is covered.
Can I double or halve the recipe?
Absolutely. Since this recipe is just a 1:1:1 ratio of flour, oil, and shortening, you can scale it up or down as needed. Just keep the same ratio for each ingredient.
Homemade Cake Release

Ingredients
- 1/3 cup flour all-purpose or gluten-free mix
- 1/3 cup neutral oil
- 1/3 cup shortening
Instructions
- Add all ingredients to medium mixing bowl.
- Using a stick blender or hand mixer, whip until completely smooth, about 1 to 2 minutes. A whisk or spoon works too, it just takes a bit more effort and time to fully combine.
- Transfer to lidded container and store until needed. See notes for storage instructions.
- To use, spread a thin, even coat over the pan(s) with a pastry brush.
Notes
Pin This For Later