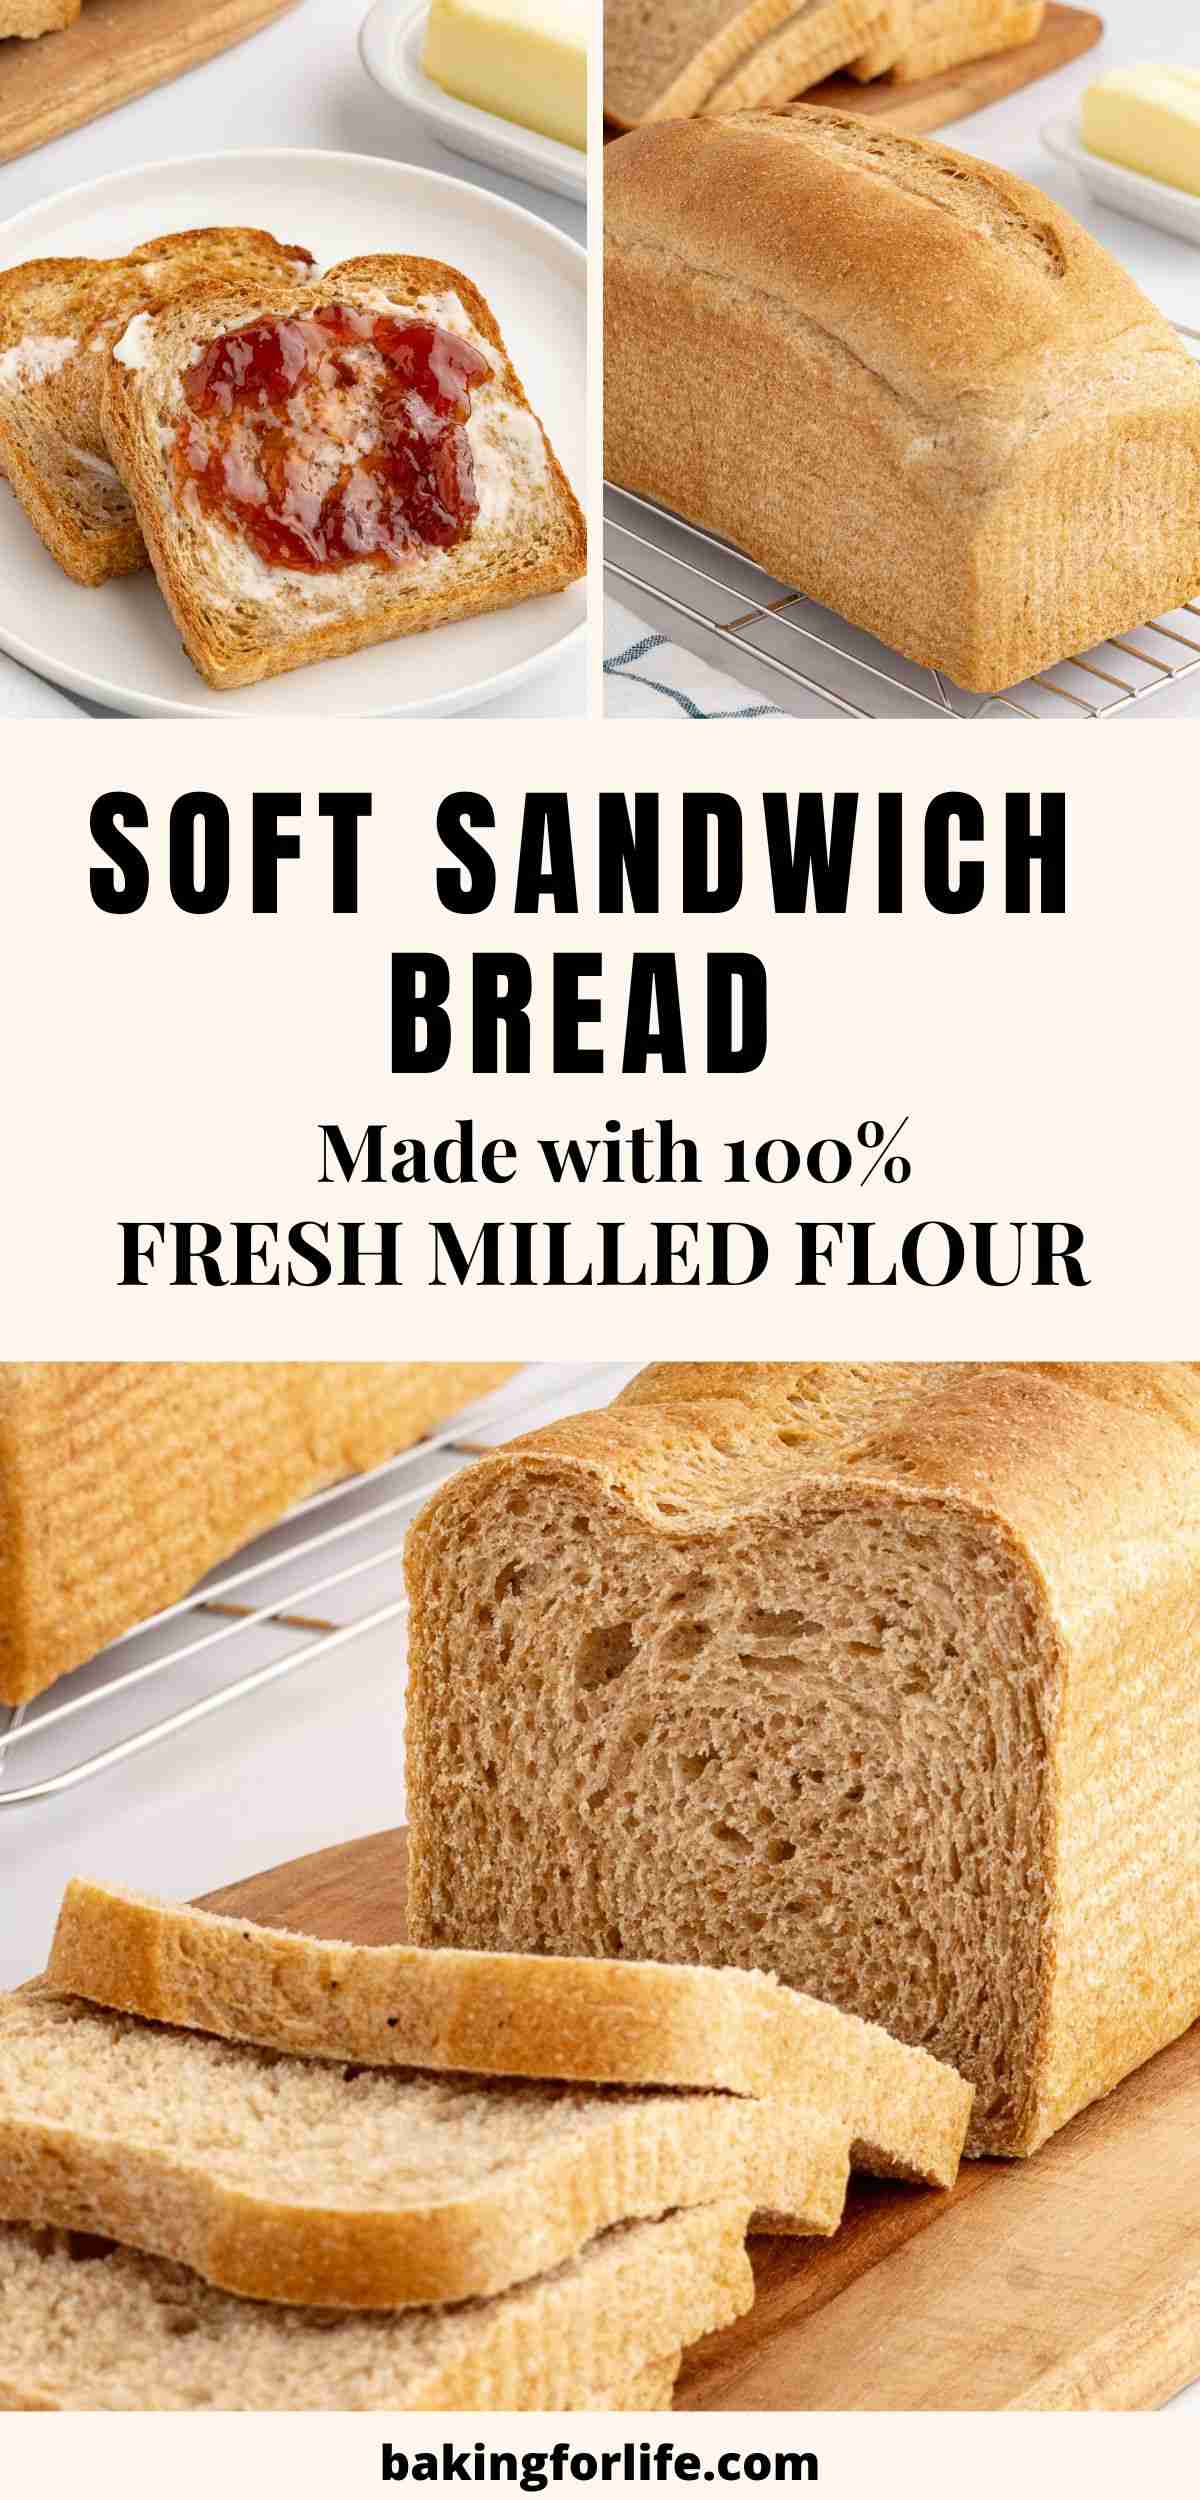
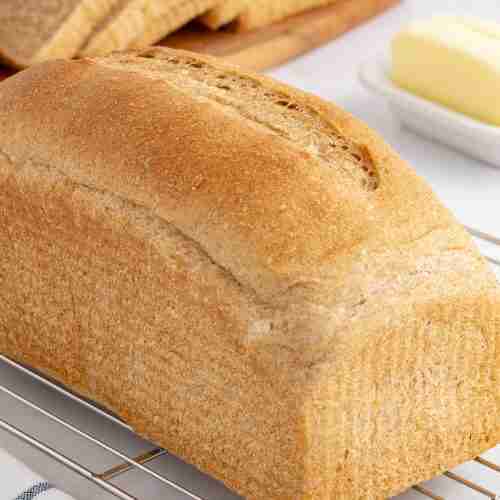
Soft, fluffy, and lightly sweet, this sandwich bread has the texture you want for a good sandwich, tender enough to fold without tearing, but sturdy enough to hold its shape. Imagine pulling two golden loaves from the oven, that fresh baked bread smell filling your kitchen, knowing you took whole wheat berries to finished bread in just a few hours. That’s what makes fresh milling worth it.
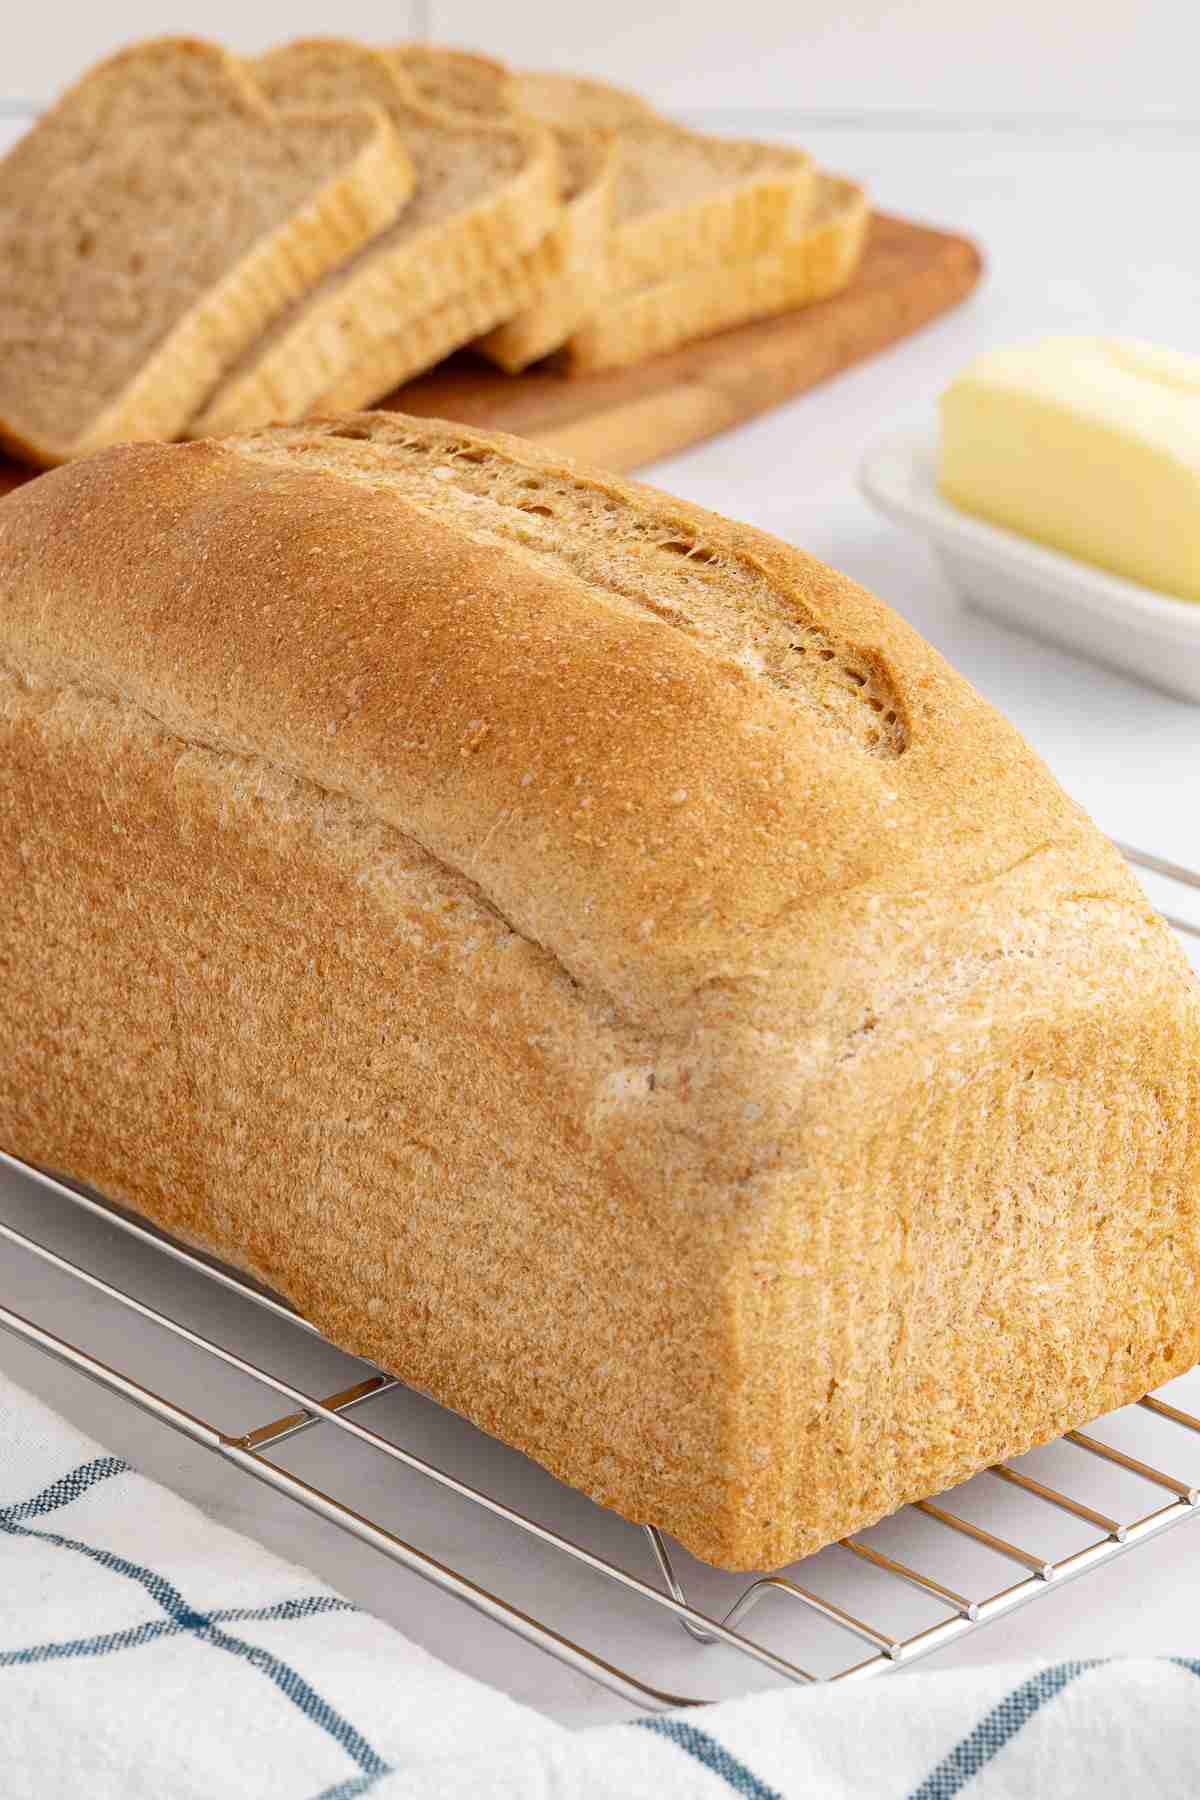
This is my go-to sandwich bread recipe. I’ve made it more times than I can count, and it’s the one I turn to week after week for soft, reliable bread that we love to eat day in day out. There’s something so special about knowing exactly what went into it, and keeping all the nutrition and freshness of the wheat makes the extra effort worth it to me.
I won’t sugarcoat it though. There’s a learning curve to bread making, especially with fresh milled flour. It’s as much an art as a science, and my early loaves were far from perfect. Yes, it took some effort but every batch taught me something, and even those questionable first loaves still tasted really good. I can honestly say, there was only one loaf that was a complete failure and it was not using this recipe!
If you’re still getting comfortable with yeast bread, or just want an easier recipe, my Fresh Milled English Muffin Toasting Bread is a great one to try. It’s an easy, no-knead, one-rise recipe that makes a single loaf. It’s also good for sandwiches but it’s extra delicious as toast.
Fresh Milled Flour Sandwich Bread Recipe
If you haven’t made bread before, just know that making bread is a skill like any other, you learn by doing. Even a not-so-perfect loaf will still taste great. If you don’t think it’s sandwich-worthy, you can always use it for toast or make any number of things with it. I love to use any “ugly” loaves (along with any leftover bits and pieces) to make French Toast Casserole, which is a favorite breakfast treat.
Once a few things click, you’ll have beautifully sliced bread that is soft, tender and won’t fall apart in a sandwich. Even better, it will be packed with all the fiber and nutrition of whole grains. It’s not white bread, but it’s not trying to be. It’s real and wholesome and worth every bit of time and effort you put into it. This bread right here is a big reason why I choose fresh milled flour for my baking.
About This Recipe
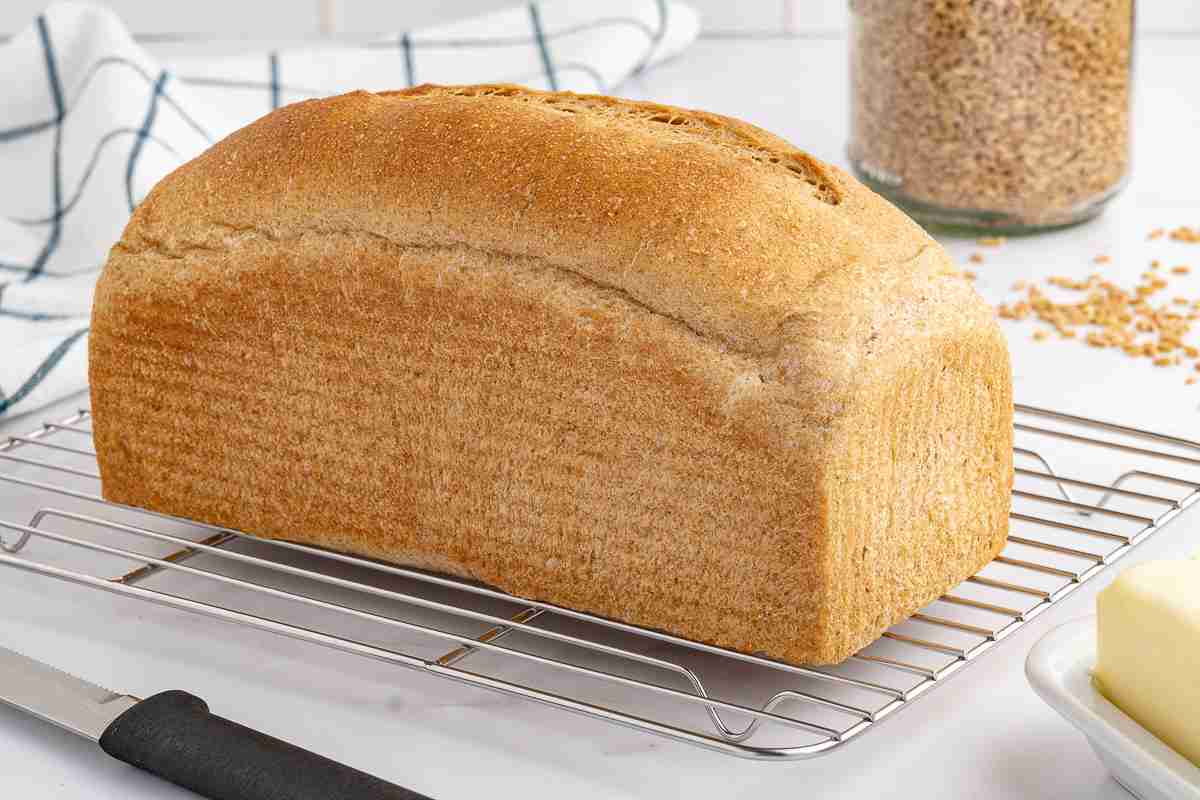
This recipe has evolved a lot from where it started. I began with Bread Beckers Basic Dough Recipe but it slowly became my own. I scaled to better fit my loaf pans, decreased the honey to make it a bit more blood-sugar friendly, and cut back significantly on the lecithin (I’ve never used the optional flaxseed at all). I also switched from hot water to cold or room temperature, and added a touch of acid to the dough. Finally, I also changed the mixing method and incorporated a rest time before kneading. Each change was made for a reason.
You might be wondering why I didn’t just find a different recipe instead of changing so much of this one. Well, I did try all the well-known fresh milled flour recipes out there. I kept coming back to this one.
Here’s the thing: bread really comes down to a simple formula. Start with how much flour you need, then figure out your hydration, and that gives you your liquid amount. Salt is a must in any bread (well, there are exceptions, but you get the point). Everything else, the fat, the sweetener, and other ingredients are choices we make. It’s less about following one exact recipe and more about understanding the choices behind it. That’s true whether you’re using this recipe or any other bread recipe out there. They’re all working from the same basic idea, just with different choices along the way.
After many batches of this bread and little changes tested multiple times over the last couple years, here we are. This is my everyday soft and fluffy sandwich bread that I rely on week after week. No yudane, no tangzhong, no bran mash and no sifting. Not because there’s anything wrong with those options – they all have their place – but just because I wanted to keep my regular bread-making as simple as possible.
Tips for Success
Weigh your ingredients. This matters even more with fresh milled flour, since cup measurements can vary widely. A kitchen scale gives you consistency that measuring by volume just can’t.
Don’t skip the rest period. It honestly makes a big difference. Yes, you can knead the dough right after mixing but you’ll find it will come together much faster when you allow the flour to hydrate before kneading.
Don’t be afraid to adjust. Bread making isn’t an exact science, and flour absorption can vary from batch to batch, even with the same recipe. I like to start with my measured flour amount, then adjust the water to reach the right consistency, rather than the other way around. This keeps my loaf size consistent every time. If the dough seems too dry, add a bit more water, one tablespoon at a time. If it’s ever too wet to bring together, a small flour adjustment can fix it. You’re aiming for a soft, pliable dough that comes together easily, not one that feels dry or stiff.
Avoid overproofing. It’s better to bake a little under than over. Look for dough that’s almost doubled and gently domed, even if not crowning over the pan. Overproofed loaves tend to collapse so I’d rather be a bit under than overproofed.
Ingredients
Key Ingredients
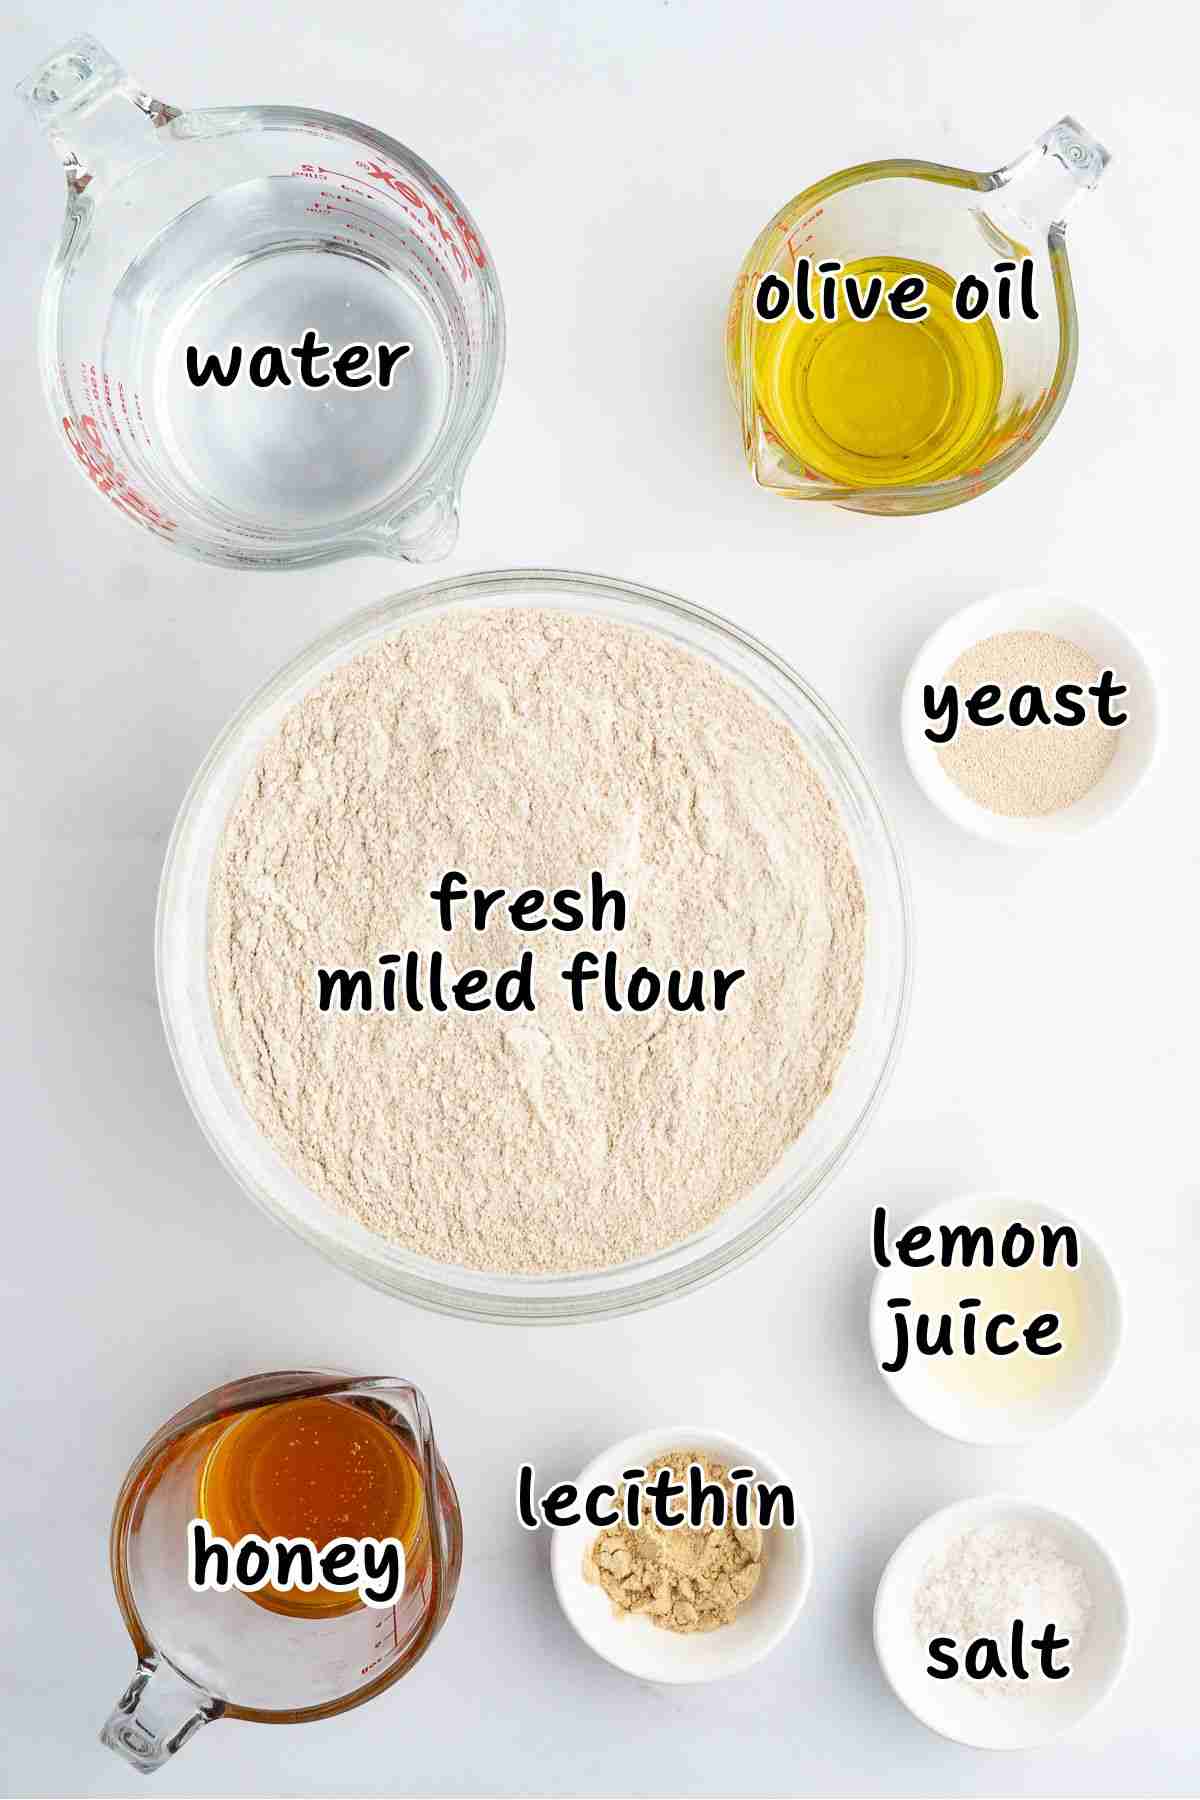
Flour: I typically use half hard red wheat and half hard white wheat, milled just before mixing. However, other grain combinations will work too, as long as it’s primarily hard grains. You can certainly do all hard red or hard white or mix in a little Kamut (khorasan), rye, or spelt. If you use any soft grains, I would use up to 1/4 or 1/3 of the total flour, at most.
Oil: I used extra virgin olive oil for this recipe. Any good quality oil you like should work fine. You could also use softened or melted butter. I haven’t tried any other fat options such as coconut oil, lard or tallow. If you try it, please let me know how you like it.
Honey: I like to use raw honey for this when available. However, regular honey is fine too. As mentioned before, I reduced the amount of honey from the original amount. I have also tested with even less honey and found that I preferred the honey at 80g per batch so that’s what I stick to.
Lecithin: This is an optional ingredient, and I know some people prefer to avoid it since they like to steer clear of additives. I consider this a healthy additive myself so I have no problem including it. I started out using the two tablespoons called for in the original recipe, but I ran into an issue with the sides sinking in significantly. After some testing, I found that reducing the lecithin solved that problem, so I use 2 teaspoons per batch now, which is about 1/3 the original amount.
If you’d rather not use lecithin at all, you can use an egg instead. Eggs are a natural source of lecithin and help emulsify and soften the crumb. Can you skip it altogether? Yes, but it does affect the crumb, I tried a batch with no lecithin and no egg and found the bread turned out a bit dry, so I do like to include one or the other.
Salt: I typically use either a fine sea salt or kosher salt. Whatever you use, it’s best to weigh the salt. Teaspoon measures can vary quite a bit depending on how fine or coarse your salt is and even from brand to brand. Salt does more than add flavor, it also strengthens the dough and helps control how quickly it rises. For this recipe, I use 12g, but anywhere from 11 to 14g will work well without throwing off the rise or texture.
Yeast: I like to use instant yeast since it does not need to be activated. One less step means the process is that much simpler. My favorite brand is SAF Instant Yeast. I buy 1 lb. at a time and keep in the freezer where it stays fresh a very long time.
Water (and milk if you like): I use room temperature or cold water for this recipe. Most often I use cold water, but room temperature works fine too.
This is one of the things I changed from the original recipe, which calls for hot water and kneading right after mixing. That worked well enough for me when I started, but I sometimes ran into a rough, broken crust. After a lot of research, I learned this is often a sign the dough got too warm. Without getting into too much bread science, the bottom line is that dough can break down when it gets too warm. Hot water mixed with freshly milled flour, which is already warm on its own, means the dough starts out warm to begin with. Once you start kneading, the friction from the machine raises the temperature even more. It may be that the mixer the Becker family uses creates less friction than mine, since their method with hot water clearly works well for them. For me, once I switched to cooler water, the crust problem disappeared, so that’s what I stick with now.
You can also swap in milk for some of the water, which gives a softer, richer loaf. I’ve been swapping about a third of the water for whole milk, straight out of the fridge. I love the added softness this brings to my loaves.
Vinegar or lemon juice: I like to add a small amount of vinegar or lemon juice to my dough. The acid acts as a natural dough conditioner that strengthens the gluten and helps the bread rise a bit higher. This is optional but I do think it makes a positive difference so I include in my dough.
Instructions
1. Start by adding all ingredients except yeast and lecithin to the stand mixer bowl. Mix using hands, wooden spoon or Swedish dough hook. In separate bowl, mix lecithin into flour and break up any clumps. NOTE: You can add lecithin straight into wet ingredients but I find it sometimes creates clumps in the water so I prefer to add to the flour.
2. Add flour to wet ingredients and mix until no dry flour remains.
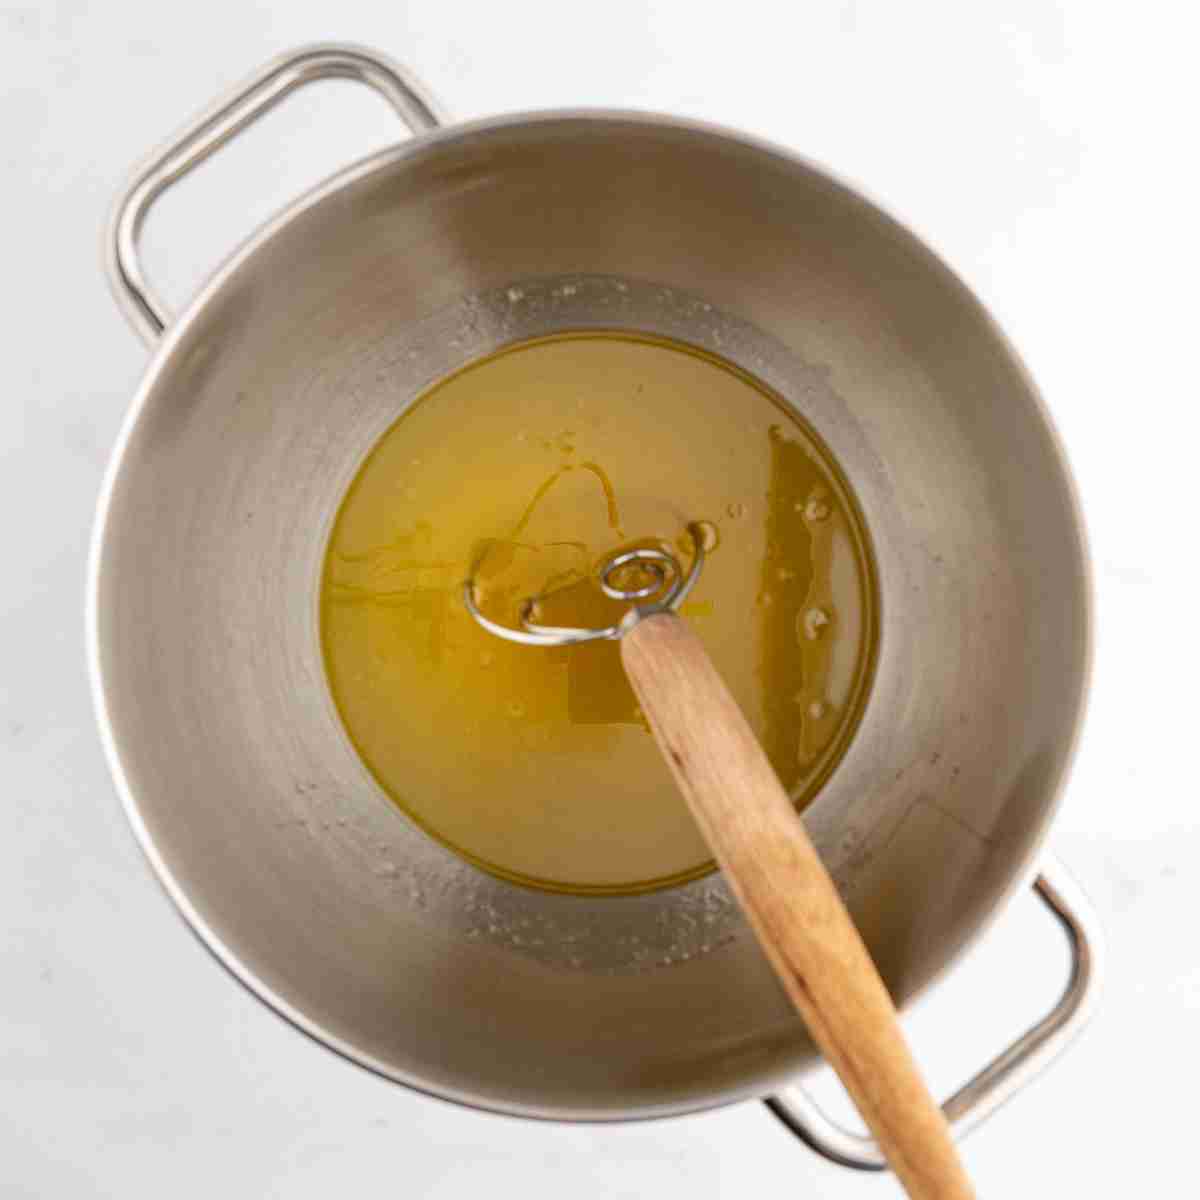
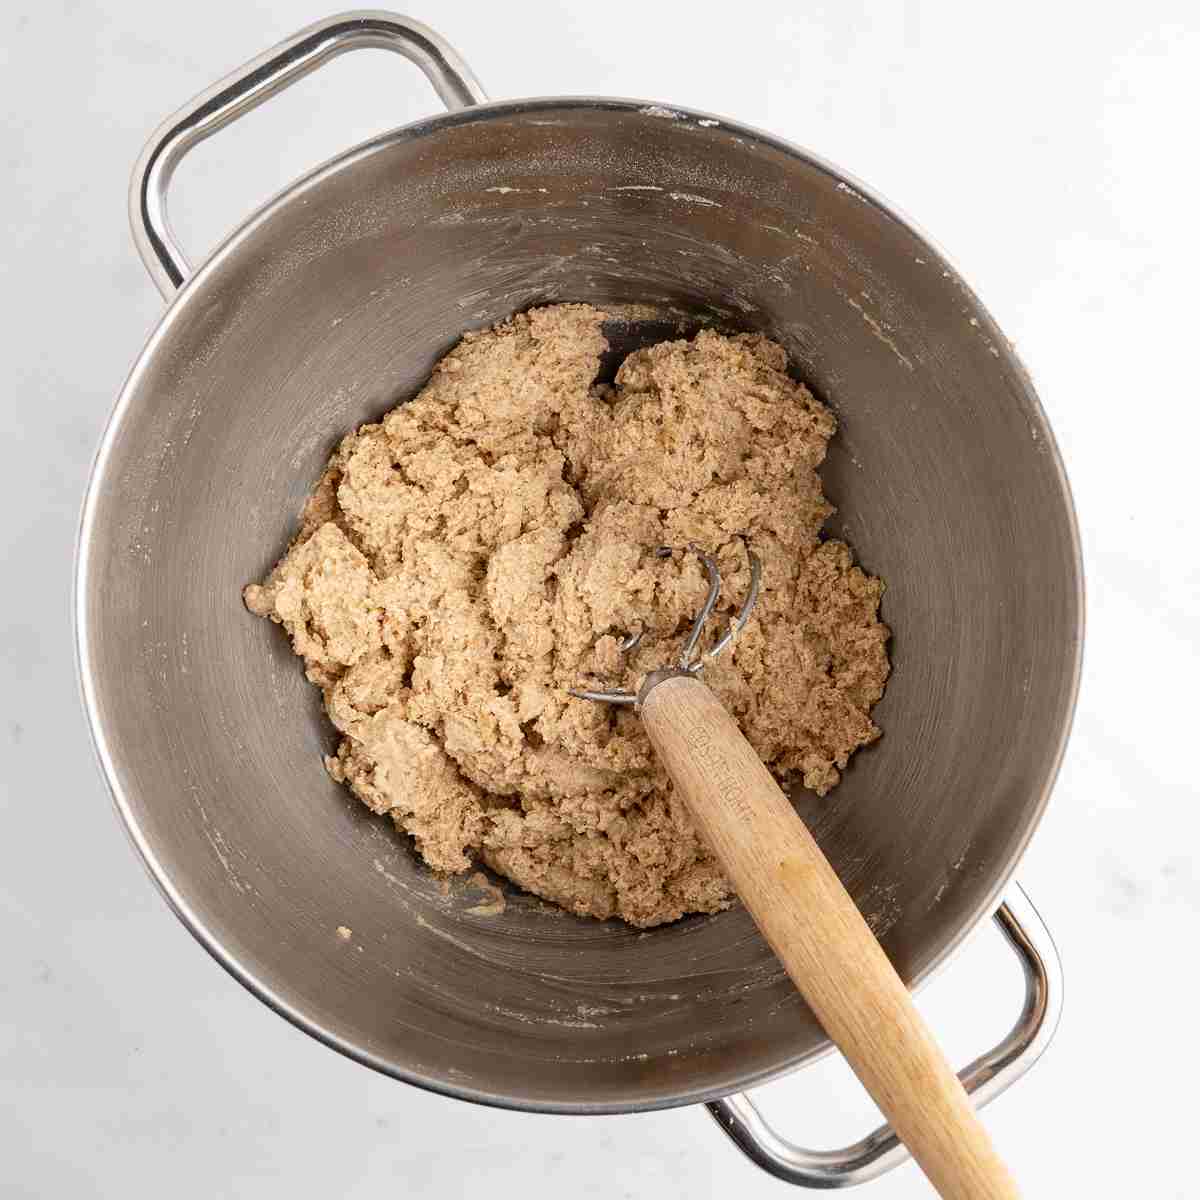
3. Cover and allow dough to rest for at least 20 minutes and up to 2 hours. I usually rest for one hour and that works well for me.
4. After the rest, sprinkle yeast on top of dough and knead the dough until smooth and elastic. Watch the dough as it kneads. It will start as a shaggy mass with visible strands, then gradually come together into a smooth mass that cleans the sides of the bowl instead of clinging to it.
In my mixer, this usually looks like the dough forming into two or three smooth mounds, though this may look a bit different depending on your mixer. Once you see this, do a quick windowpane test to confirm it’s ready (see the tip below). Using the Zacme 8.4 qt mixer, this typically takes about 8-10 minutes on speed 2 for a single batch or about 15-18 minutes for a double batch. The time will vary widely depending on your mixer.
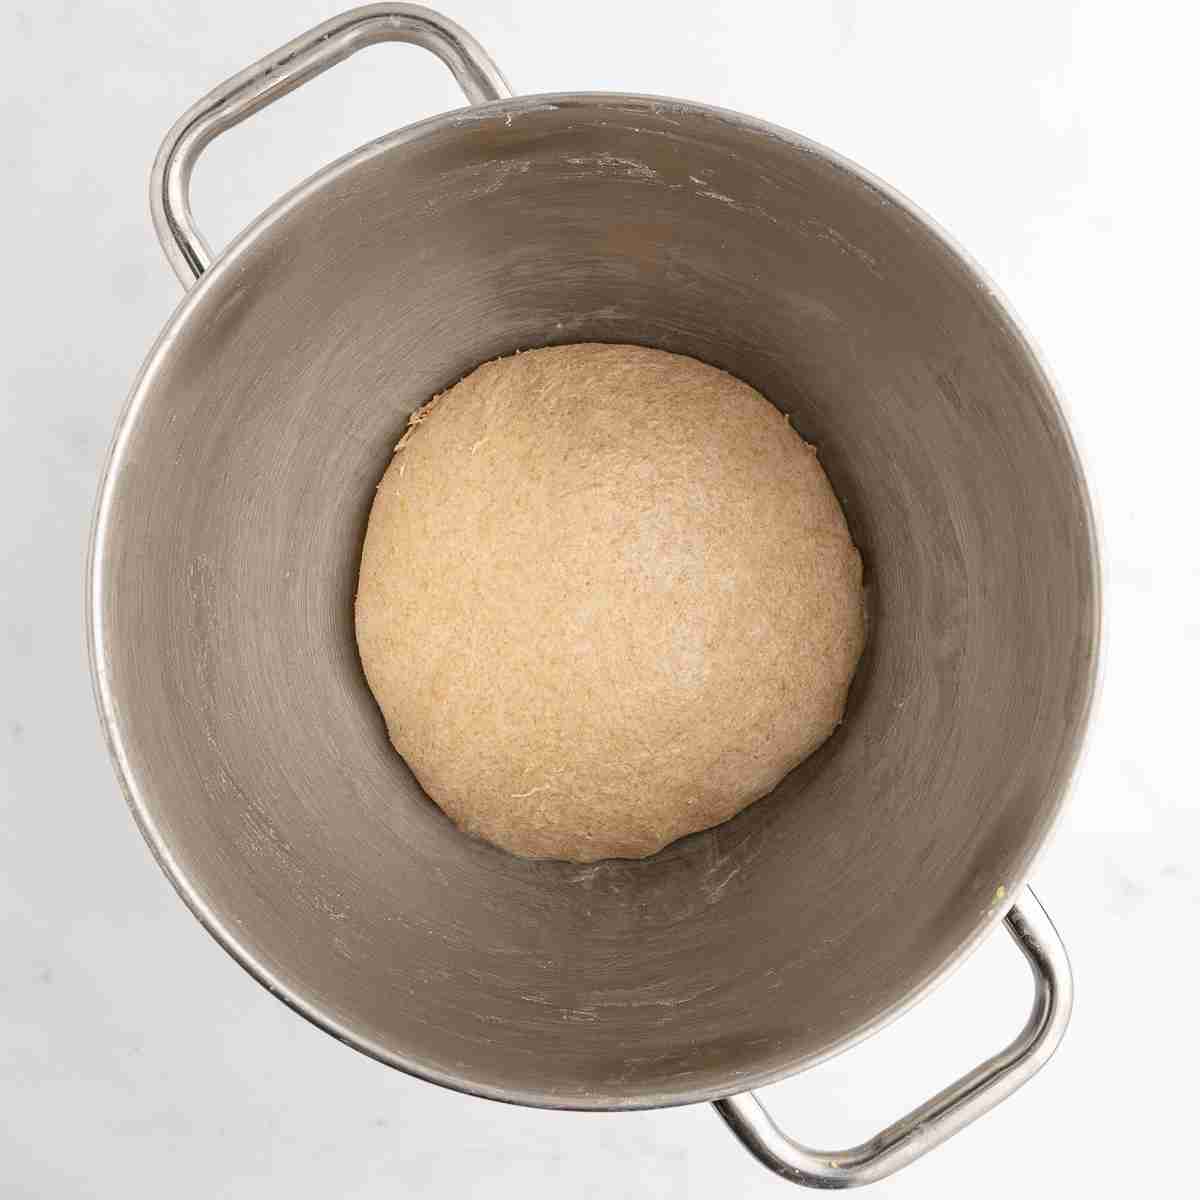
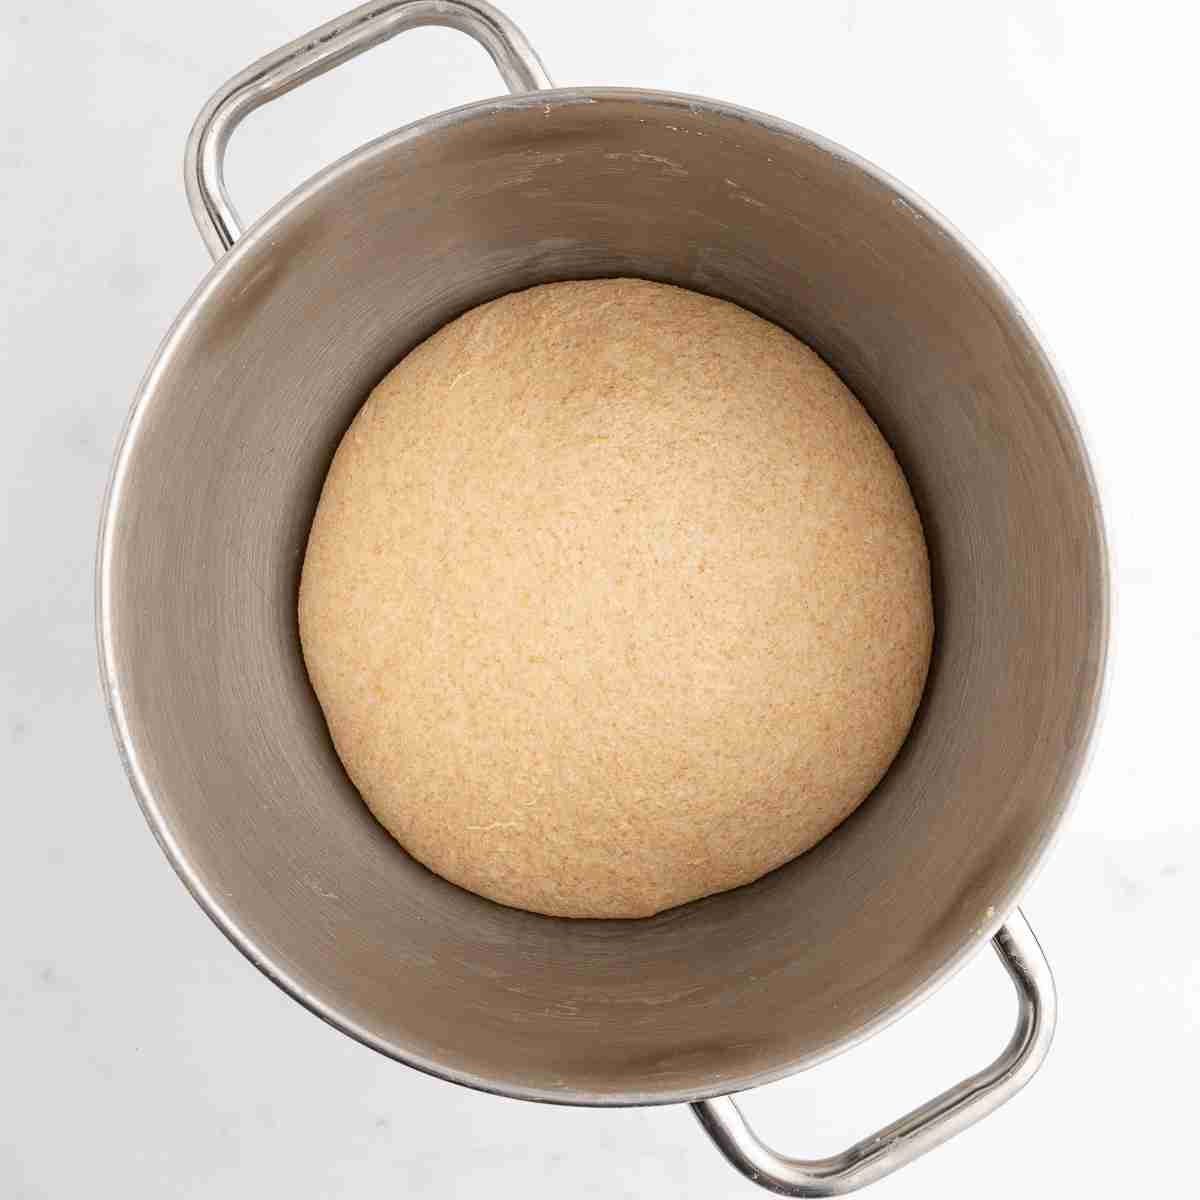
5. Once the dough is done kneading, it’s time for bulk rise. I often let it rise in the same mixer bowl. However, if you want to see exactly how the dough rises, you can transfer it to a straight-sided container. Oil the container lightly before adding the dough.
6. Allow to rise until it’s almost double and gently domed. For me, it takes about 40-45 minutes but the time will be different depending on your ambient temperature. The cooler your home is, the slower it will rise and vice versa.
7. Gently deflate the dough to remove large gas bubbles. Divide and shape into 2 loaves and place in greased loaf pans. Allow to rise until almost doubled in size. If using the same size pan I use (9×4), the dough will just about reach the top of the pan.
NOTE: If the dough keeps shrinking when you try to press out, then it needs a bit of rest. Shape into a ball and cover. Allow the dough to rest for about 8-10 minutes and then try again.
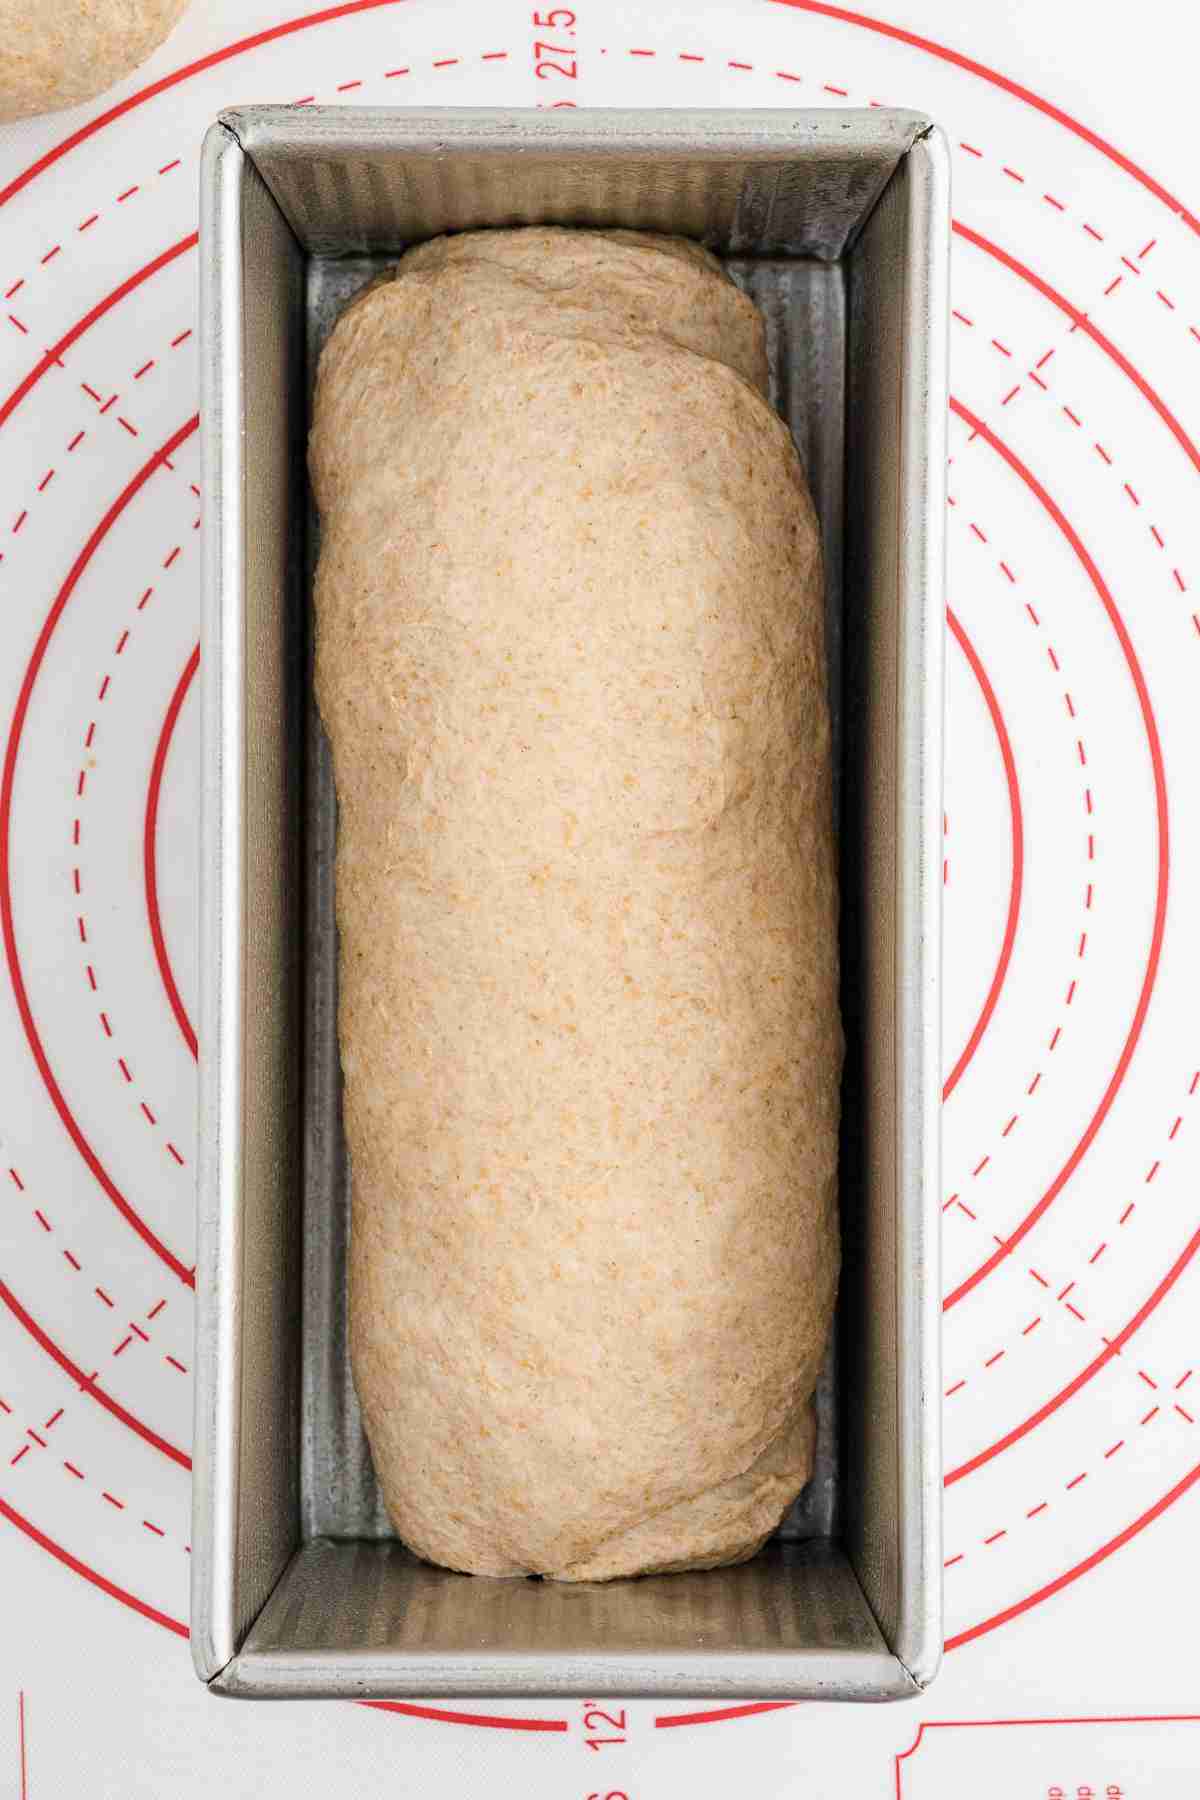
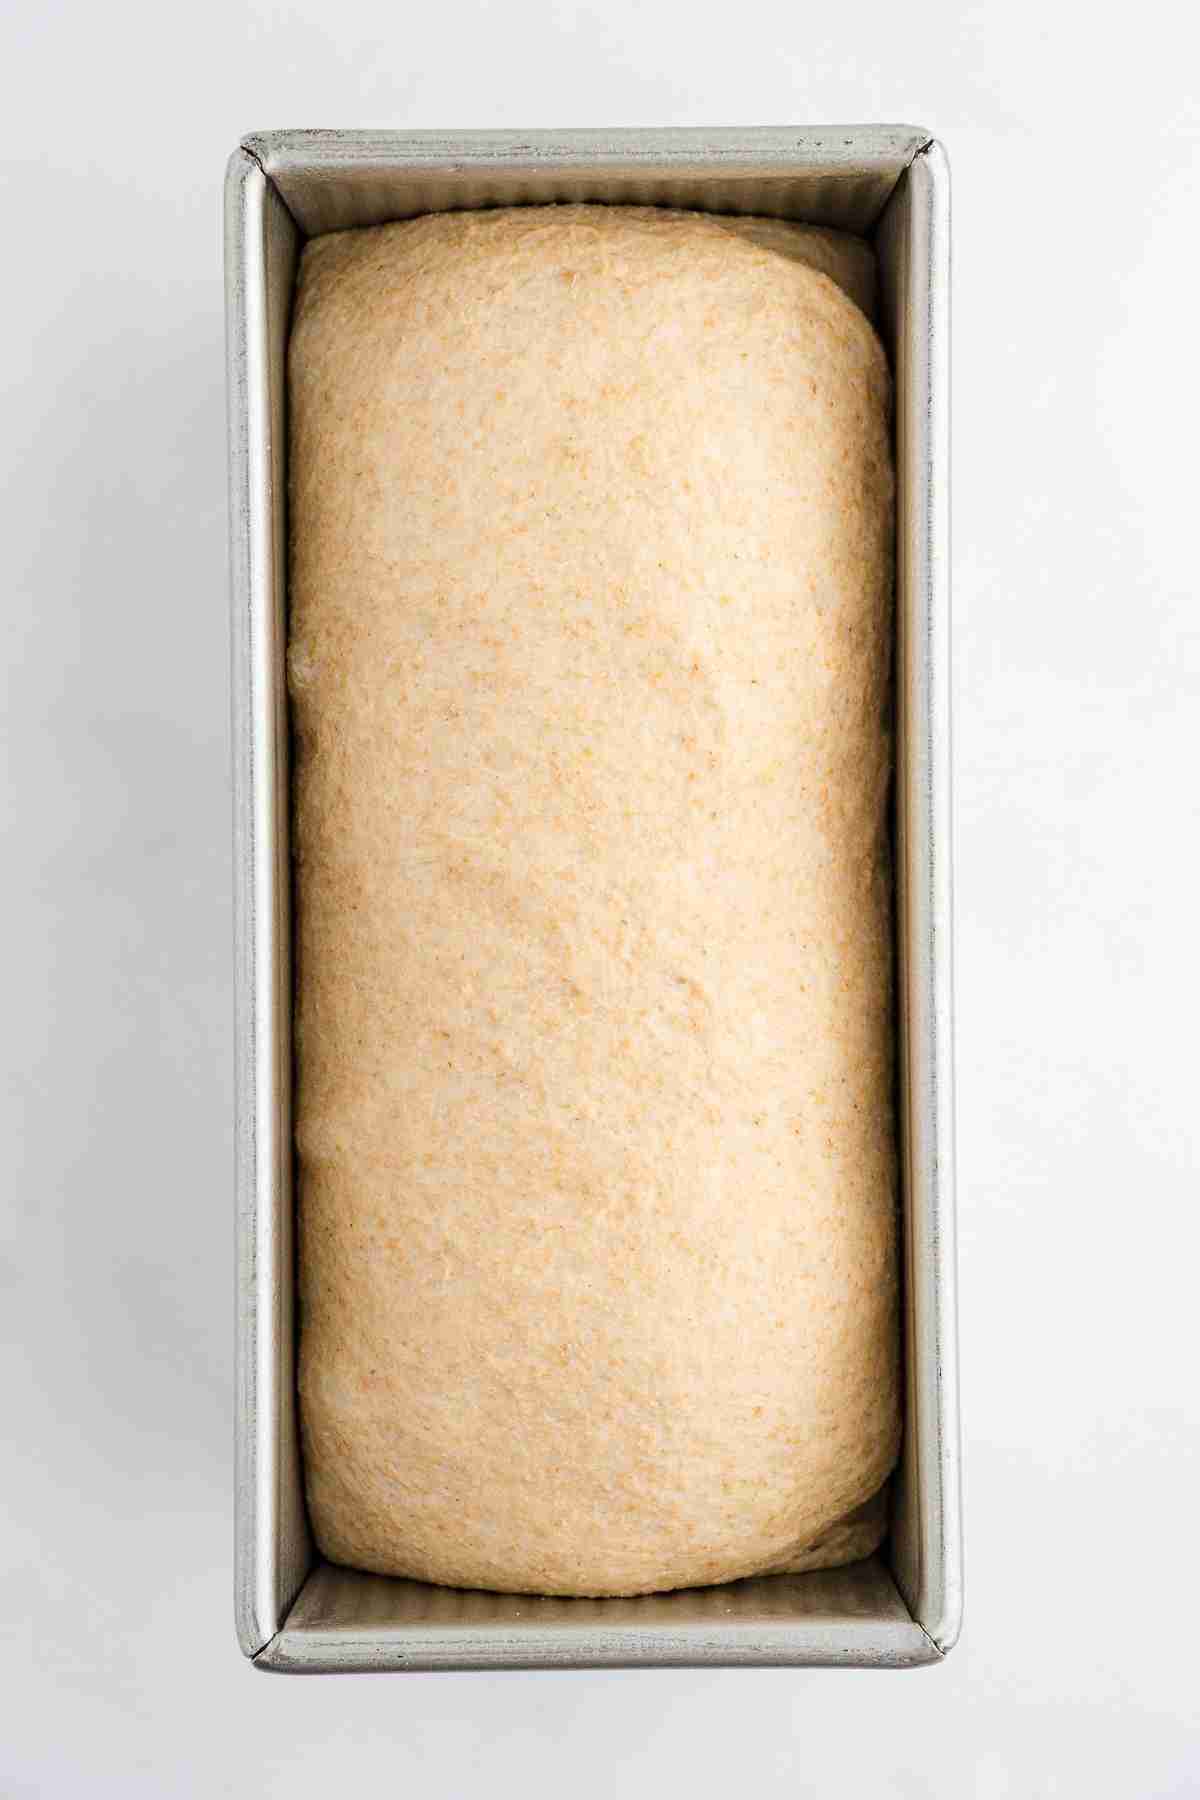
8. Slash the dough just before putting into preheated 350°F oven. This is optional but helps to avoid the crust tearing during the bake.
9. Bake until the temperature in the center of the bread reaches 195°-200°F.
10. Remove from oven and immediately remove bread from pans and set on cooling tray. Allow to cool completely before slicing.
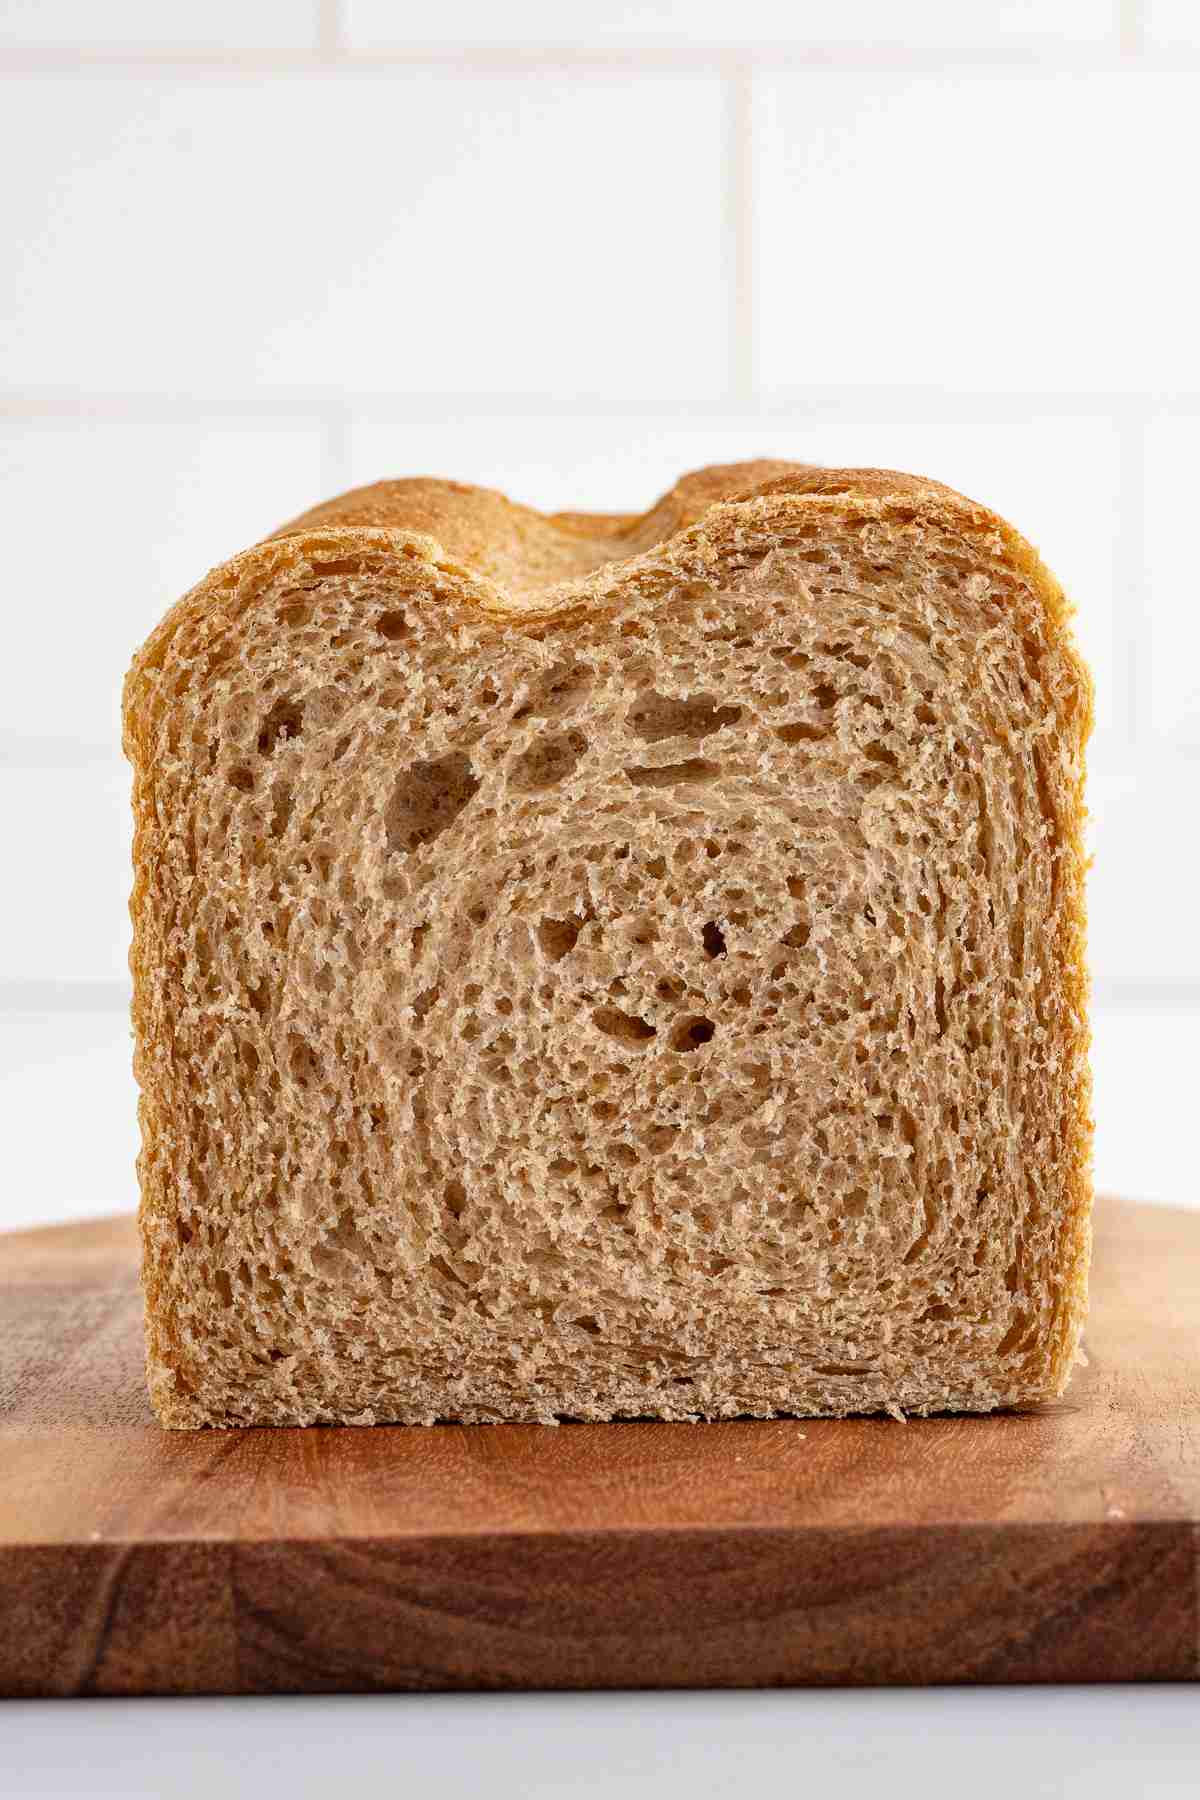
How Do I Know When to Stop Kneading?
Once your dough looks smooth and starts cleaning the sides of the bowl, do a windowpane test to confirm. Pull a small piece of dough and gently stretch it between your fingers. If it stretches thin enough to see light through without tearing, it’s ready. If it tears quickly, knead another minute or two and check again.
Don’t stress too much over getting a perfect windowpane. If your dough is smooth and pliable, it’s better to stop a bit early than to keep kneading too long as that can also cause issues.
Storage
Room Temperature: I keep my bread stored in plastic bread bags and keep only the amount that will be consumed over 3-4 days. Any remaining slices after the 4th day will go in the freezer for later use. With no preservatives, I find the bread does mold much quicker than store-bought bread. It’s also softest in the first day or two, and gets a bit drier by day 3 or 4, though it still holds up fine for a sandwich.
Refrigerator: I don’t recommend this one, the fridge tends to dry the bread out faster than storing it at room temperature or in the freezer. However, it does delay molding so it’s an option you can try.
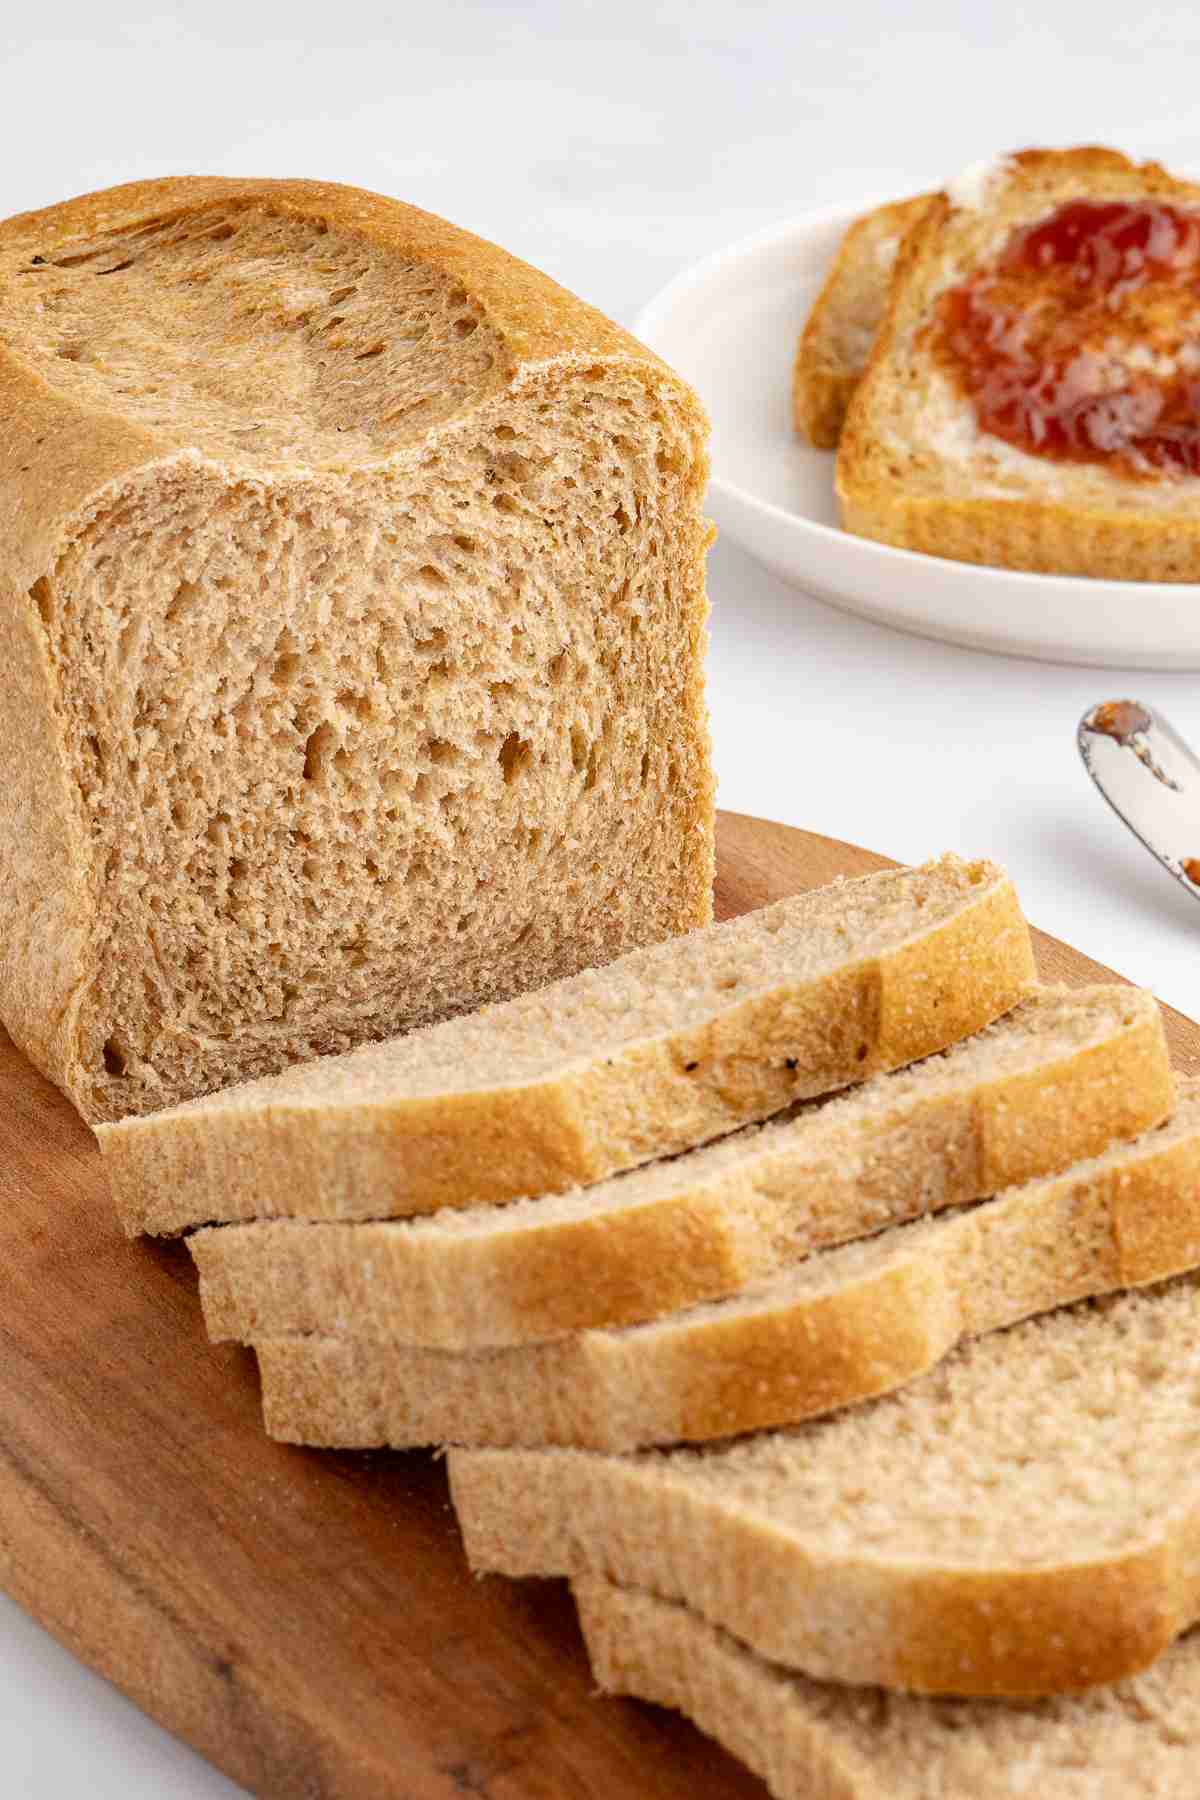
Freezer: This is my preferred method. I typically double this batch to make 4 loaves at a time. I slice them all (once completely cool), place in plastic bags and store in the freezer until needed. I pull out a whole loaf and let thaw at room temperature before using. You could also take out slices as you need them. It might take a bit of prodding but you can usually take frozen slices apart.
FAQs
How much salt?
I typically use either a fine sea salt or kosher salt. If using sea salt, it’s about 2 teaspoons but if using kosher salt, the amount is quite different. Because of this, I strongly recommend weighing your salt for the most accurate measurement.
Can I bake in a different size pan?
This recipe makes about 2.7 lbs (1,208g) of dough total, which I divide into two loaves of about 604g each for my 9×4 pans. I like the tall, square shape so I specifically sized my recipe to fit these pans.
You could use 9×5 pans but the recipe as written makes an amount short of what’s needed for 2 full 9×5 pans. I did try it and it worked fine but the loaves were a bit shorter than I would want. You have a few options:
- Option 1: Use 1 9 x 5 and 1 8×4 pan. Divide the dough using around 680g for the 9×5 pan and the remainder for the 8×4 pan.
- Option 2: Use 2 8×4 pans (around 454g each) and make a few rolls with the remainder.
- Option 3: Scale up the recipe by about 15% to better fit 2 full 9 x 5.
Can I make this by hand?
You can definitely mix and knead this by hand. I would estimate hand kneading might take around 15-20 minutes for a single batch, though I honestly haven’t tested this since I never knead by hand.
Can I double this recipe?
Yes, but if using a stand mixer or other machine, make sure it can handle the larger batch. If kneading by hand, just know that a double batch would be quite a workout!
Can I make rolls with this dough?
Yes. Instead of shaping both portions into loaves, you can turn one half into rolls. Divide that portion into 12 pieces, shape each into a ball, and place them in a greased 9×13 pan. Cover loosely with plastic wrap and allow to rise until almost doubled and puffy, about 30 minutes. Bake at 350°F for about 18-20 minutes, or until the temperature in the middle of the center roll reaches 195-200°F.
Other Fresh Milled Flour Recipes You Might Enjoy:
Chocolate Cake with Fresh Milled Flour
Fresh Milled Flour Sandwich Bread

Ingredients
- 425 g water, cold or room temperature, (plus more, if needed) *see notes
- 50 g (1/4 cup) oil
- 80 g (1/4 cup) honey
- 10 g (2 tsp) lemon juice or apple cider vinegar
- 12 g (2 tsp) fine sea salt (see notes)
- 630 g freshly milled flour, about 3 1/3 cups of wheat berries
- 5 g (2 tsp) lecithin (or 1 egg)
- 10 g (1 Tbsp) instant yeast
Instructions
- In bowl of stand mixer (or large bowl if doing entirely by hand) combine water, oil, honey, lemon juice or vinegar, and salt. Stir to combine.
- Add lecithin to flour and lightly mix with fingers, breaking up any lumps.
- Add the flour to water mixture and mix (with hands, mixer or preferred implement) until flour is completely moistened. Cover and allow to rest for at least 20 minutes and up to 2 hours. I typically rest for one hour.
- Sprinkle yeast on top of the dough and knead until smooth and elastic. The dough will start as a shaggy mass, then gradually come together into a smooth mass that cleans the sides of the bowl. If needed, add more flour or water so the dough is moist and tacky, not wet or dry. Confirm it's ready with a windowpane test: pull off a small piece and stretch it between your fingers, if it's thin enough to see light through without tearing, it's ready.
- Once the dough is done kneading, it's time for bulk rise. I often let it rise in the same mixer bowl. If you want to see exactly how dough is rising, you can transfer it to a straight-sided container. Oil the container lightly before adding the dough.
- Allow to rise until it's almost double and gently domed. For me, it takes about 40-45 minutes but the time will be different depending on your ambient temperature. The cooler your home is, the slower it will rise and vice versa.
- Gently deflate the dough to remove large gas bubbles. Divide in half. To shape each portion into a loaf, pat and press the dough into a rectangle slightly narrower than your pan, then roll it up tightly, like a jelly roll. Place seam-side down in a greased loaf pan. NOTE: If dough keeps shrinking back as you try to press it out, it needs a rest. Form dough into a ball, cover and let rest a few minutes before trying again.
- Cover loosely with plastic wrap and allow to rise until almost doubled in size. If using 9×4 pullman pans, the dough will just about reach the top of the pan.
- Slash the top of the dough right before placing in the oven. Slashing is optional but recommended as it helps to avoid the crust tearing during the bake.
- Bake in preheated 350°F oven for 30-32 minutes or until it reaches 195-200°F at center.
- Remove from oven and immediately remove bread from pans and set on cooling tray. Allow to cool completely before slicing.
Notes
- Option 1: Use 1 9 x 5 and 1 8×4 pan. Divide the dough using around 680g for the 9×5 pan and the remainder for the 8×4 pan.
- Option 2: Use 2 8×4 pans (around 454g each) and make a few rolls with the remainder.
- Option 3: Scale up the recipe by about 15% to better fit 2 full 9 x 5.
Pin This For Later