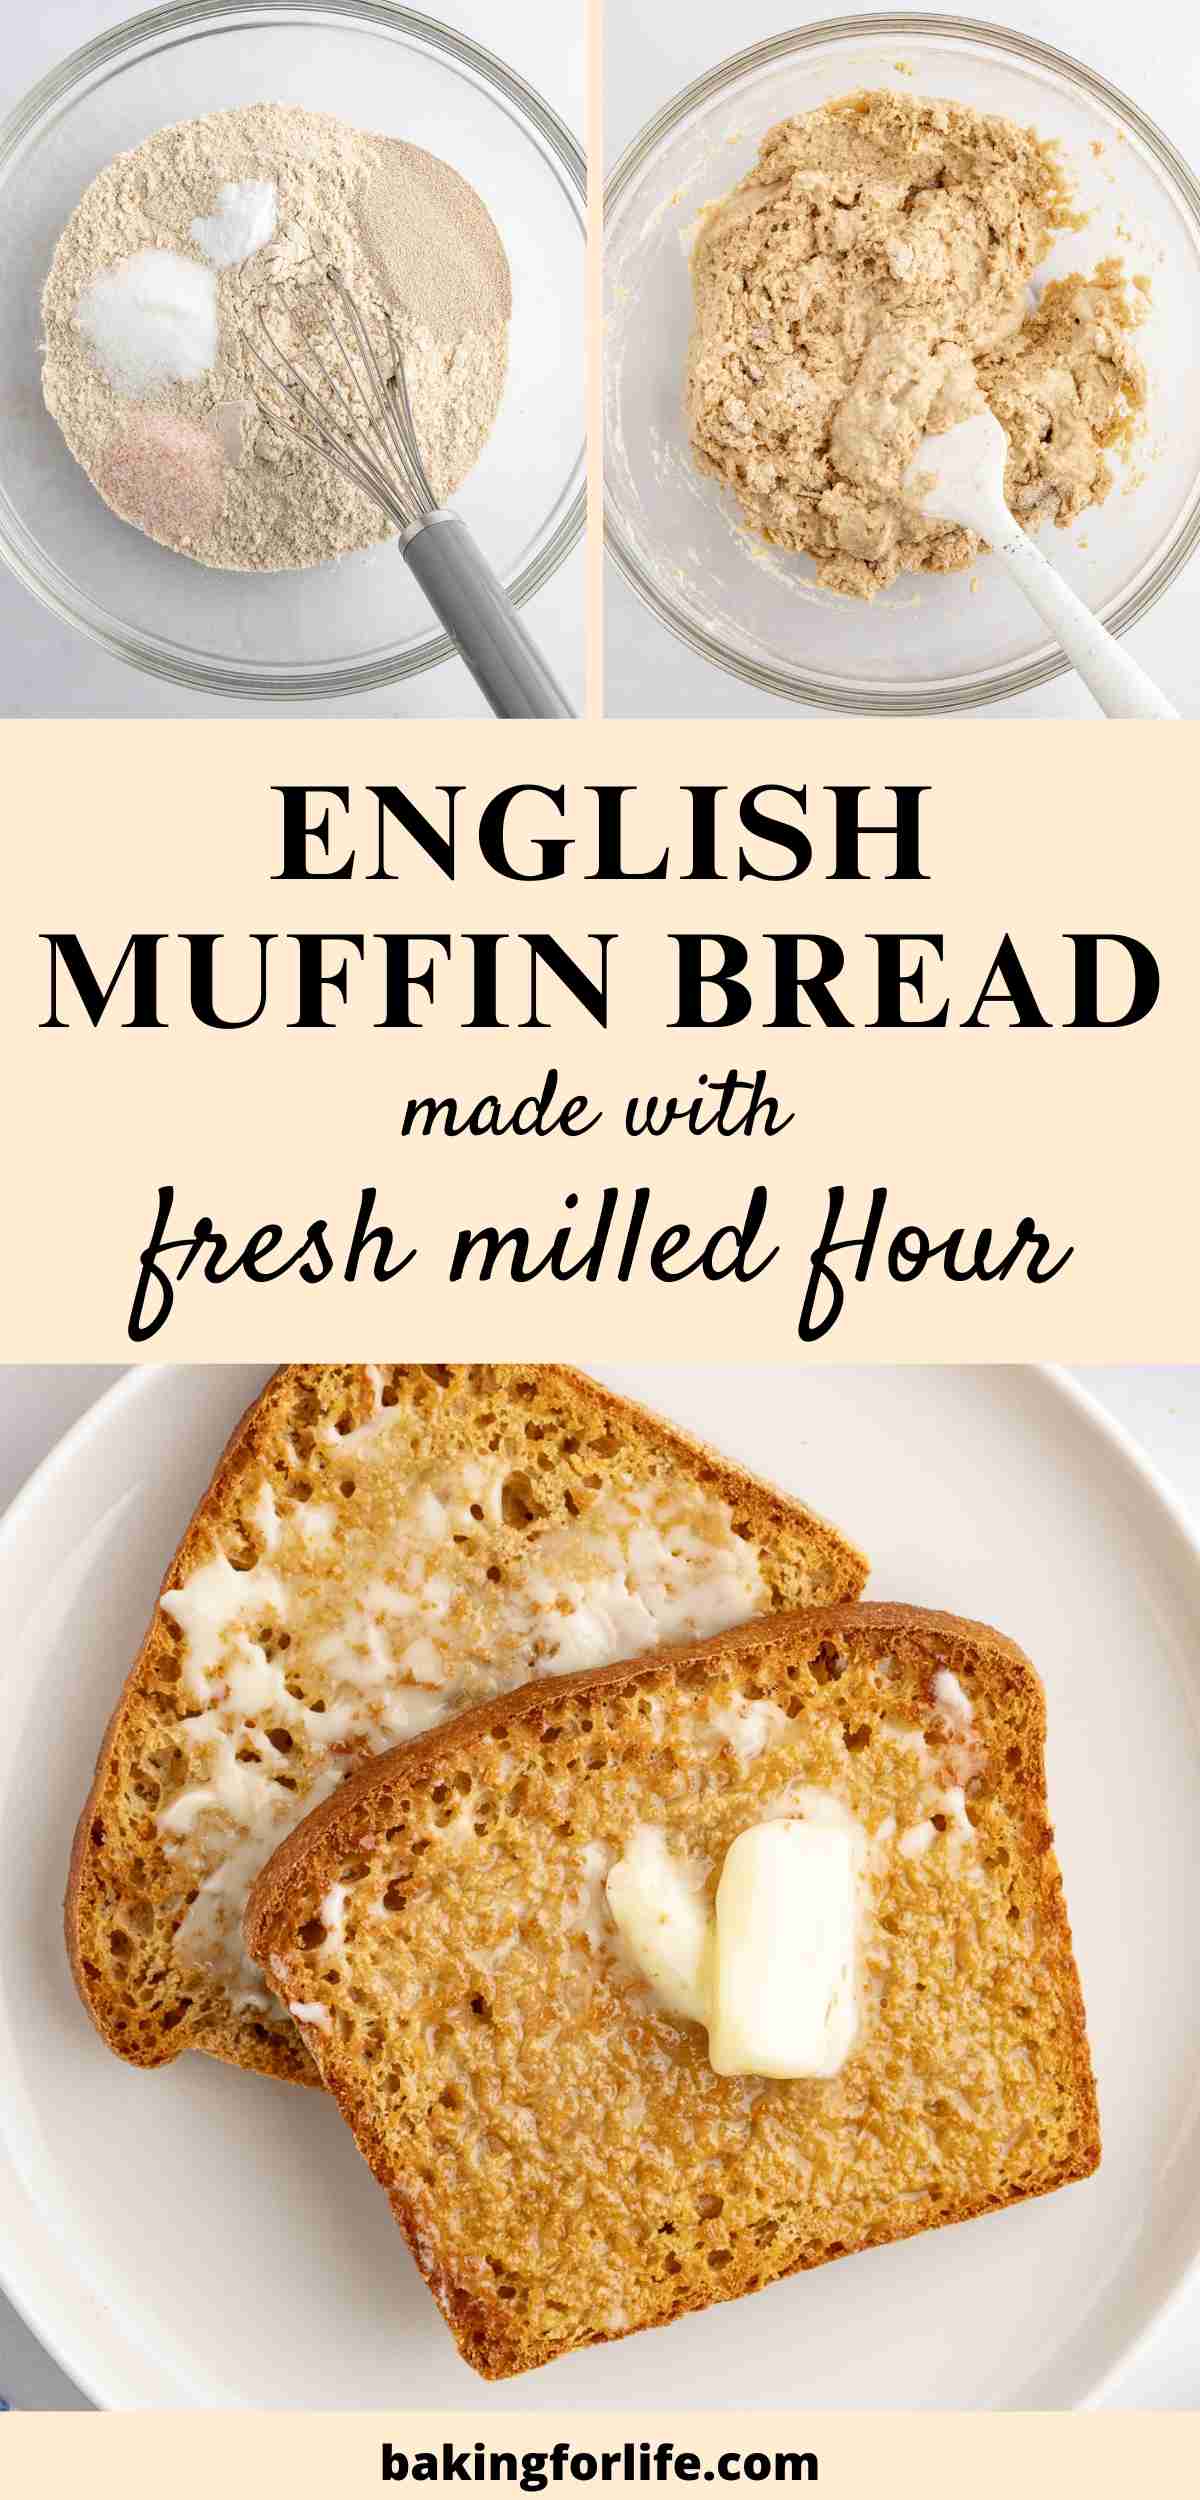
Fresh Milled English Muffin Toasting Bread is a simple, everyday loaf with the hearty flavor of whole grains and the familiar appeal of classic English muffin bread. It’s a quick and easy no-knead recipe that was made for the toaster.
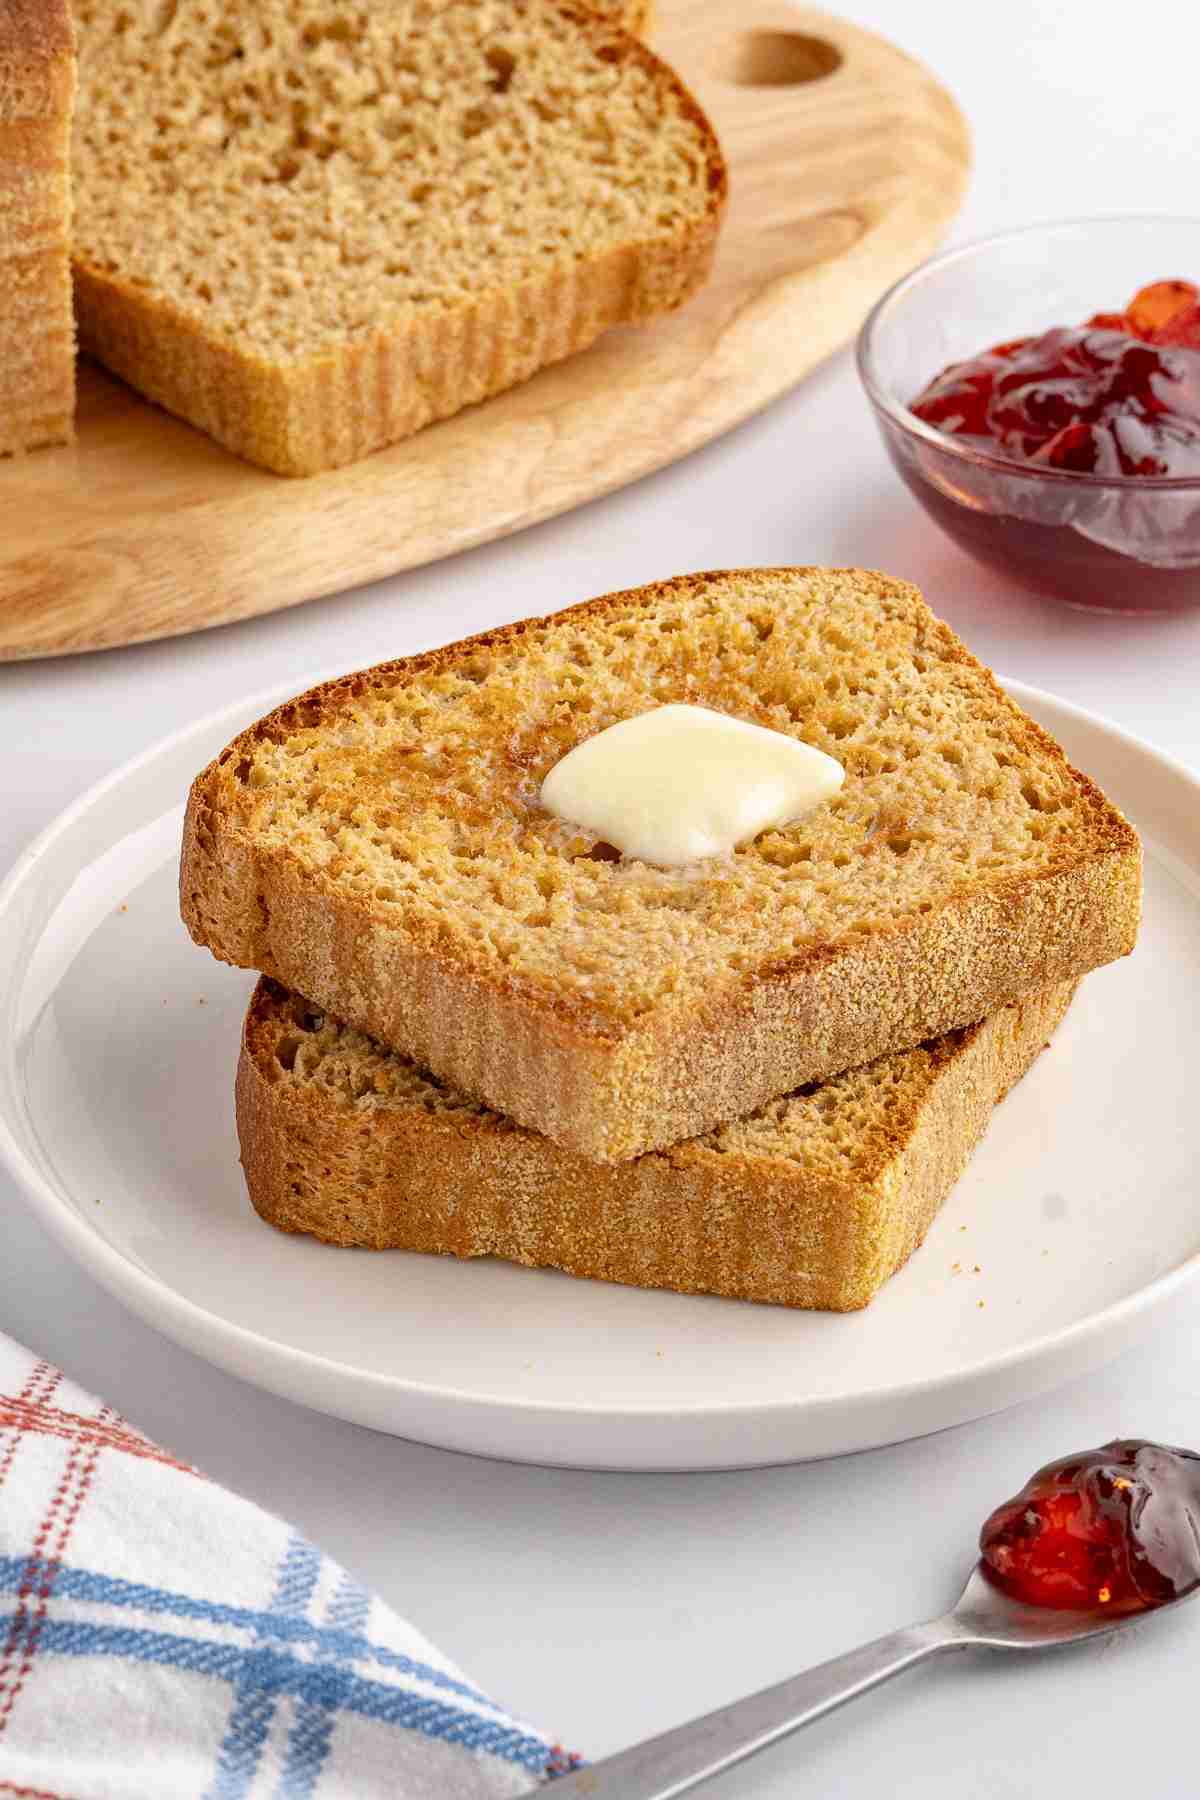
There are few things I love more than toast. So when I first came across English muffin toasting bread many years ago, I immediately had to make it. A bread made specifically for toasting? It sounded perfect to me.
And guess what? It really was. I made it quite a few times over the years and loved that classic English muffin-style texture. But back then I was using all-purpose flour. As delicious as it was, it always felt like a bit of an indulgence since it was basically white bread, something I tried to avoid.
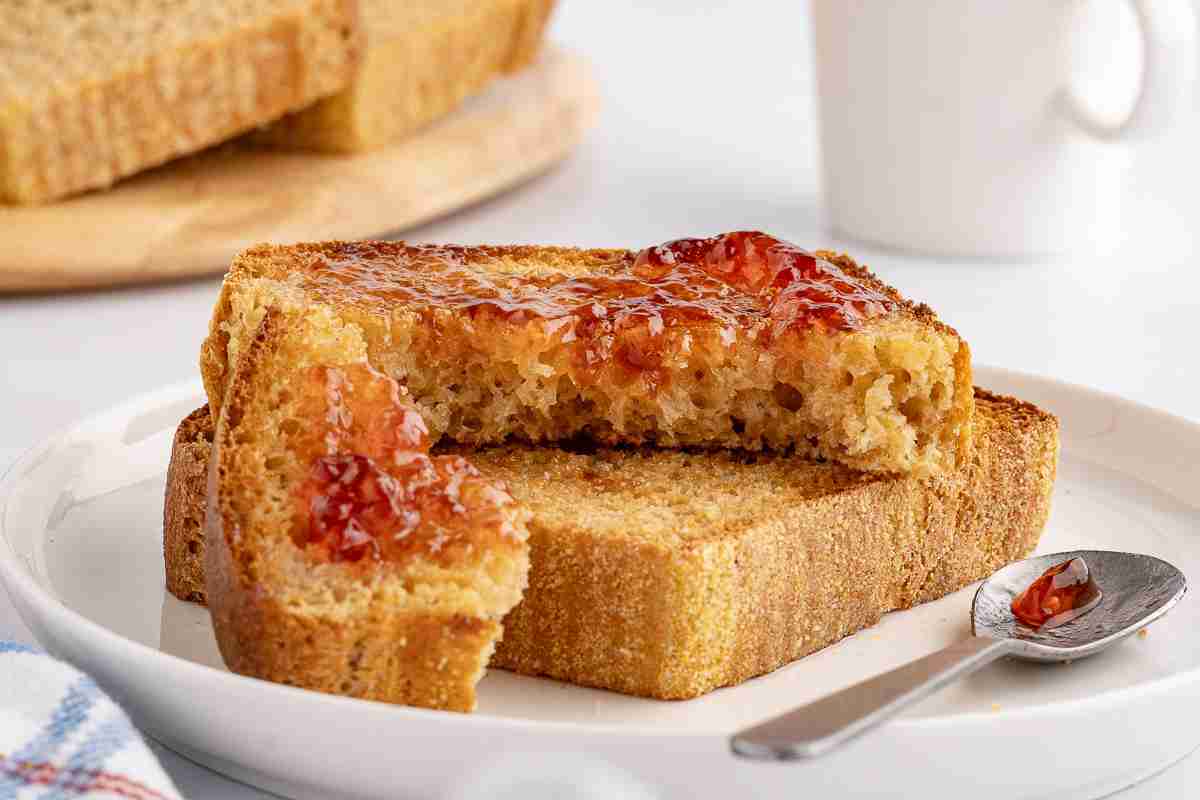
Now that I bake with fresh milled flour, I knew I had to bring this old favorite back. And I’m happy to say it’s every bit as delicious with fresh milled flour. It bakes up with all those craggy edges that turn wonderfully crisp when toasted while the inside stays soft and tender. Add in the flavor and nutrition of 100% whole grains and it’s basically the perfect piece of toast.
I love it so much that it still feels like an indulgence, but using fresh milled flour makes me feel good about having it any time I want.
English Muffin Toasting Bread (Fresh Milled Flour)
If you love easy bread recipes, this one is for you. Even though it’s a yeast bread, it only needs one rise and there’s no kneading or shaping involved. It’s basically one of the simplest yeast breads you can make. I mean, the hardest step is heating the liquid to the proper temperature. It’s a great choice for beginner bread bakers or anyone who wants homemade bread without a lot of extra steps.
You can absolutely use it for sandwiches, but it’s really at its best when toasted. The texture is wonderfully reminiscent of an English muffin, with just the right amount of nooks and crannies for catching melted butter, jelly or whatever you like to slather it with. I think it would also make a great choice for a toasted sandwich. I haven’t tried that yet but now I think I need to.
If you’re looking for a more traditional loaf, you might also like my Fresh Milled Sandwich Bread. It’s the soft and fluffy everyday bread I usually keep on hand for sandwiches, and it makes pretty good toast too.
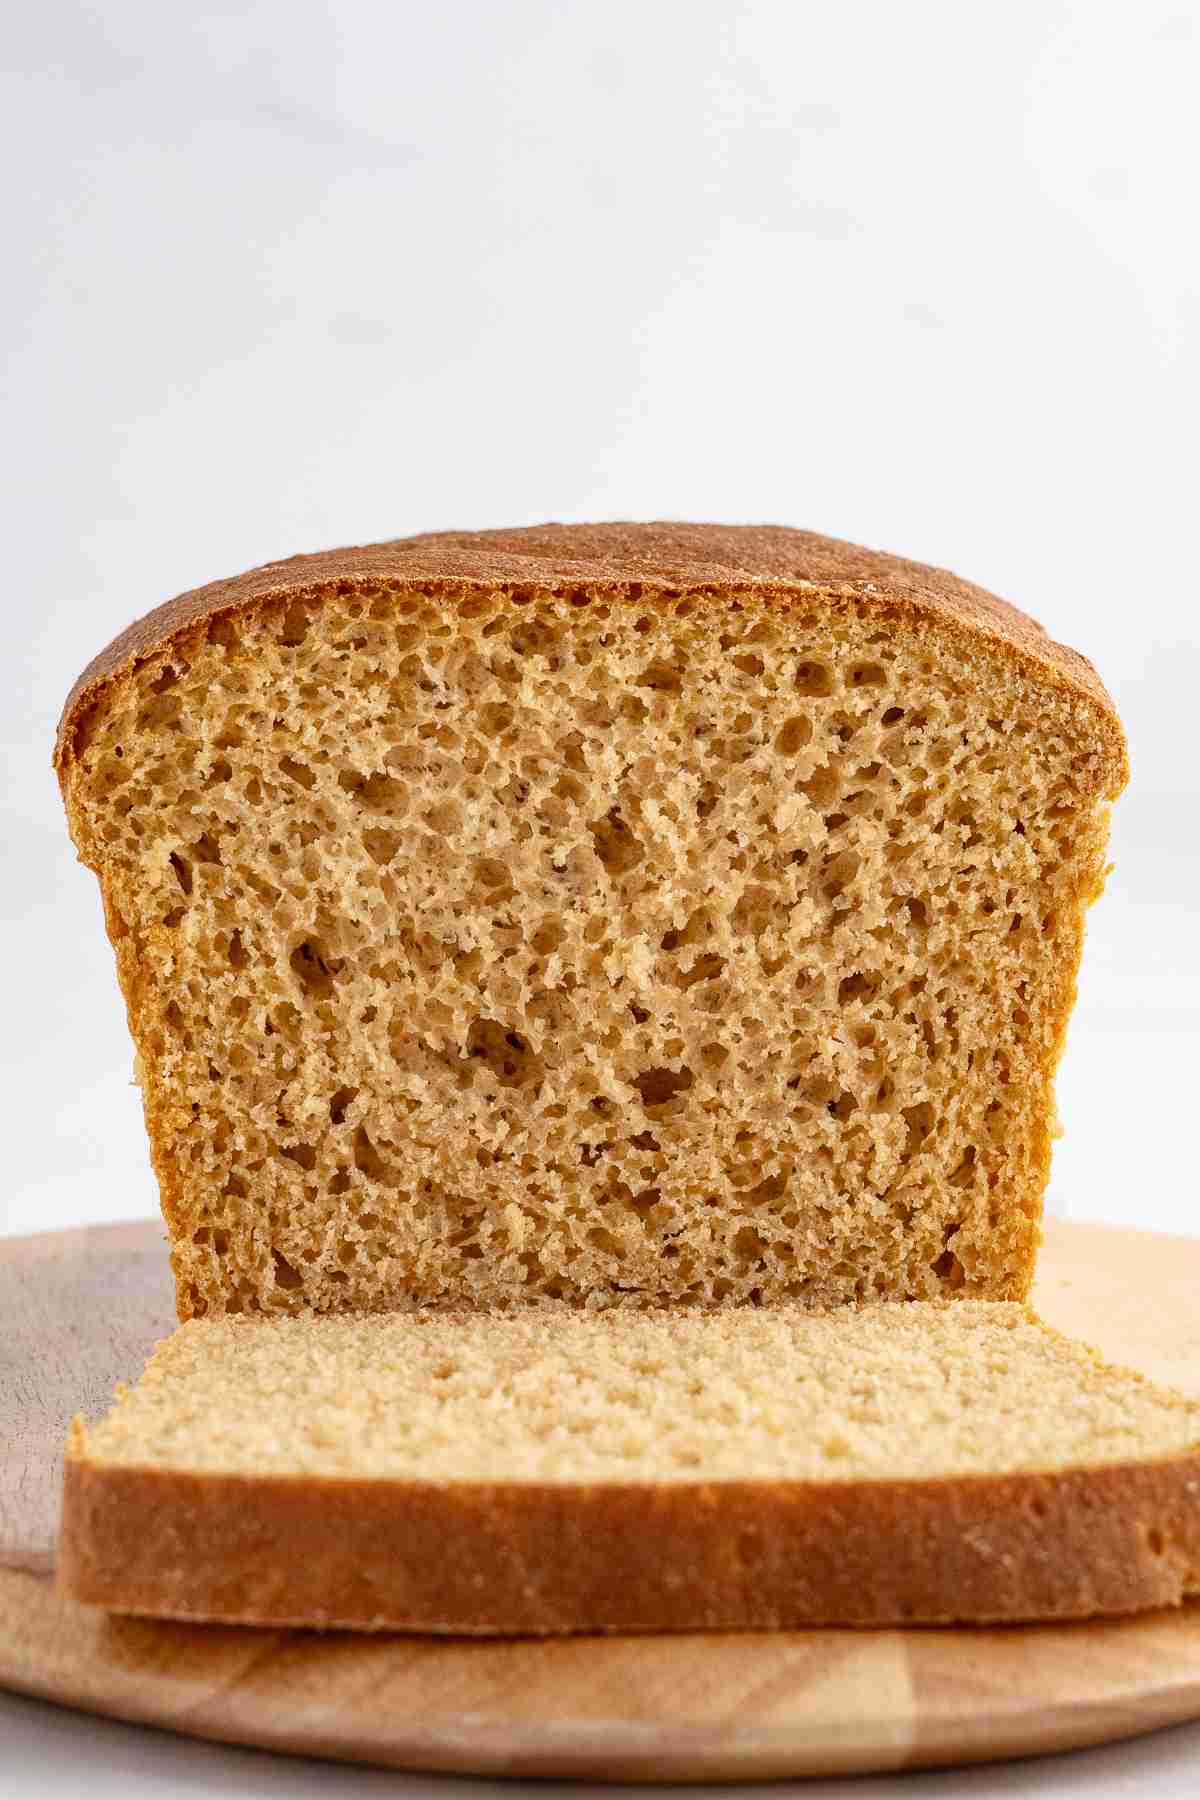
Tips for Success
- Don’t add extra flour. The dough is supposed to be wet and sticky.
- Don’t skip the cornmeal. It helps prevent sticking and adds to the classic English muffin feel.
- Smooth the top. I find it easiest to level the dough with clean damp hands. You can also use a rubber spatula or a piece of plastic wrap.
Ingredients
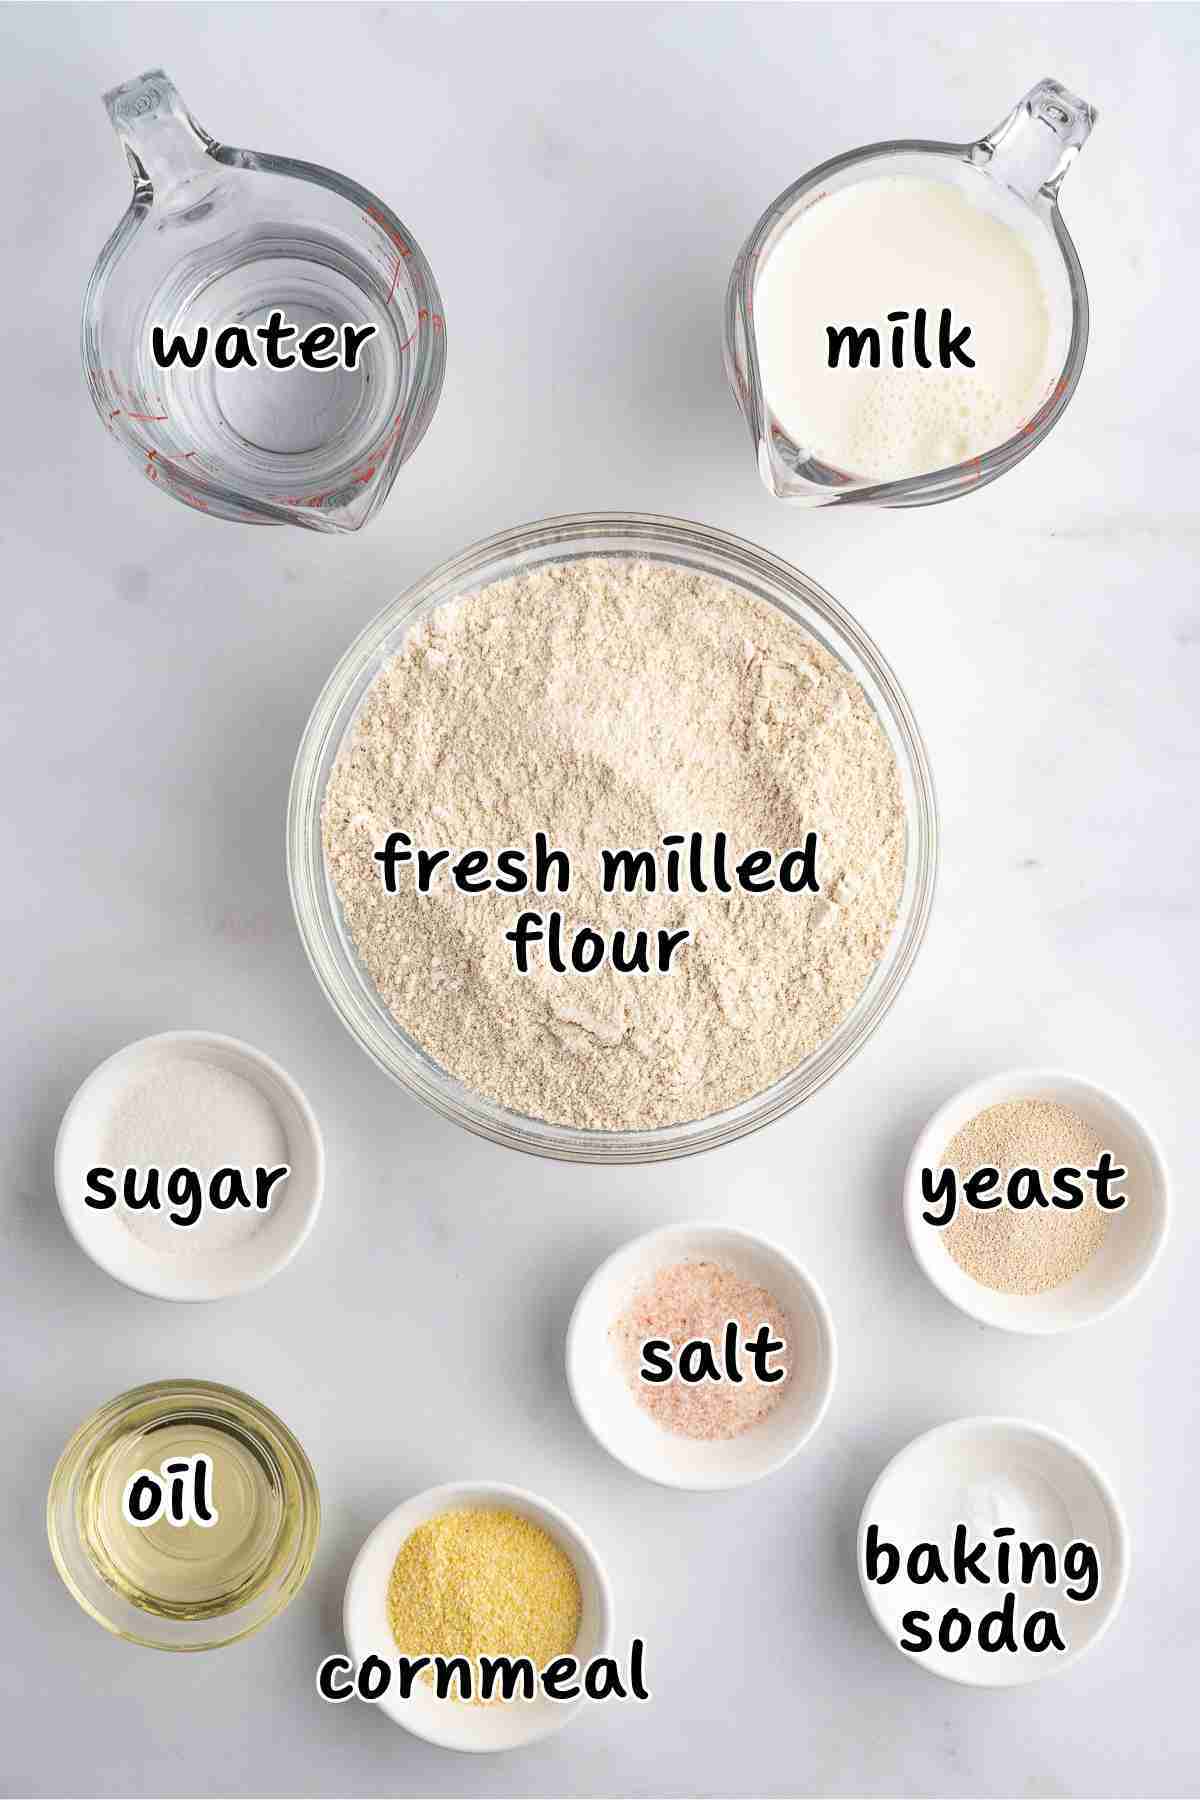
Key Ingredients
Flour: This type of bread is typically made with all-purpose rather than bread flour, so I like using a combination of grains to get the texture I want. My favorite blend so far is 50% hard white, 25% soft white and 25% Kamut. This is the combination I recommend for the recipe. See recipe notes for more details.
Instant Yeast: I love the ease of mixing it right into the flour, no proofing required.
Milk: I used whole milk, but I think 2% would work just fine too. I haven’t tried with non-dairy milks at this point.
Water: Plain room temperature water is all you need. It gets mixed with the milk and oil and warmed before adding it to the flour mixture.
Oil: A neutral oil works best, such as vegetable, avocado or light olive oil.
Cornmeal: You’ll need just a small amount of yellow cornmeal to sprinkle inside the pan before baking.
Other Ingredients: You’ll also need a few basic pantry staples, including baking soda, sugar and salt.
Instructions
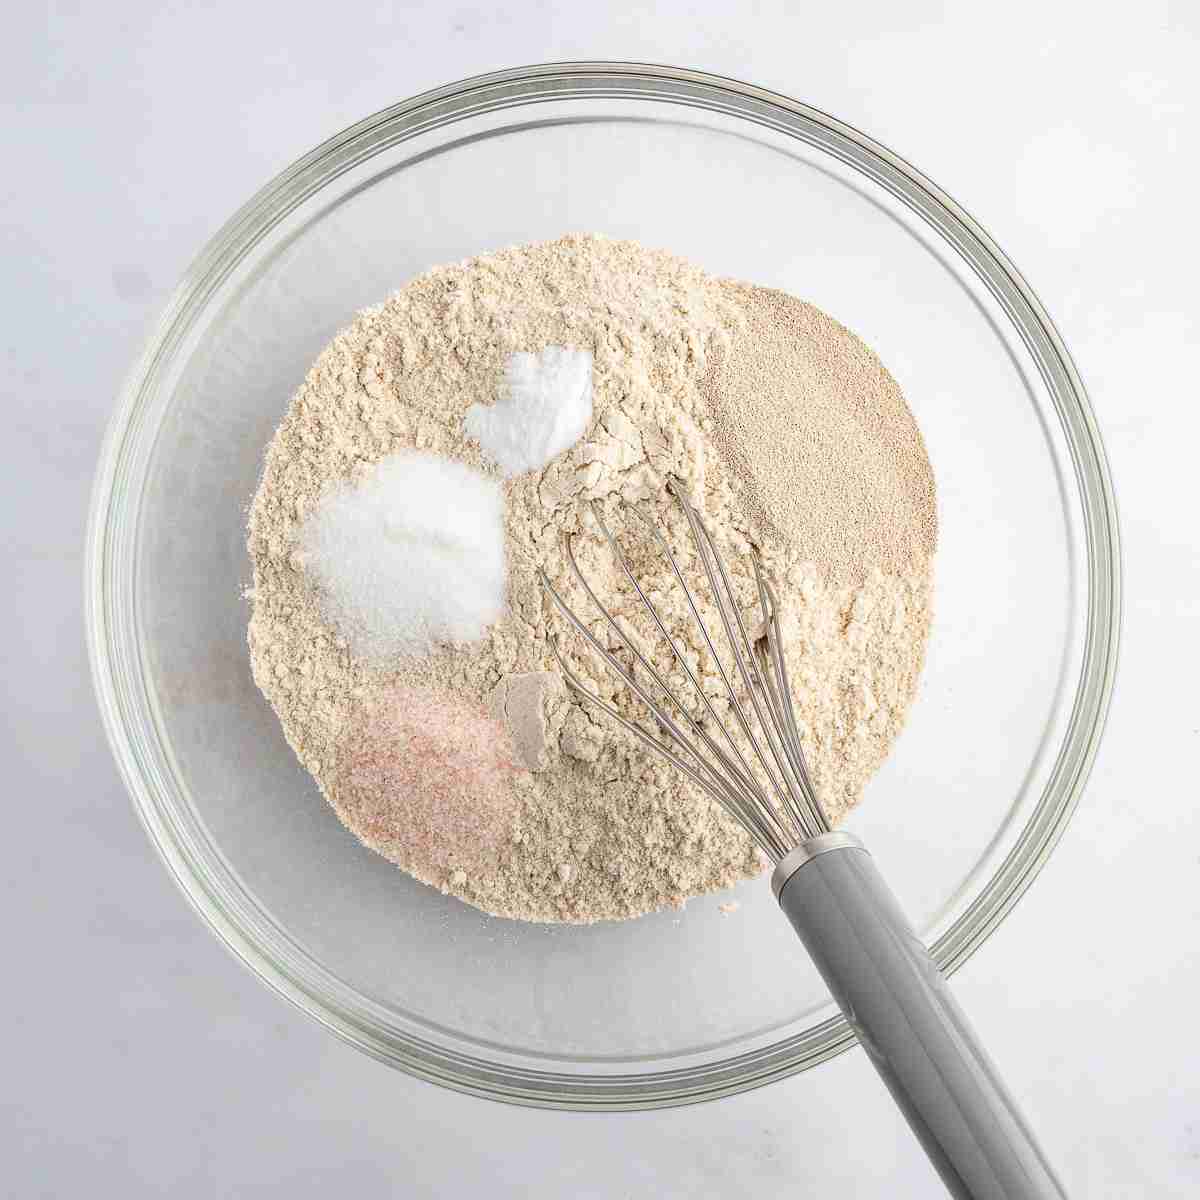
Step 1: Whisk dry ingredients together.
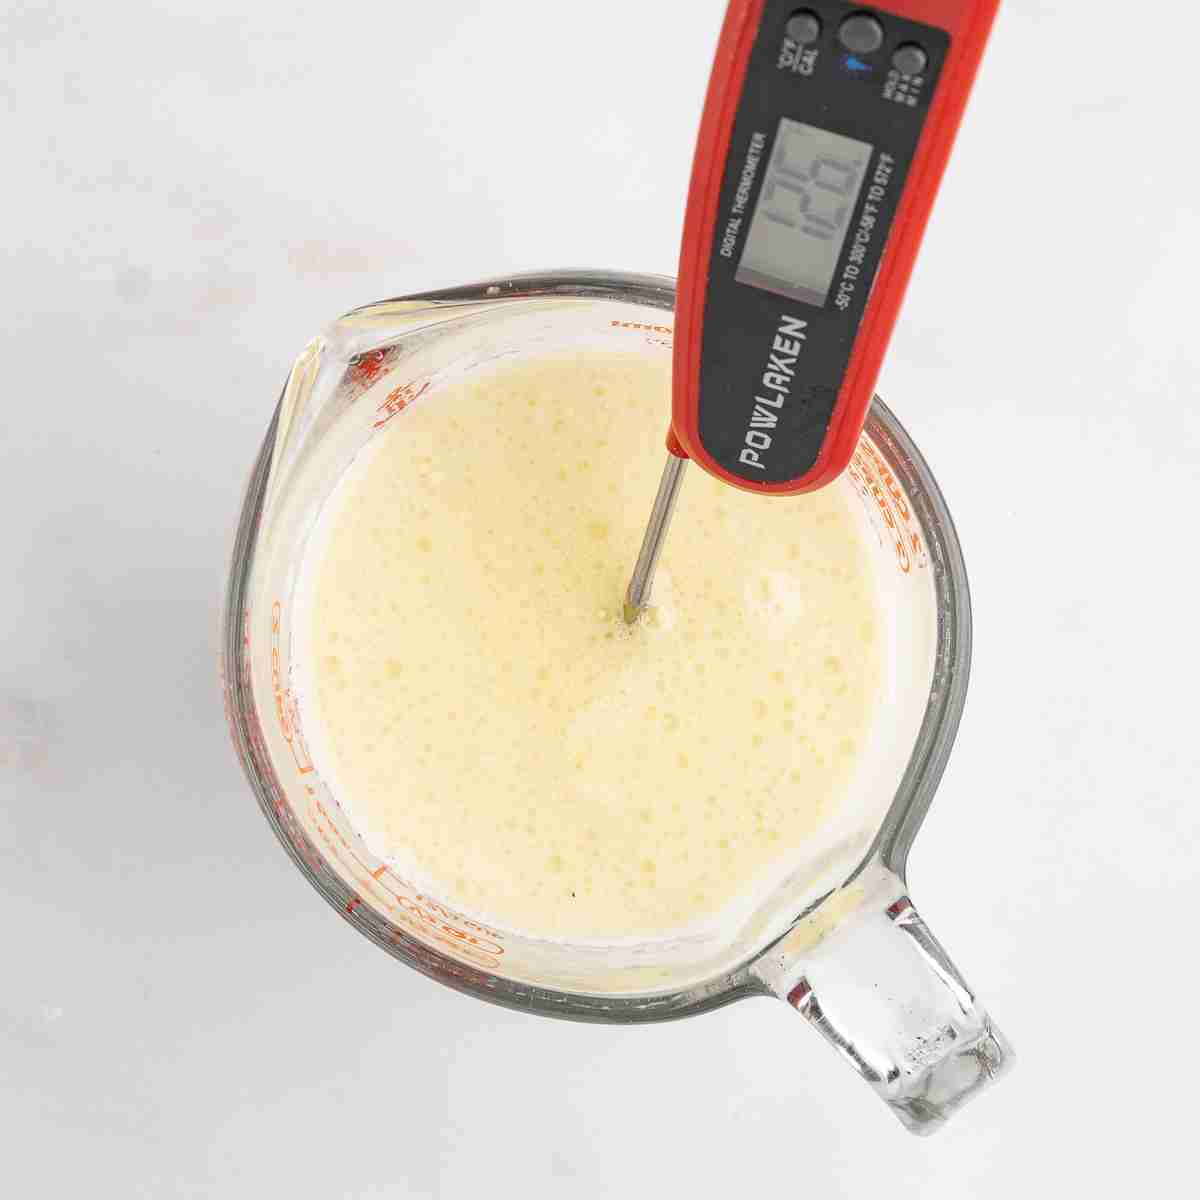
Step 2: Heat milk, water and oil.
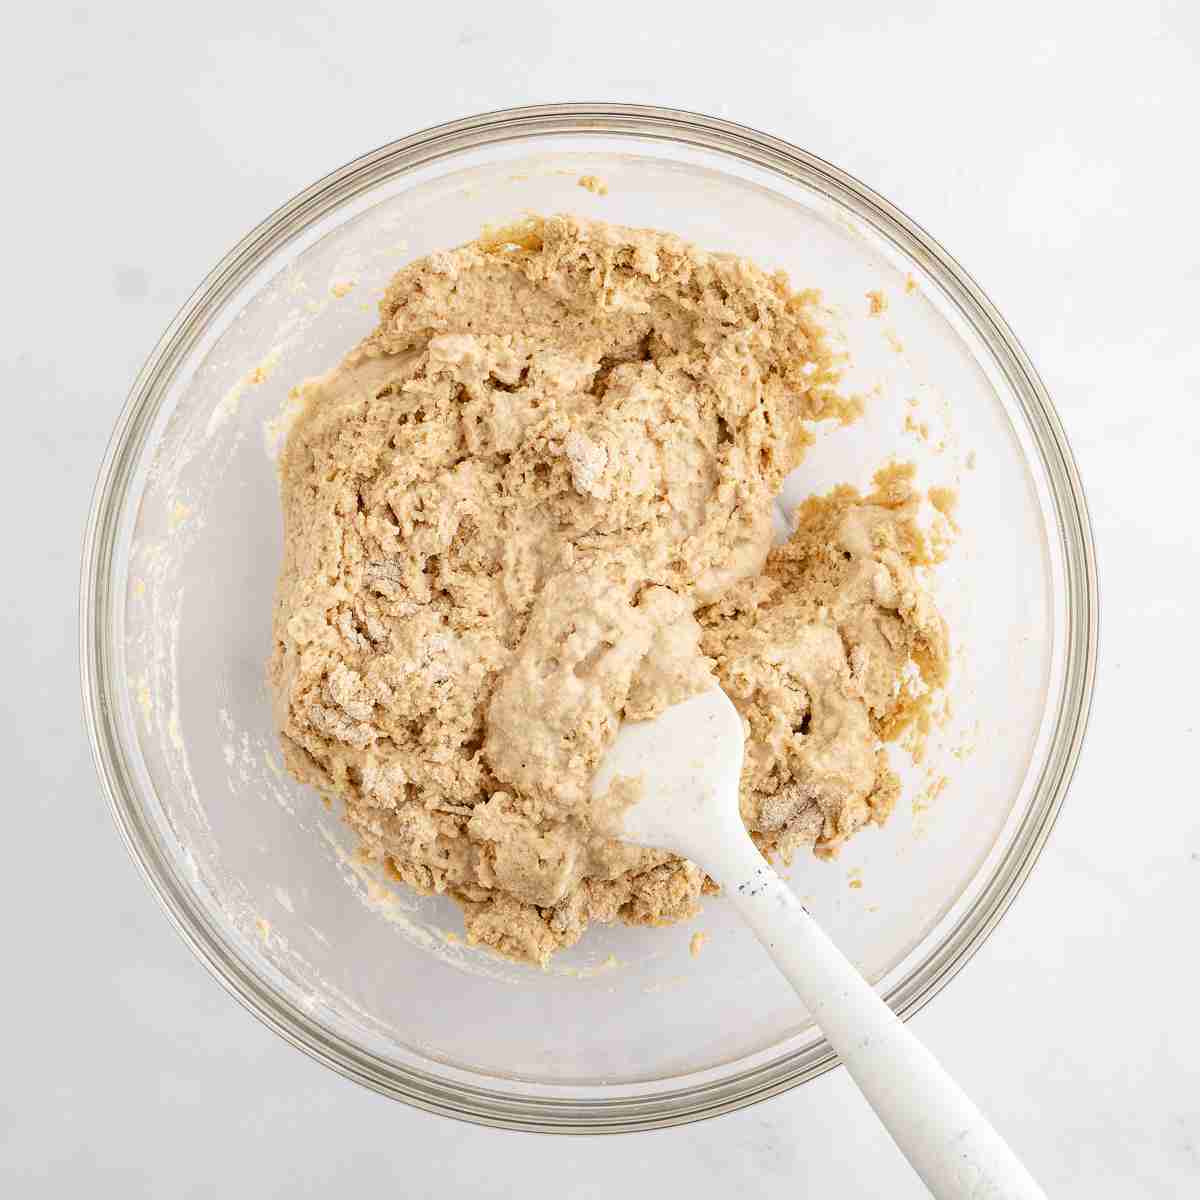
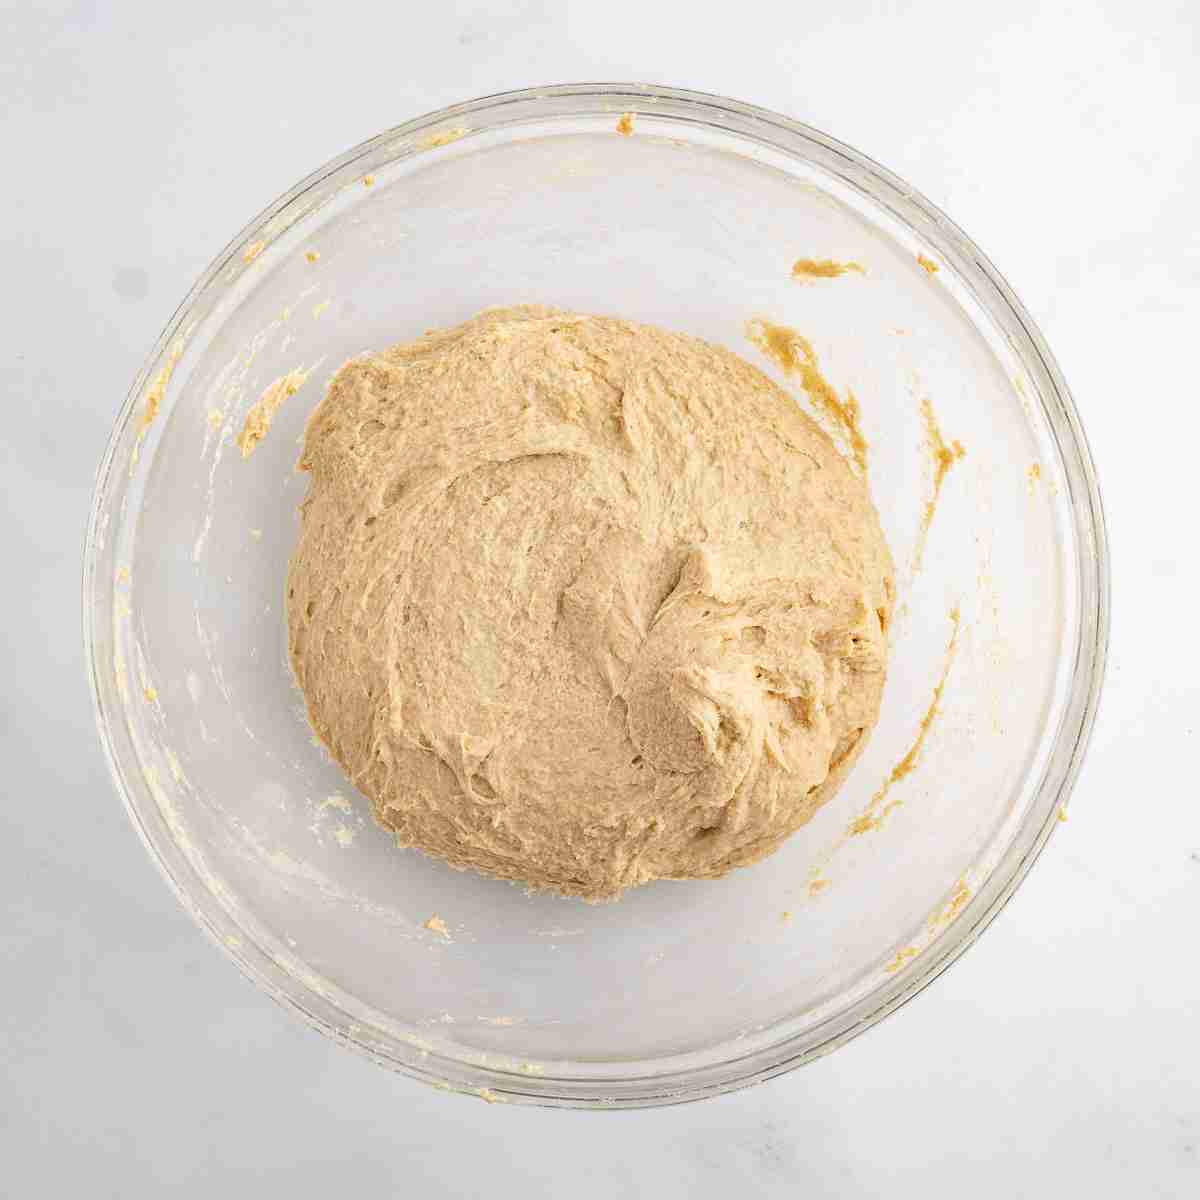
Step 3: Add hot liquid to dry ingredients and mix.
Step 4: Beat on high speed for 1 minute.
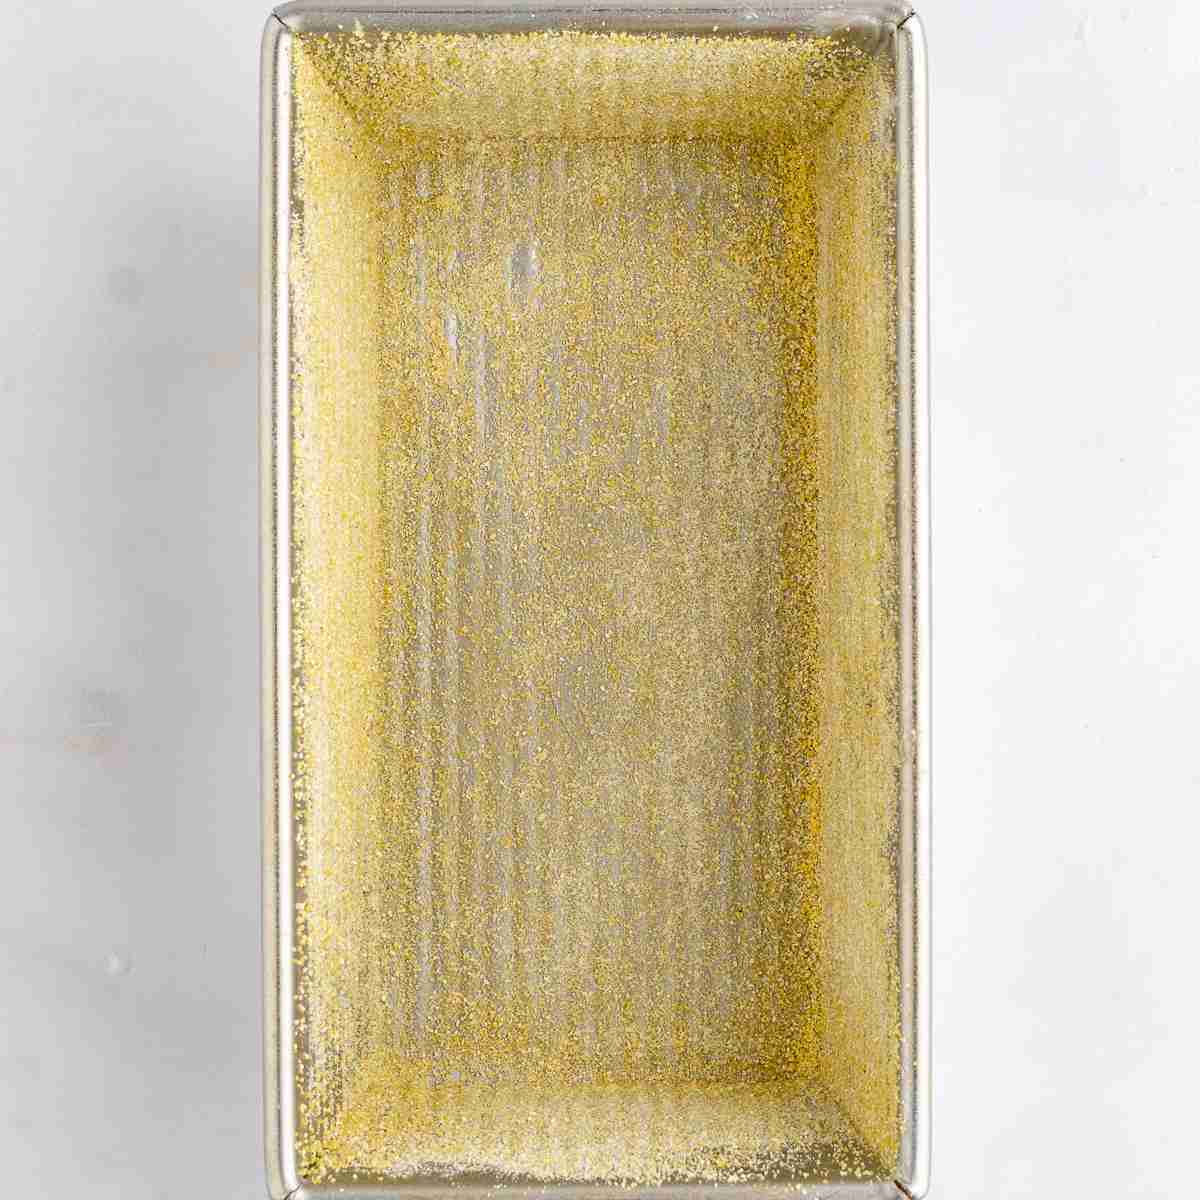
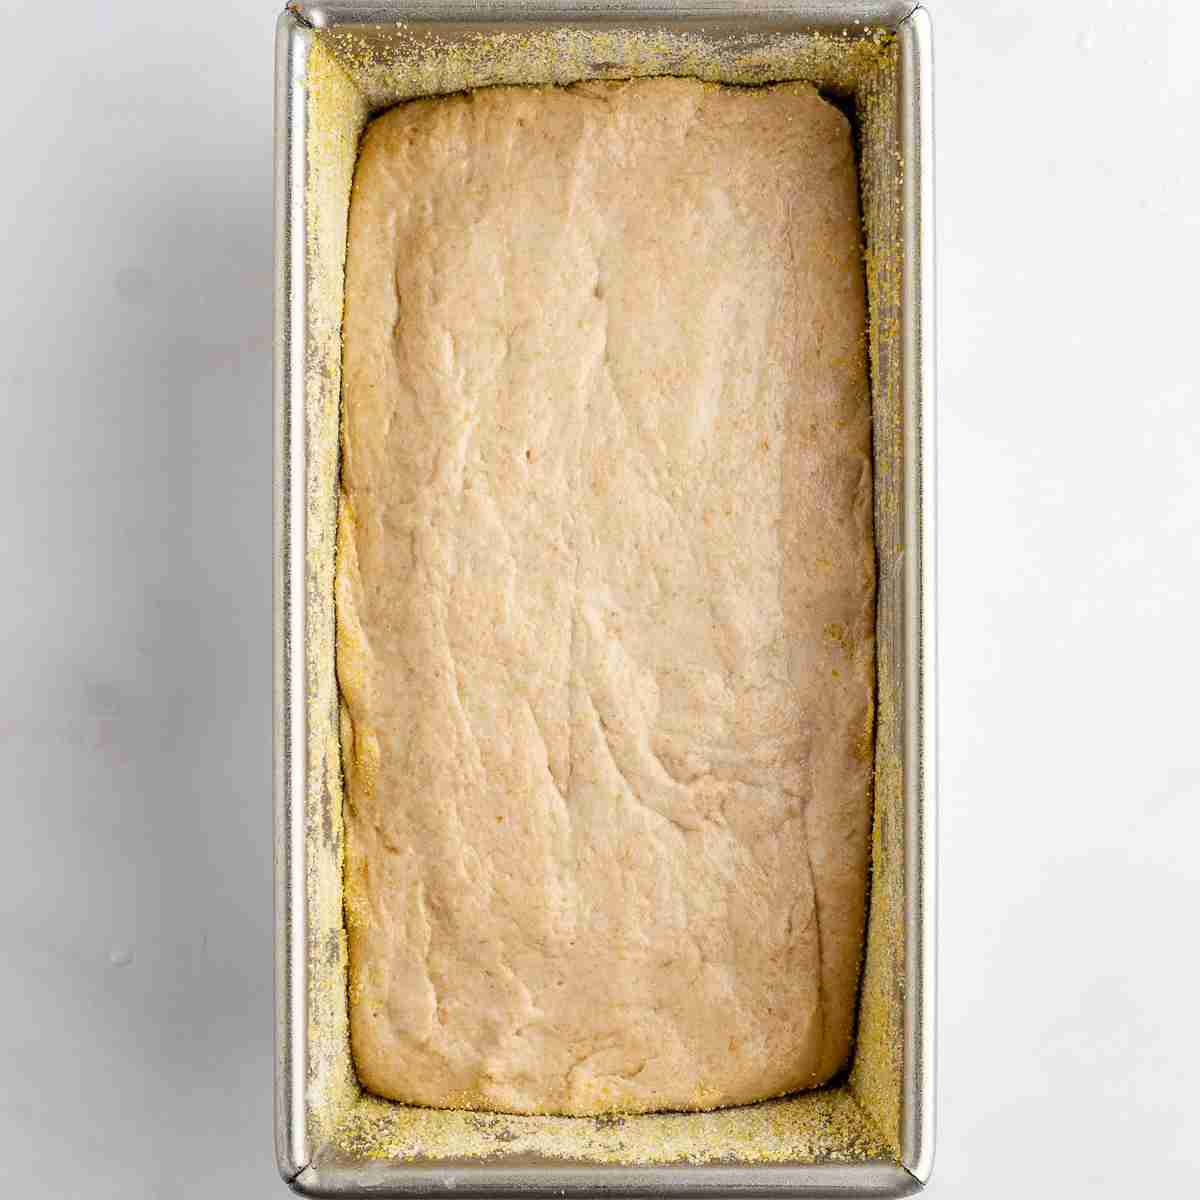
Step 5: Grease pan and sprinkle with cornmeal.
Step 6: Transfer dough to pan and bake.
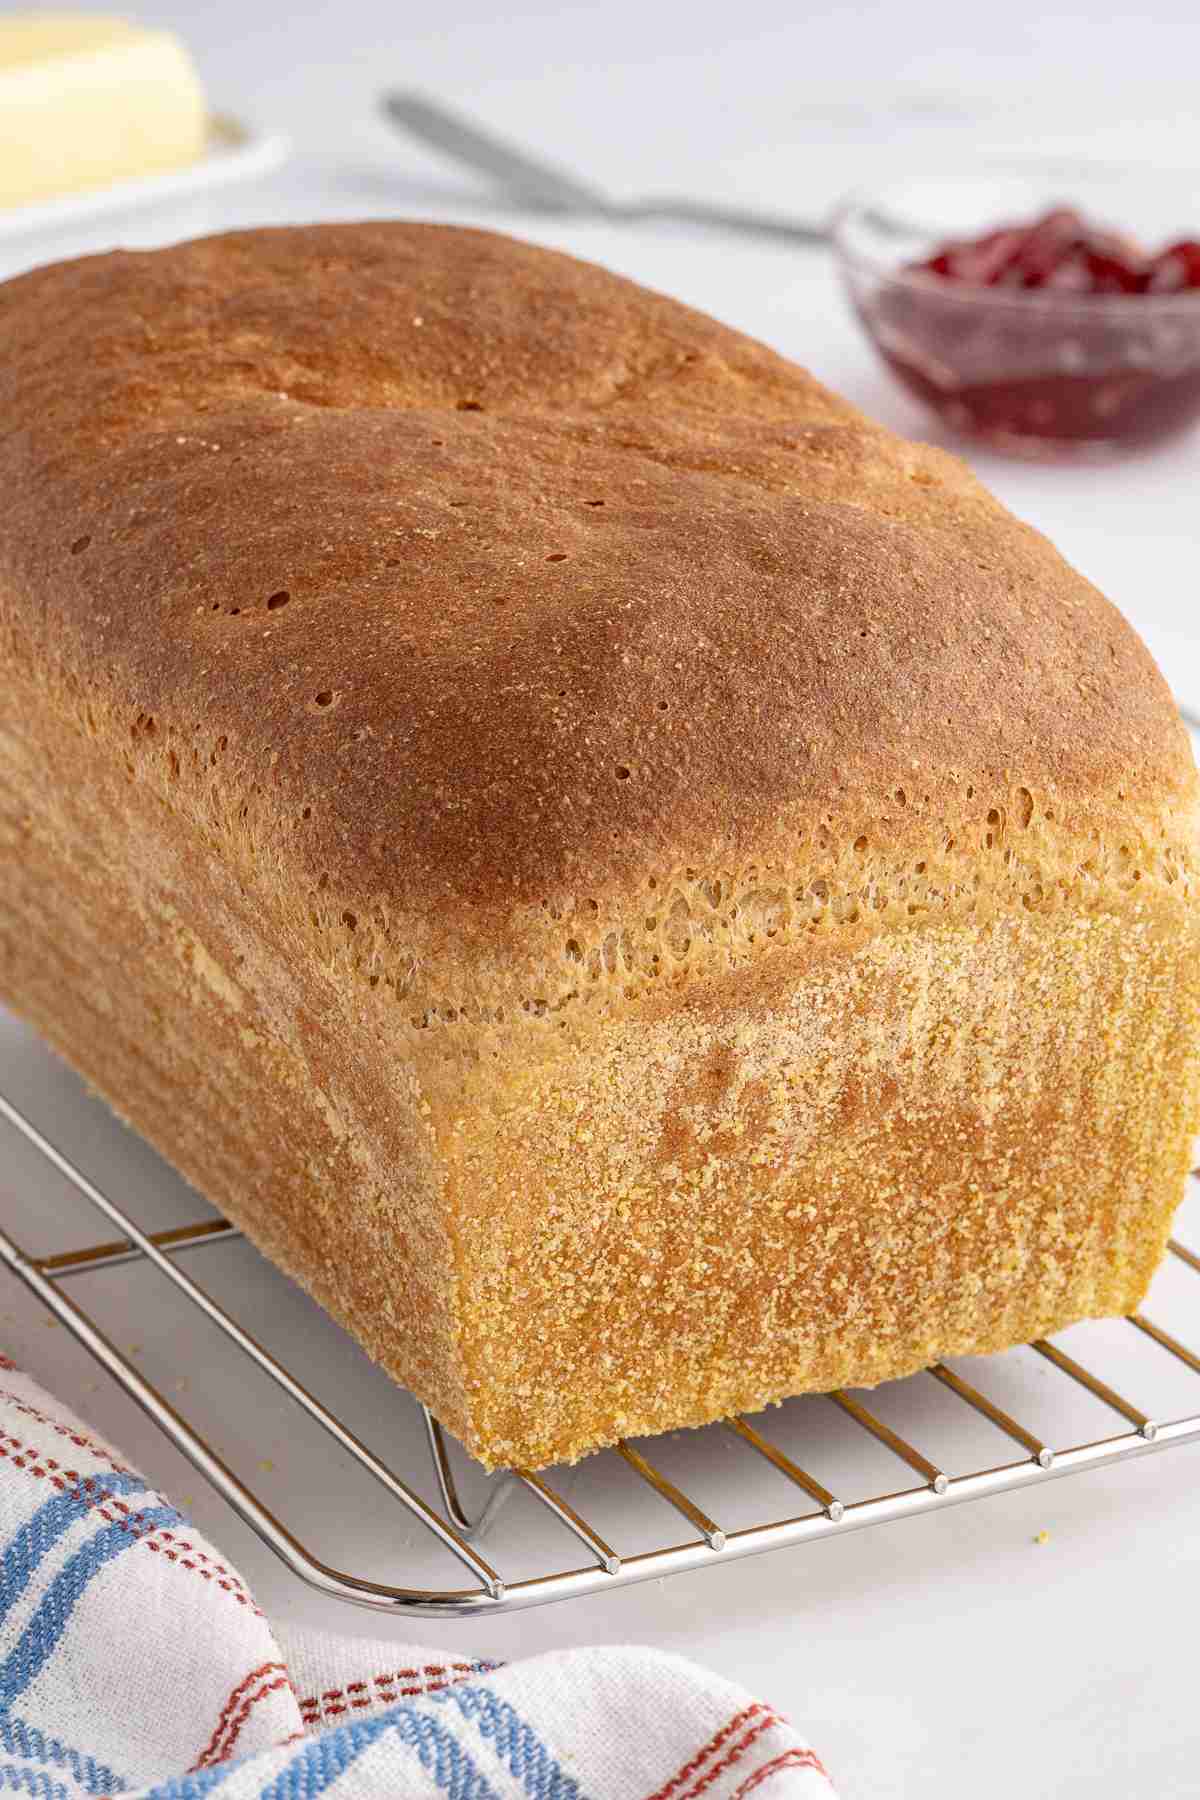
Time to Rise
When testing this bread, I found that it rose quite quickly, especially when I used warmer liquid. With the liquid around 120°F, the loaf took about 30-35 minutes to rise. Closer to 130°F, it was ready in around 20 minutes. If you want a little more breathing room, stay toward the lower end of the temperature range. Either way, keep a close eye on the dough since it can overproof fairly quickly.
FAQs
Can I use a different flour?
This type of bread is typically made with all-purpose rather than bread flour, so I like using a combination of grains for the best texture. My favorite blend so far is 50% hard white, 25% soft white and 25% Kamut. This is the combination I recommend for the recipe.
I also tested a 50/50 blend of hard white and soft white. It worked, but the crumb was more open and delicate than I wanted. The next time I make it with just those two grains, I plan to try closer to 70% hard white and 30% soft white. I haven’t tested that ratio yet, so I’ll update the post once I do.
Feel free to experiment with other grain combinations. I would keep at least half of the flour as hard white or hard red and use other grains for the remainder. Just keep in mind that changing the grain blend can affect the rise, structure and final texture of the loaf.
Can I double this recipe?
I haven’t tested this recipe as a double batch, but it should work. You might need to mix the dough a bit longer and then weigh the dough to divide evenly between both pans. I always find it easier to just mix one at a time.
How do I store this bread?
Wrap the bread well and store it at room temperature for 2-3 days. For longer storage, freeze the loaf or individual slices and thaw as needed. You can also toast directly from frozen, it just takes a bit longer.
Other Recipes You Might Enjoy:
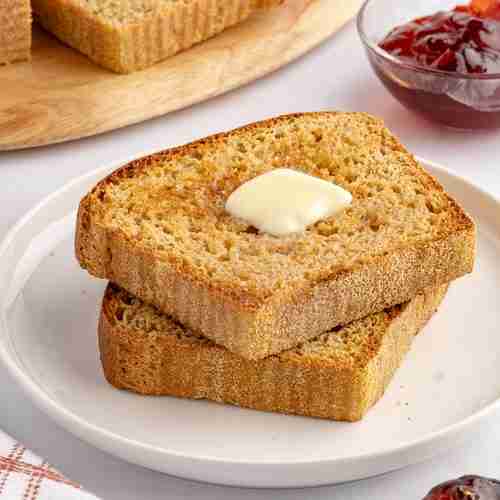
Fresh Milled English Muffin Toasting Bread

Ingredients
- 3 cups (360g) fresh milled flour (I used 180g hard white, 90g soft white, 90g Kamut) (see notes)
- 1 tablespoon granulated sugar
- 1 1/2 teaspoons table salt
- 1/4 teaspoon baking soda
- 1 tablespoon instant yeast
- 1 cup milk
- 1/2 cup water
- 2 tablespoons oil
- 1 tablespoon yellow cornmeal to sprinkle in pan
Instructions
- Whisk the flour, sugar, salt, baking soda and yeast together in a large mixing bowl or the bowl of a stand mixer.
- Combine the milk, water and oil in a microwave-safe bowl or measuring cup. Heat until the mixture reaches 120°F to 130°F, stirring well before checking the temperature. You can also heat the mixture in a small saucepan on the stovetop. Do not let it overheat. If it goes above 130°F, let it cool before adding it to the flour mixture.
- Pour the heated liquid over the flour mixture and stir with a wooden spoon or rubber spatula until combined. The mixture will look soft and shaggy.
- Using the flat paddle attachment, beat the dough on high speed for 1 minute. If using a handheld mixer, beat on medium speed and watch closely since the dough may climb the beaters. You can also beat by hand for 2 to 3 minutes. However you mix it, the dough should become smoother and slightly elastic. It will still be very soft and sticky, almost like a thick batter. Do not add more flour.
- Lightly grease an 8×4 loaf pan and sprinkle the bottom and sides with cornmeal.
- Transfer the dough to the prepared pan and smooth the top as evenly as possible. I find it easiest to use clean, damp hands, but you can also use a rubber spatula or a piece of plastic wrap.
- Cover the pan and let the dough rise until it has just crowned over the top of the pan, about 1/4 to 1/2 inch. Watch it closely since this dough can rise quickly. Mine is often ready in 20 to 25 minutes, but it may take 30 to 40 minutes or longer depending on room temperature and the temperature of the liquid.
- Bake at 400°F for 24 to 27 minutes, or until the center of the loaf reaches 190°F.
- Let the bread cool in the pan for about 5 minutes, then remove it and transfer it to a cooling rack. Cool completely before slicing, about 2 hours.
Notes
Pin This For Later